Go Back
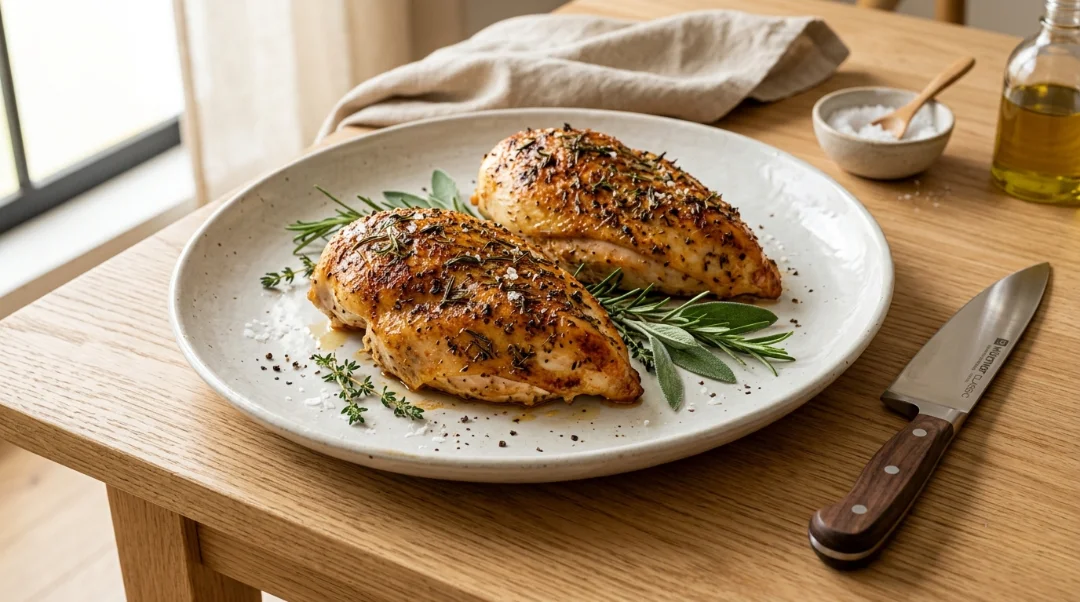
Two beautifully seasoned, golden-brown chicken breasts are plated on a rustic ceramic dish alongside fresh herbs on a light oak wood table. This premium presentation captures the juicy, flavorful essence of a perfectly prepared Baked Chicken Breast. By following our professional, high-heat cooking method, you ensure a tender result that is ideal for meal prepping or a sophisticated family dinner. This essential recipe is designed to deliver consistent, delicious, and restaurant-quality results that will impress everyone at your table and make your home cooking look truly professional and inviting for every single meal

Best Baked Chicken Breast That Never Dries Out

Juicy, golden baked chicken breast that stays tender every time a 10-minute brine and one temperature trick make all the difference. Tested at three temperatures and perfected
Prep Time 15 minutes
Cook Time 22 minutes
Total Time 37 minutes
Servings: 2 servings
Course: Dinner, Main Course, Meal Prep
Cuisine: American
Calories: 236

Ingredients
  

  • 2 large Boneless Skinless Chicken Breasts about 8 oz each
  • 4 cups Water for brine
  • 2 tbsp Salt for brine only
  • 1 tbsp Olive Oil for coating
  • 1 tsp Garlic Powder
  • 1 tsp Smoked Paprika adds color and depth
  • 1 tsp Brown Sugar creates caramelization and moisture retention
  • ½ tsp Dried Oregano
  • ½ tsp Black Pepper
  • ½ tsp Salt separate from brine

Equipment

  • 1 Baking Sheet rimmed
  • 1 Parchment Paper lining baking sheet
  • 1 Meat Mallet or Rolling Pin for pounding to even thickness
  • 1 Instant Read Thermometer non-negotiable for accurate doneness
  • 1 Large Bowl for brining

Method
 

Prep
  1. Brine Dissolve 2 tbsp. salt in 4 cups cold water. Submerge chicken breasts completely and brine for 10 minutes at room temperature. This step changes the protein structure so the meat holds moisture during baking. Skipping it produces noticeably drier results on larger breasts.
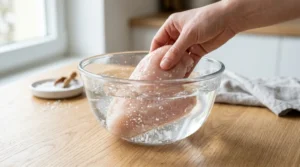
    A hand gently submerges a raw chicken breast into a glass bowl filled with a salt-water solution on a light oak wood table. This essential brining process for a Baked Chicken Breast helps the meat retain maximum moisture during the cooking process, ensuring a tender result every time. By dissolving two tablespoons of salt in four cups of cold water and brining for ten minutes, you transform the protein structure to prevent dryness, which is crucial for achieving the highest quality meal imaginable
  2. Pound to Even Thickness Remove chicken from brine and pat completely dry with paper towels. Place between plastic wrap and pound to an even ¾ inch thickness throughout using a meat mallet or rolling pin. Even thickness means even cooking this fixes the problem of thin ends drying out before thick ends finish.
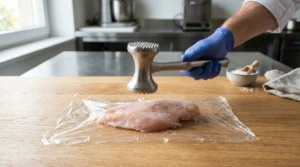
    A gloved hand uses a metal meat mallet to tenderize a chicken breast that is covered in plastic wrap on a light oak wood table. This step is essential for creating a professional Baked Chicken Breast, as pounding the meat to an even three-quarter inch thickness ensures uniform cooking and prevents the thinner edges from drying out before the thicker parts are fully done. Following this precise preparation method is the absolute best way to guarantee a tender, high-quality result that turns out perfectly every single time
  3. Season Combine garlic powder, smoked paprika, brown sugar, oregano, pepper, and salt. Brush chicken with olive oil on both sides, then rub seasoning evenly over all surfaces.
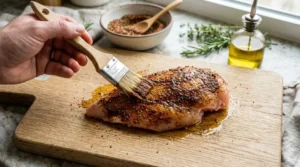
    A hand uses a wooden pastry brush to apply oil and a rich spice blend onto a chicken breast on a light oak wood cutting board. This step is key to creating a delicious Baked Chicken Breast, as combining garlic powder, smoked paprika, brown sugar, oregano, pepper, and salt creates a deep, savory flavor profile. Brushing the meat with olive oil on both sides before rubbing the seasoning evenly over all surfaces ensures every single bite is packed with incredible taste and perfectly balanced flavor for your meal
  4. Preheat Preheat oven to 425°F (220°C). High heat and shorter time means less moisture loss overall.
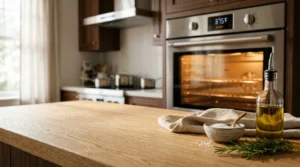
    A professional stainless steel oven is set to preheat in a modern kitchen, with a clean light oak wood kitchen island in the foreground. A small bowl of sea salt with a wooden spoon, a bottle of olive oil, and fresh rosemary sit ready on the counter. Preheating your oven to 425°F is the essential first step for a juicy Baked Chicken Breast, as using high heat and a shorter cooking time significantly reduces moisture loss, ensuring your meal is tender and flavorful every single time
Bake
  1. Bake Place chicken on parchment-lined baking sheet, breasts not touching. Bake according to size: small (5–6 Oz) 18–20 min, medium (7–8 Oz) 20–23 min, large (9–10 Oz) 23–26 min. Start checking temperature at the lower end.
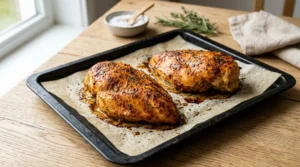
    Two golden-brown chicken breasts bake on a parchment-lined sheet, spaced apart to ensure even cooking for the perfect Baked Chicken Breast. Achieving the right texture depends on timing: small breasts bake in 18–20 minutes, medium in 20–23 minutes, and large in 23–26 minutes. Always start checking the internal temperature at the lower end of these time ranges to avoid overcooking and ensure a succulent result for every serving, making your home-cooked meal look absolutely professional and delicious
  2. Pull at 160°F Remove from oven when internal temperature reaches 160°F in the thickest part not 165°F. Carryover cooking will bring it to 163–165°F during the rest. This is the adjustment that makes the biggest difference in final juiciness. See USDA safe minimum cooking temperatures.
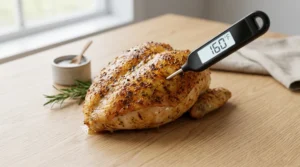
    A digital food thermometer displays 160°F while inserted into the thickest part of a cooked chicken breast, demonstrating the optimal moment to remove it from the oven for the best Baked Chicken Breast. Removing the chicken at 160°F rather than 165°F allows carryover cooking to naturally bring the internal temperature to the USDA-recommended safe range of 163–165°F during the resting phase. This professional adjustment is the single most effective technique to prevent overcooking and ensure the final result is remarkably juicy, tender, and delicious for every single meal
Finish
  1. Rest Let chicken rest uncovered for 5 minutes. Juices redistribute through the meat during this time. Slicing immediately releases those juices onto the cutting board instead of keeping them in the chicken.
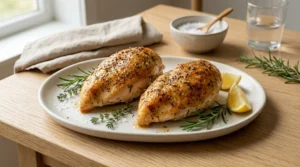
    Two golden, herb-crusted chicken breasts rest on a minimalist off-white ceramic plate on a light oak wood table. Allowing the Baked Chicken Breast to rest uncovered for five minutes is a vital step because it enables the juices to redistribute evenly throughout the meat. If you slice the chicken immediately, those precious juices will release onto the board instead of staying locked inside, so resting ensures every single bite is succulent, tender, and perfectly flavorful for your meal
  2. Slice Against the Grain Slice at a slight diagonal, against the muscle fibers. This shortens the fibers in each piece and makes every bite noticeably more tend
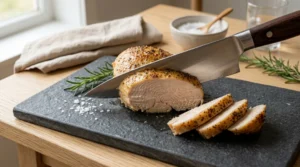
    A professional knife slices a cooked chicken breast on a textured black slate board, showcasing the correct method for a perfect Baked Chicken Breast. To achieve the best texture, always slice at a slight diagonal against the muscle fibers. This simple technique effectively shortens the fibers in every single piece, which makes each bite noticeably more tender and enjoyable, ensuring your hard work in the kitchen results in a premium, restaurant-quality dining experience that your entire family will absolutely love and appreciate for every meal

Notes

No meat thermometer?
Use the size-based time chart as a guide, but a thermometer is the most reliable way to hit the right temperature window especially with larger breasts.
Want more color?
When internal temp reaches 155°F, switch oven to broil, move rack to top third, and watch closely. Color develops in under 2 minutes. Pull at 160°F as usual.
Meal prep?
Undercook by 2 minutes. The chicken finishes when reheated and stays juicier through day 3 or 4.
Storage?
Fridge: up to 4 days airtight. Slice before storing for faster reheating.
Reheat?
Oven: 300°F covered with foil for 10–12 minutes. Stovetop: low heat covered with 1 tbsp water for 3–4 minutes. Microwave: damp paper towel cover, 50% power, 45-second intervals.