
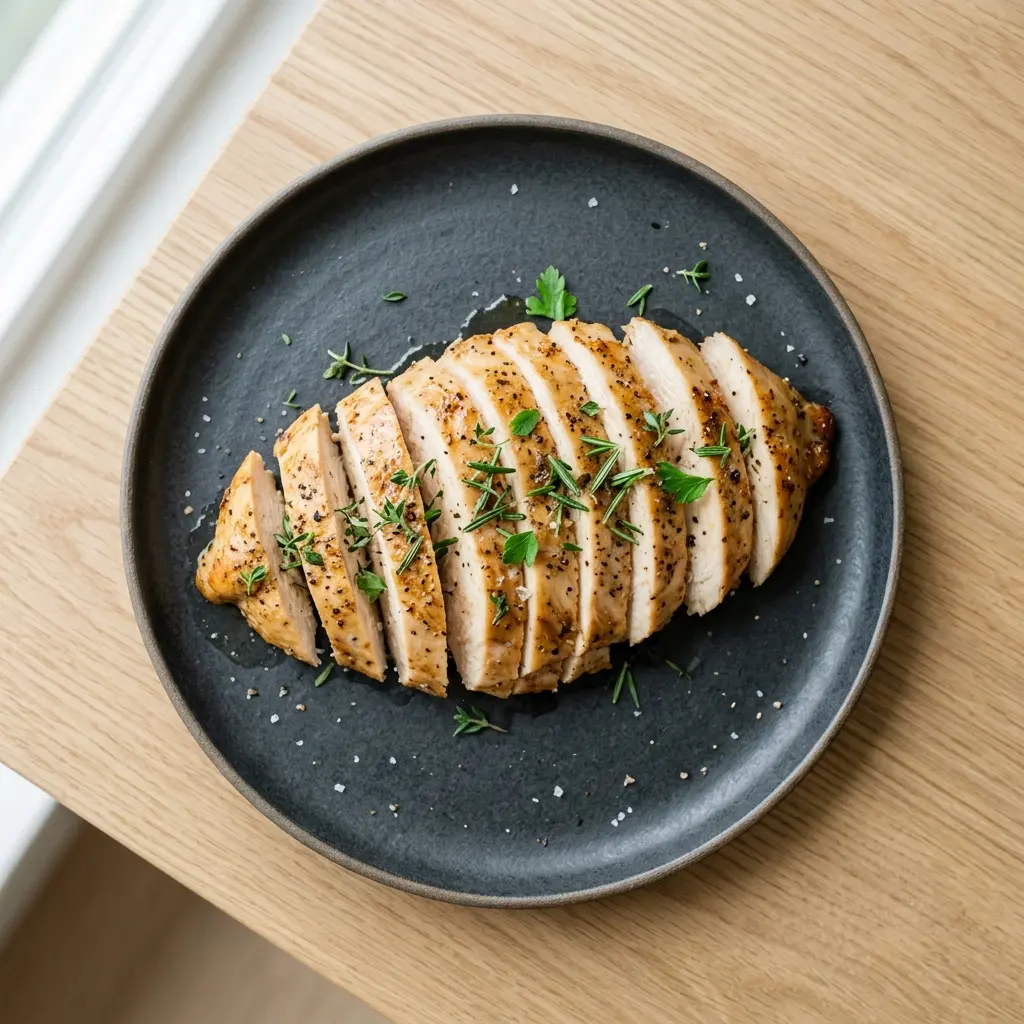
Best Baked Chicken Breast That Never Dries Out
Chicken breast has a reputation it mostly deserves.
Cook it five minutes too long and it goes from tender to chalky the kind of dry that no sauce fully rescues. For a long time, that was my experience with oven-baked chicken breast. I followed every recipe correctly, pulled it at 165°F, let it rest and it still came out tighter and drier than I wanted.
The change came from two things working together: a 10-minute brine and pulling the chicken earlier than every recipe told me to. This baked chicken breast that doesn’t dry out has been on my weekly rotation ever since. Here is exactly what made the difference.
Why Chicken Breast Dries Out (The Real Reason):
Chicken breast contains very little fat compared to thighs or drumsticks. Fat carries moisture through cooking without it, the margin between perfectly cooked and overdone is narrow. A few extra minutes in the oven can push a breast from juicy to dry, and there is no coming back from that.
Three things consistently prevent it:
1. Brining even 10 minutes in salted water changes the protein structure so the meat holds onto moisture during cooking. The science behind brining explains why this works at a cellular level.
2. Even thickness thick on one end, thin on the other means the thin end overcooks while the thick end finishes. Pounding or butterflying solves this completely.
3. Pulling at 160°F, not 165°F carryover cooking raises the internal temperature another 3 to 5 degrees after the chicken leaves the oven. Pulling at 165°F means the breast rests at 168 to 170°F which is past the juicy window. Pull at 160°F and it finishes exactly where it needs to be.
About This Recipe:
This recipe was tested at 375°F, 400°F, and 425°F with both brined and unbrined chicken breasts before settling on the method below. The 425°F brined version won every comparison.
Ingredients:
- Boneless skinless chicken breasts — 2 large (about 8 oz each)
- Water — 4 cups, for brine
- Salt — 2 tbsp, for brine
- Olive oil — 1 tbsp
- Garlic powder — 1 tsp
- Smoked paprika — 1 tsp (adds color and a subtle depth — worth using)
- Brown sugar — 1 tsp (draws moisture to the surface during baking, creates light caramelization)
- Dried oregano — ½ tsp
- Black pepper — ½ tsp
- Salt — ½ tsp (separate from brine salt)
Ingredient Substitutions:
No smoked paprika? Regular paprika works fine the depth changes slightly but the result is still good.
Brown sugar can be swapped for honey (½ tsp brushed on before baking) or left out entirely. Leaving it out means less surface color and slightly less moisture retention.
For a dairy-free version, olive oil replaces butter with no issues. Avocado oil also works well at high heat.
Step-by-Step Instructions:
Step 1: Brine the Chicken (10 Minutes)
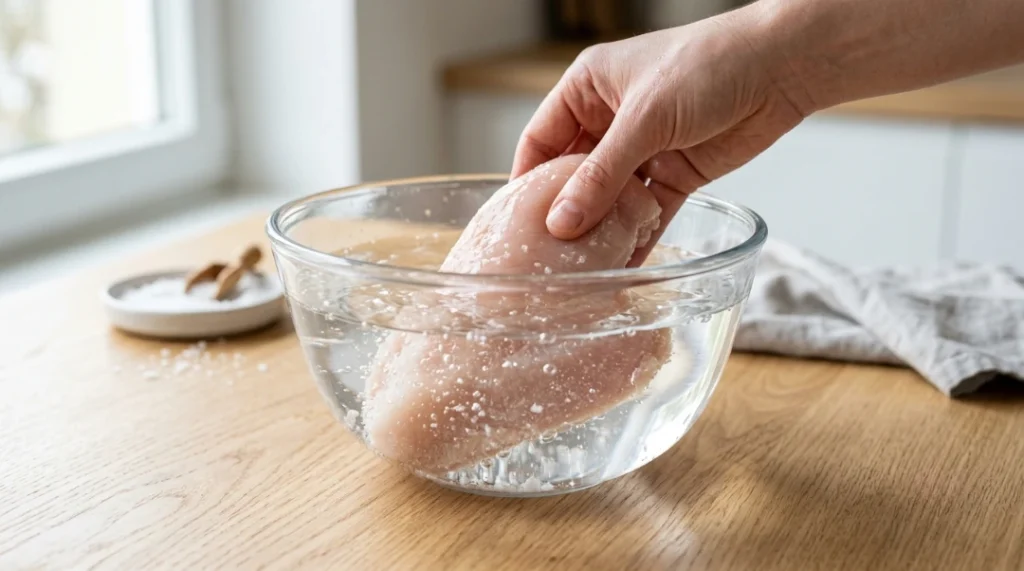
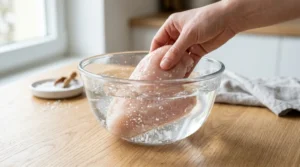
Dissolve 2 tbsp salt in 4 cups of cold water in a large bowl. Submerge the chicken breasts completely. Brine for 10 minutes at room temperature.
This step feels unnecessary the first time. Skipping it and going straight to seasoning produces noticeably drier results especially on larger breasts. Ten minutes is enough to make a real difference.
Step 2: Pound to Even Thickness
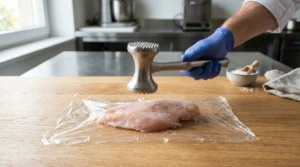
Remove chicken from brine and pat completely dry with paper towels. Place between two sheets of plastic wrap or in a zip-lock bag. Pound the thicker end with a meat mallet or rolling pin until the breast is an even 3/4 inch thickness throughout.
This single step fixes uneven cooking more than any temperature adjustment. A breast that is 1.5 inches thick on one end and half an inch on the other will never cook evenly the thin end turns dry before the thick end finishes.
Step 3: Season
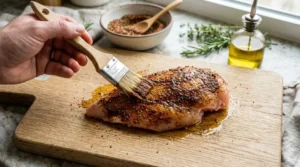
Combine garlic powder, smoked paprika, brown sugar, oregano, black pepper, and salt in a small bowl. Brush chicken with olive oil on both sides, then rub seasoning evenly over all surfaces.
Step 4: Preheat Oven
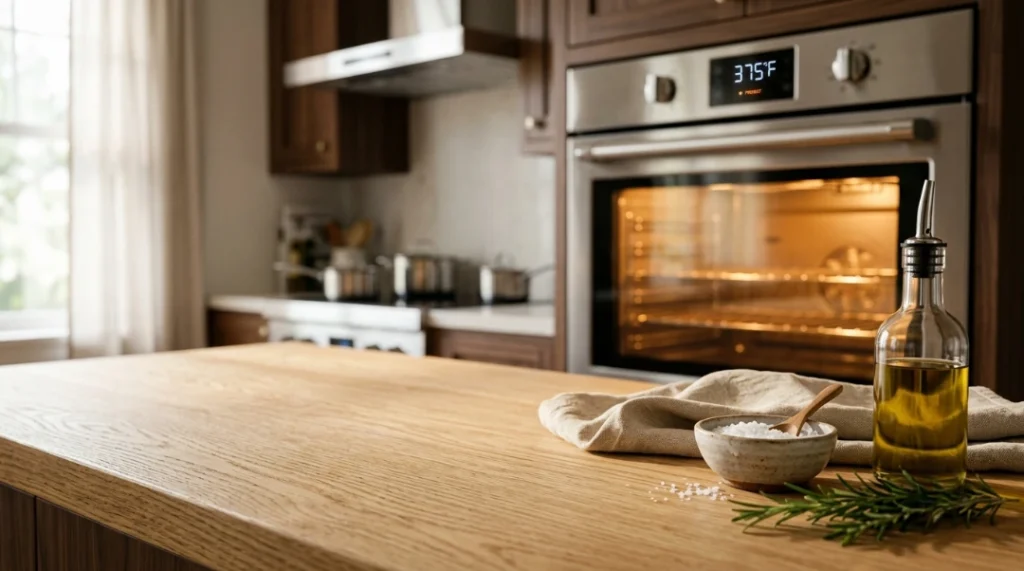
Preheat to 425°F (220°C). High heat and short time consistently outperforms lower heat and longer time for chicken breast. More time in the oven means more moisture loss regardless of temperature.
Step 5: Bake
Place seasoned chicken on a parchment-lined baking sheet. Breasts should not touch each other.
Bake according to size:
| Breast Size | Weight | Bake Time at 425°F |
|---|---|---|
| Small | 5–6 oz | 18–20 minutes |
| Medium | 7–8 oz | 20–23 minutes |
| Large | 9–10 oz | 23–26 minutes |
Start checking temperature at the lower end of the time range.
Step 6: Pull at 160°F
Use an instant-read thermometer inserted into the thickest part. Pull the chicken from the oven at 160°F not 165°F.
Carryover cooking will bring the internal temperature up to 165°F during the rest period. Waiting until the thermometer reads 165°F means the breast actually rests at 168 to 170°F. That extra heat is what causes dryness in an otherwise well-cooked breast.
This was the adjustment that changed results more than anything else in testing. The difference between pulling at 160°F vs 165°F is small on paper and significant on the plate.
Step 7: Rest Before Slicing
Let the chicken rest uncovered for 5 minutes. The juices redistribute through the meat during this time. Slicing immediately after baking releases those juices onto the cutting board instead of keeping them in the meat.
Step 8: Slice Against the Grain
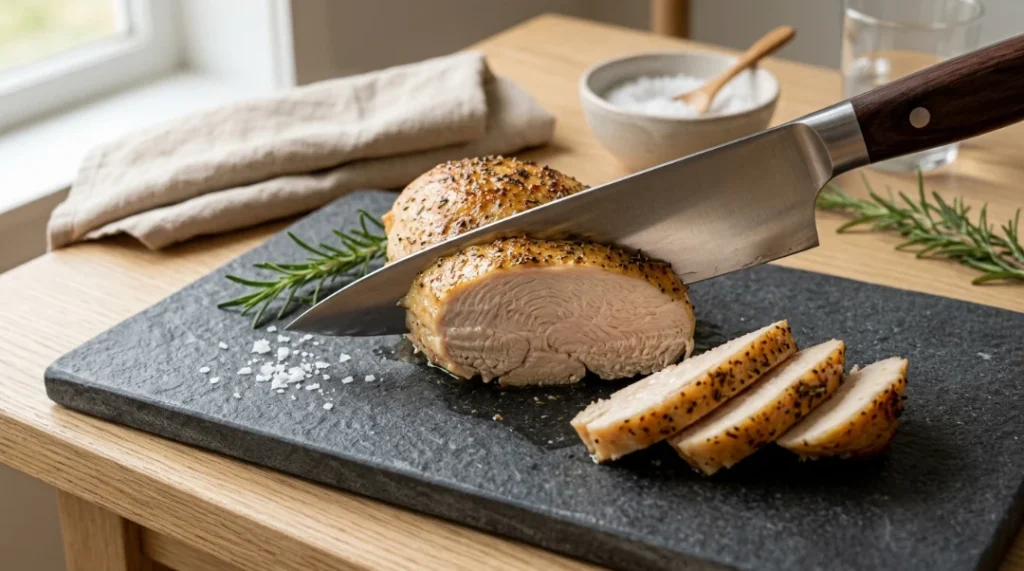
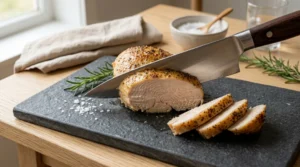
Slice at a slight diagonal, against the direction of the muscle fibers. This shortens the fibers in each piece, making every bite more tender. Slicing with the grain produces a chewier texture even on perfectly cooked chicken.
What Went Wrong in Early Testing:
Round 1: Skipped the brine. Went straight to seasoning, baked at 425°F, pulled at 165°F. The breast was cooked correctly but noticeably tighter and drier than expected. Fine, but not great.
Round 2: Brined but pulled at 165°F. Better moisture, still slightly past the juicy zone on a larger breast. The thick end was perfect but the thin end had dried slightly where it had cooked faster.
Round 3: Brined, pounded, pulled at 160°F. This was the batch that settled the method. Even thickness meant even cooking edge to edge. Pulling at 160°F meant the resting temperature landed exactly where it needed to. Noticeably juicier throughout.
The Browning Question:
One of the most common comments on baked chicken breast recipes: “Mine cooked through but never got golden.”
The fix is a 2-minute broil finish. When the internal temperature reaches 155°F, switch the oven to broil and move the rack to the top third. Watch closely broiling takes color fast. Pull at 160°F as usual and rest normally.
This method gives golden color without the extra oven time that causes dryness. Most recipes ignore this entirely.
Pro Tips:
- A meat thermometer is non-negotiable here. Time guidelines vary with oven calibration and breast size. Temperature is the only reliable indicator.
- Pounding matters more than temperature. Even thickness is the single biggest fix for uneven cooking.
- The brine takes 10 minutes. Plan for it the difference on a larger breast is hard to miss.
- Brown sugar adds caramelization, not sweetness. The finished chicken reads as savory. Worth using.
- For meal prep, slightly undercook by 2 minutes. The chicken finishes when reheated and stays juicier across 3 to 4 days.
Variations:
Lemon Herb: Swap oregano for thyme, add 1 tsp lemon zest to dry rub, finish with fresh lemon squeeze.
Cajun Style: Replace paprika and oregano with 1.5 tsp Cajun seasoning. Works well for wraps and salads.
Italian: Add ½ tsp basil and ½ tsp thyme to the dry rub. Pairs well with pasta dishes.
Honey Mustard Glaze: Brush with 1 tbsp honey + 1 tsp Dijon in the last 5 minutes of baking.
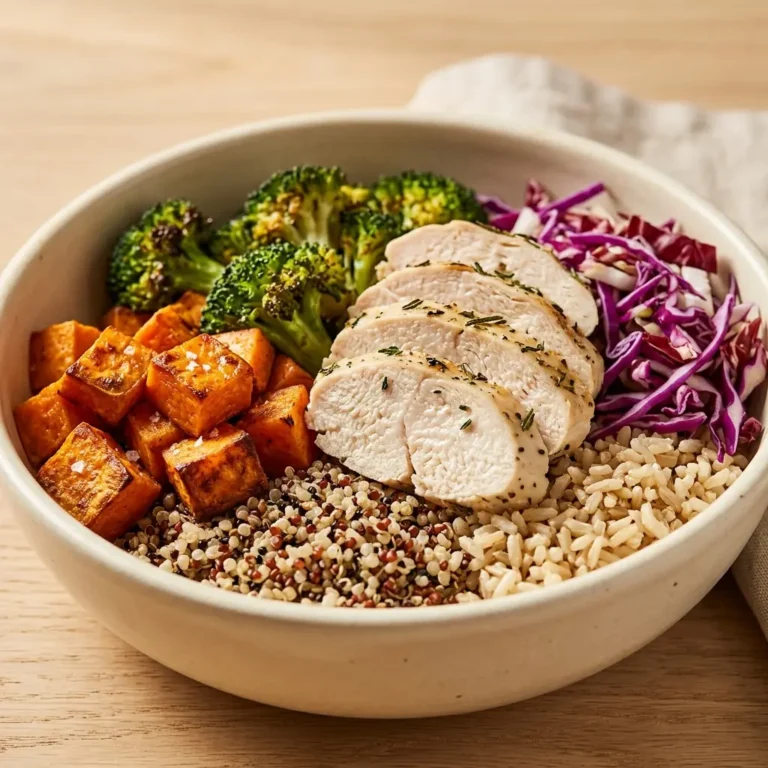
Meal Prep Plain: Skip paprika and brown sugar. Season with just salt, pepper, and garlic. Versatile base for salads, wraps, and grain bowls throughout the week.
What to Serve With:
- Best Air Fryer Chicken Wings — if you want a full chicken spread for game day
- Crispy Chicken Wings Without Deep Frying — for a crowd-friendly appetizer alongside
- Garlic Butter Rice the pan juices from this chicken are excellent over rice
- Simple Arugula Salad with Lemon the bitterness cuts through the rich seasoning well
- Roasted Broccoli 425°F oven means you can roast both at the same time
Storage and Reheating:
Fridge: Up to 4 days in an airtight container. Slice before storing for faster reheating.
Reheat (oven): 300°F for 10–12 minutes covered with foil. Low and slow reheating keeps moisture in. High heat reheating is what makes leftover chicken breast dry.
Reheat (stovetop): Low heat in a covered pan with 1 tbsp water or broth for 3–4 minutes. The steam keeps it moist.
Reheat (microwave): Cover with a damp paper towel. Use 50% power in 45-second intervals. Full power microwaving is the fastest way to dry out leftover chicken.
Freeze: Slice before freezing. Thaw overnight in fridge, reheat at 300°F covered.
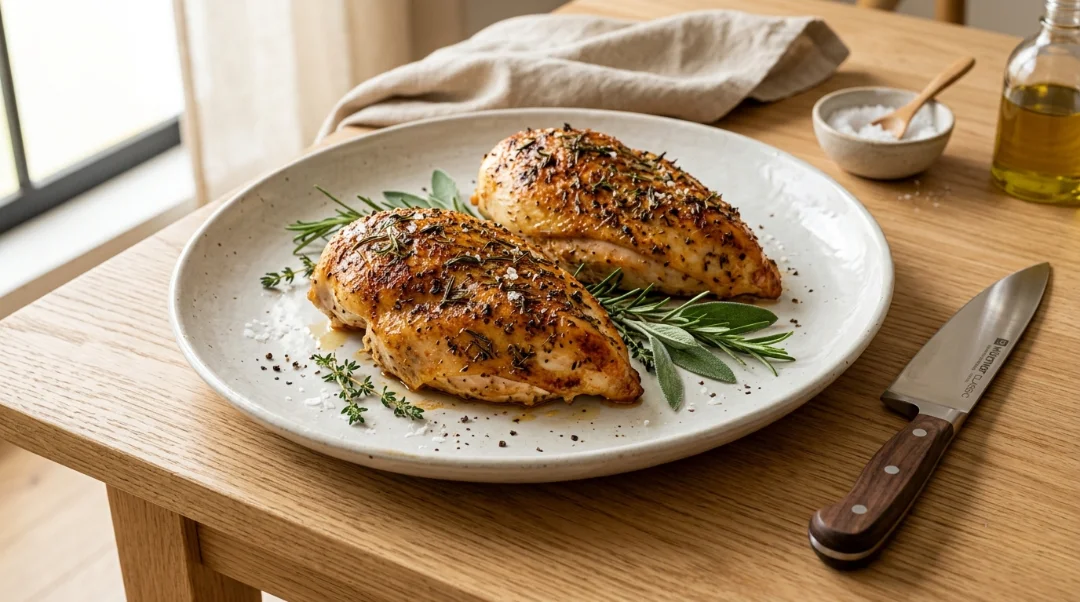
Best Baked Chicken Breast That Never Dries Out
Ingredients
Equipment
Method
- Brine Dissolve 2 tbsp. salt in 4 cups cold water. Submerge chicken breasts completely and brine for 10 minutes at room temperature. This step changes the protein structure so the meat holds moisture during baking. Skipping it produces noticeably drier results on larger breasts.
- Pound to Even Thickness Remove chicken from brine and pat completely dry with paper towels. Place between plastic wrap and pound to an even ¾ inch thickness throughout using a meat mallet or rolling pin. Even thickness means even cooking this fixes the problem of thin ends drying out before thick ends finish.
- Season Combine garlic powder, smoked paprika, brown sugar, oregano, pepper, and salt. Brush chicken with olive oil on both sides, then rub seasoning evenly over all surfaces.
- Preheat Preheat oven to 425°F (220°C). High heat and shorter time means less moisture loss overall.
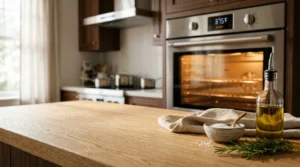
- Bake Place chicken on parchment-lined baking sheet, breasts not touching. Bake according to size: small (5–6 Oz) 18–20 min, medium (7–8 Oz) 20–23 min, large (9–10 Oz) 23–26 min. Start checking temperature at the lower end.
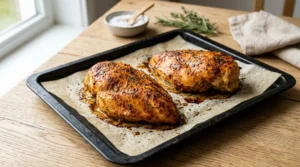
- Pull at 160°F Remove from oven when internal temperature reaches 160°F in the thickest part not 165°F. Carryover cooking will bring it to 163–165°F during the rest. This is the adjustment that makes the biggest difference in final juiciness. See USDA safe minimum cooking temperatures.
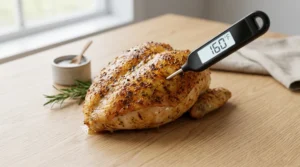
- Rest Let chicken rest uncovered for 5 minutes. Juices redistribute through the meat during this time. Slicing immediately releases those juices onto the cutting board instead of keeping them in the chicken.
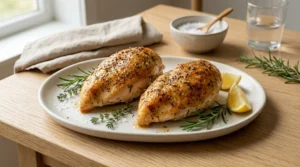
- Slice Against the Grain Slice at a slight diagonal, against the muscle fibers. This shortens the fibers in each piece and makes every bite noticeably more tend
Notes
Nutrition Info (per serving, 1 breast):
| Nutrient | Amount |
|---|---|
| Calories | 236 |
| Protein | 40g |
| Fat | 7g |
| Carbohydrates | 3g |
| Sodium | 412mg |
| Fiber | 0g |
| Sugar | 2g |
Nutrition information is an estimate and may vary depending on the ingredients and brands used. Data sourced from USDA FoodData Central.
FAQs:
Q: What is the best temperature for baked chicken breast that doesn’t dry out?
A: 425°F consistently outperforms lower temperatures in testing. High heat and short time means less time in the oven which means less moisture loss. A 7 Oz breast at 425°F takes about 20 to 22 minutes. The same breast at 350°F takes 30 to 35 minutes and has more time to dry out.
Q: Should I cover chicken breast while baking?
A: Covering with foil traps steam and keeps the exterior pale. Baking uncovered at 425°F with proper brining and thickness gives better color and comparable moisture. The parchment-cover method (from culinary schools) is a middle ground it lets the chicken baste in its own juices without fully steaming.
Q: Do I really need a meat thermometer?
A: For chicken breast specifically, yes. Breast size varies significantly a 5 Oz breast and a 9 Oz breast need very different cook times. Time guidelines are a starting point. Temperature is the finish line. See the USDA safe minimum cooking temperatures for reference.
Q: Why pull at 160°F instead of 165°F?
A: Carryover cooking continues raising the internal temperature after the chicken leaves the oven typically 3 to 5 degrees during a 5-minute rest. Pulling at 165°F means the breast rests at 168 to 170°F. Pulling at 160°F means it finishes at 163 to 165°F exactly the safe and juicy window.
Q: Can I brine for longer than 10 minutes?
A: Up to 24 hours in the fridge works well. Beyond that, the texture can turn slightly mushy. For weeknight cooking, 10 to 30 minutes at room temperature is enough to make a noticeable difference.
Q: How do I get color on baked chicken breast without drying it out?
A: The 2-minute broil finish at the end is the cleanest method. Switch to broil when the internal temperature reaches 155°F, move to the top rack, and watch closely. Color develops in under 2 minutes. Pull at 160°F and rest as usual.
Would I Make This Again?
Every week usually twice.
Plain meal prep version on Sundays for salads and wraps. The full seasoned version for weeknight dinners when something fast and satisfying is needed. The 10-minute brine feels like an extra step until the first time the result lands noticeably juicier than every previous attempt. After that, skipping it stops being an option.
Pulling at 160°F was the adjustment that took the longest to commit to. It goes against what most recipes say. The results make the case clearly enough.
Final Note:
A baked chicken breast that doesn’t dry out is not complicated it is just a few small adjustments applied consistently. Brine, pound, season, pull at 160°F, rest five minutes, slice against the grain. Each one matters on its own. Together, they change what baked chicken breast can actually be.
Made this? Leave a comment below curious whether the 160°F pull point made a difference for you or whether you went with the broil finish for color.


5 Comments