
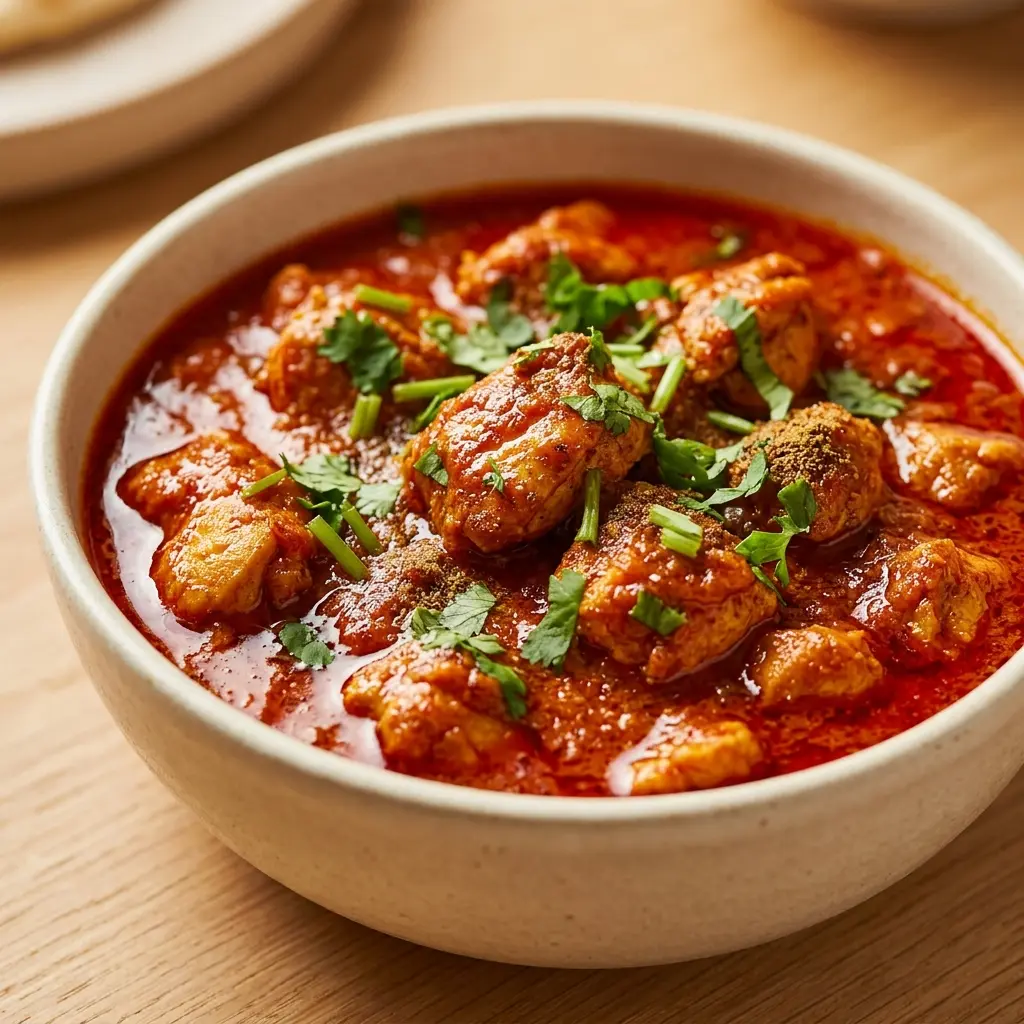
Best Chicken Curry From Scratch UK-Style Comfort
This chicken curry from scratch recipe started on a rainy Tuesday, staring at a takeaway order that came to £14.60 with delivery the third one that month. Somewhere between paying and eating it, the thought landed properly: this should be makeable at home, for a fraction of the cost, without waiting forty minutes for a driver.
The first attempt was disappointing. Technically a curry chicken, spices, tomatoes but thin, sharp-tasting, and missing whatever it is that makes a takeaway curry taste rounded and deep. The spices sat on top of the dish instead of inside it.
The fix turned out to be about method, not ingredients. Restaurants build a base gravy first onions, garlic, ginger, and spices cooked down slowly before the chicken ever goes in and that base is what carries the flavor. Skip it, and no amount of curry powder fixes the gap.
Here is the full from-scratch method, base gravy included.
Why This Chicken Curry From Scratch Tastes Like a Takeaway
A base gravy is a technique widely used across British Indian restaurant (BIR) style cooking, and it is one of the biggest differences between home curry and restaurant curry. Onions are cooked low and slow well past soft, into a jammy, deeply browned paste then blended smooth with garlic, ginger, and tomatoes before the spices are added.
That blended base does two things a quick simmer cannot. It removes the raw, sharp edge that undercooked onion gives a sauce, and it creates a thick, silky texture without needing cream or excess oil to fake it. The chicken then cooks inside a sauce that already has depth, instead of building flavor in the same pot at the same time as the chicken cooks which is what most quick home recipes do, and why they taste thinner.
This same base gravy is what makes it possible to turn one pot of sauce into several different British-Indian restaurant classics a Madras, a Korma, a Jalfrezi, even a Chicken Tikka Masala just by changing what goes in after the base is made. That’s exactly how a curry house kitchen works: one base, many dishes.
About This Chicken Curry From Scratch Recipe
This recipe was tested with a quick one-pot method, a proper blended base gravy, and a version using shop-bought curry paste as a shortcut. The base gravy version was the clear winner for flavour depth, and the method below reflects what produced the most consistent, restaurant-close result across each test.
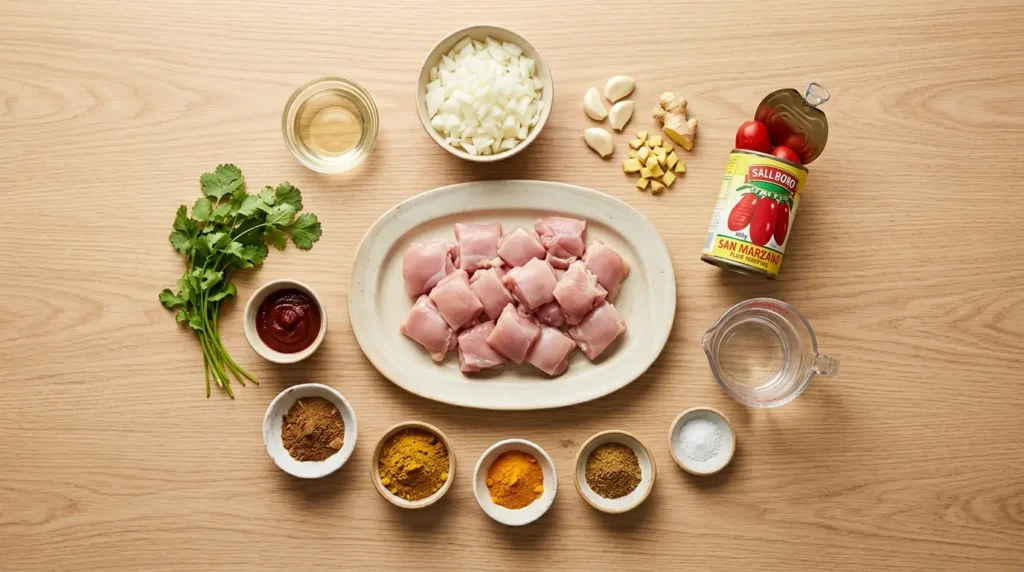
Ingredients
For the Base Gravy:
- Onions — 3 large, roughly chopped
- Neutral oil — 4 tbsp
- Garlic — 6 cloves, roughly chopped
- Fresh ginger — 1 inch piece, roughly chopped
- Tinned plum tomatoes — 400g tin
- Water — 300ml
- Salt — 1 tsp
For the Curry:
- Boneless skinless chicken thighs — 700g, cut into large chunks
- Neutral oil — 2 tbsp
- Curry powder — 2 tbsp (mild, medium, or hot your call)
- Ground turmeric — 1 tsp
- Ground cumin — 1 tsp
- Garam masala — 1 tsp (added at the end, not the start)
- Tomato purée — 1 tbsp
- Fresh coriander — small handful, chopped, for garnish
Ingredient Substitutions
No fresh ginger and garlic? Ginger-garlic paste works use 1.5 tbsp in place of both.
Chicken breast can replace thighs cut into slightly larger chunks and reduce simmer time by 5 minutes, since breast overcooks faster and dries out in a curry sauce more easily than thigh.
Tinned tomatoes out of stock? Passata works and skips the blending step, though the texture comes out slightly thinner see the comparison below.
No curry powder blend? Combine 1 tsp each of ground coriander, cumin, and turmeric, plus ½ tsp chilli powder, as a rough substitute.
Step-by-Step Instructions
Step 1: Build the Base Gravy
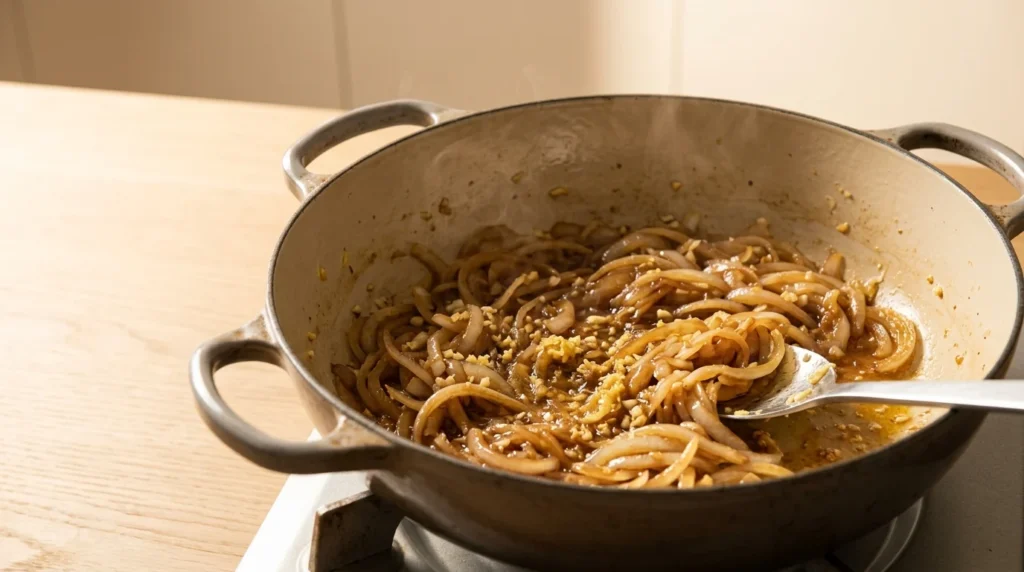
Heat 4 tbsp oil in a large pot over medium heat. Add the chopped onions and cook, stirring occasionally, for 15 to 18 minutes until deeply golden and jammy this is not a quick sauté, the long cook is what removes the raw onion taste. Add garlic and ginger for the final 2 minutes.
Add the tinned tomatoes and water, bring to a simmer, and cook for 10 minutes. Remove from heat and blend until completely smooth using a stick blender or jug blender. Stir in the salt. This is the base gravy it can be made ahead and stored for up to 4 days.
Step 2: Sear the Chicken
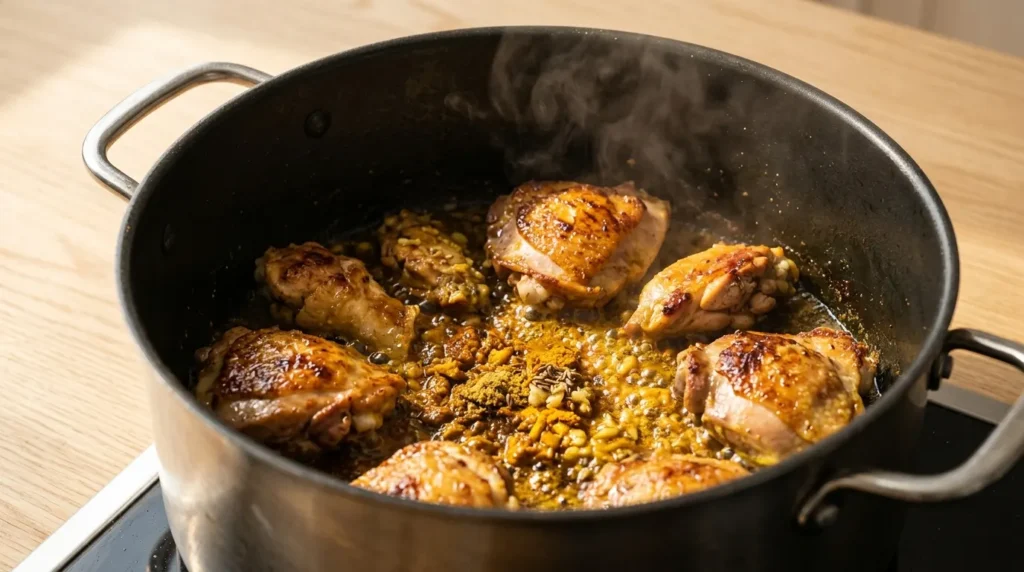
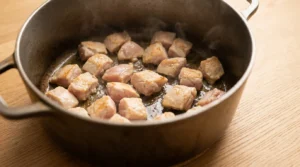
Heat 2 tbsp oil in the same pot (wiped out) over medium-high heat. Add chicken chunks and sear for 3 to 4 minutes, turning occasionally, until lightly browned on the outside. It does not need to be cooked through yet this step is about colour and flavour, not doneness.
Step 3: Bloom the Spices
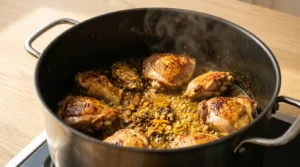
Reduce heat to medium-low. Push the chicken to one side, add a touch more oil if the pan looks dry, then add curry powder, turmeric, and cumin directly into the oil. Stir constantly for 30 to 40 seconds until fragrant.
This order matters. Spices bloomed in oil release far more flavour than spices stirred straight into a watery sauce and 30 to 40 seconds is enough. Longer than a minute at this heat and the spices turn bitter rather than fragrant.
Step 4: Combine and Simmer
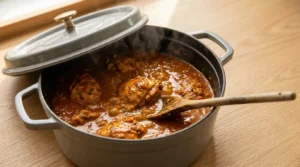
Stir the chicken through the bloomed spices until every piece is coated. Add the tomato purée and the blended base gravy. Stir to combine, bring to a gentle simmer, cover, and cook for 20 minutes, stirring occasionally.
Step 5: Check and Adjust Consistency
At the end of the cooking time, check the sauce thickness and measure the chicken with an instant-read food thermometer. The thickest piece of chicken should reach 165°F (74°C) before serving.
Do not rely only on the 20-minute cooking time, the colour of the chicken, or how firm it feels to determine whether it is safely cooked.
Too thin: Simmer uncovered for another 5 to 8 minutes, checking the chicken temperature again if additional cooking time is needed.
Too thick: Add water, 2 tbsp at a time, stirring between additions. If you add enough liquid to significantly cool the curry, continue heating until the chicken remains at 165°F (74°C) internally.
Step 6: Finish
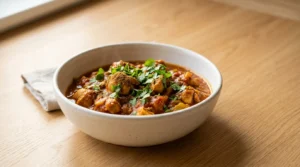
Stir in the garam masala added now, off the heat or at very low heat, so its flavour stays bright rather than cooking off. Taste and adjust salt. Rest for 2 minutes, then garnish with fresh coriander.
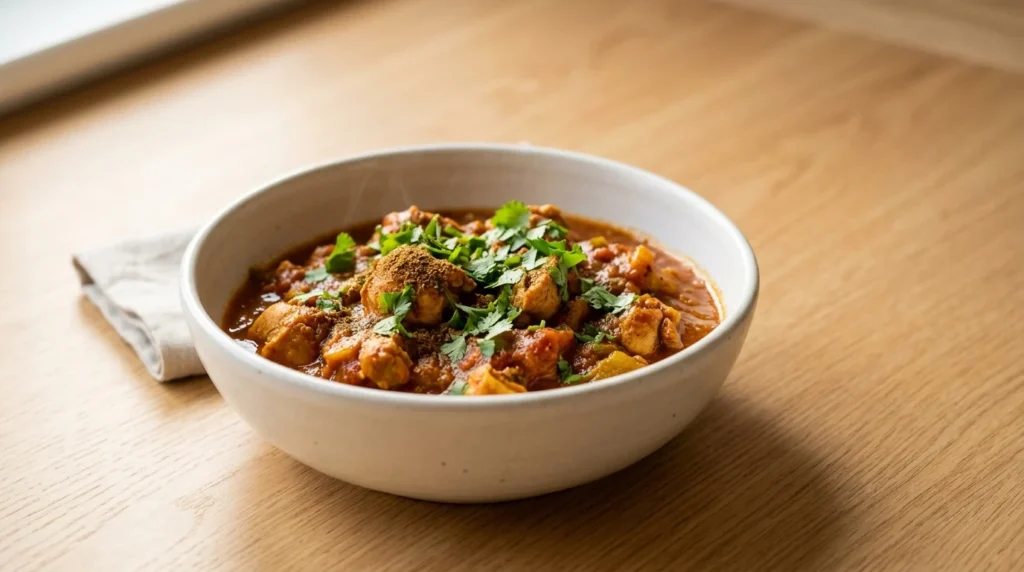
What Went Wrong in Early Testing
Round 1: Skipped the base gravy, added spices straight to raw onions. The curry tasted sharp and one-dimensional, with a raw onion edge that never fully cooked out even after 25 minutes of simmering. Lesson: the base gravy step is not optional if the goal is restaurant depth.
Round 2: Added garam masala at the start with the other spices. The garam masala’s flavour had faded almost completely by the time the curry was done its aromatic compounds cook off with prolonged heat. Adding it at the very end preserved the fragrance that gives the dish its final lift.
Round 3: Simmered chicken breast for the full 20 minutes. The breast pieces turned dry and stringy well before the sauce had developed. Thighs held up through the full simmer without drying out, which is why they are the better default cut here.
Tinned Tomatoes vs Passata Texture Comparison
| Base | Texture | Flavour | Effort |
|---|---|---|---|
| Tinned Plum Tomatoes (blended) | Silky, restaurant-close | Deeper, rounder | Extra blending step |
| Passata | Slightly thinner, more acidic | Brighter, sharper | No blending needed |
Blended plum tomatoes give the smoother, more restaurant-style result. Passata is a fine shortcut on a weeknight, but the base gravy loses some of its silkiness.
Curry Powder vs Individual Spices Which Wins
| Method | Flavour Result | Convenience |
|---|---|---|
| Curry Powder Blend | Balanced, reliable, good depth | Fastest |
| Individual Whole Spices, Ground Fresh | More complex, brighter | Slower, needs a spice grinder |
Curry powder is genuinely good enough for a weeknight version of this dish. Individual spices, freshly ground, add a noticeable step up in complexity if there’s time to grind them.
Pro Tips
- Don’t rush the onion stage. 15 to 18 minutes feels long, but it is the single biggest flavour driver in the whole dish.
- Bloom spices in oil, not liquid. Thirty seconds in hot oil extracts far more flavour than five minutes simmered in sauce.
- Garam masala goes in last. Every time. It’s a finishing spice, not a base spice.
- Make the base gravy ahead. It keeps for 4 days in the fridge and cuts active cooking time on a weeknight to under 20 minutes.
- Thigh over breast, by default. The extra fat keeps the chicken tender through a longer simmer.
Variations
Chicken Tikka Masala Style: Add 2 tbsp double cream and 1 tsp smoked paprika at the finishing stage for a creamier, smokier result.
Madras (Spicy): Increase curry powder to 3 tbsp and add 1 tsp chilli powder with the spice bloom. Add a pinch of sugar to balance the heat.
Korma (Mild and Creamy): Reduce curry powder to 1 tbsp, add 3 tbsp coconut milk or double cream, and stir in 1 tbsp ground almonds at the end.
Jalfrezi: Add sliced bell peppers and onion in the last 8 minutes of simmering for a chunkier, more textured curry.
What to Serve With
- Steamed basmati rice the classic pairing, and the sauce is built for it
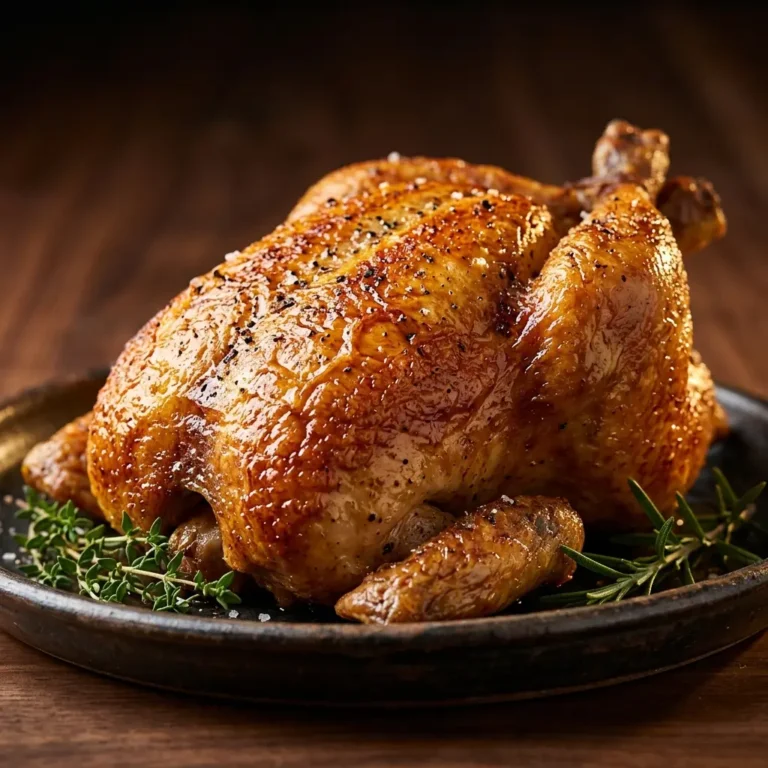
- Best Garlic Herb Roast Chicken — if planning a bigger Sunday spread
- Naan bread, warmed for scooping up the sauce
- Simple cucumber raita cool contrast against the spice
- Mango chutney on the side
More chicken dinners like this one:
- Best Creamy White Chicken Chili — Easy One Pot Fall — another spiced one-pot favourite
- Best One Pan Chicken and Rice Dinner Ready in 30 Minutes — for a faster weeknight option
- Best Slow Cooker Chicken and Dumplings — Cozy Winter Meal — if you want a different kind of comfort bowl
- Best Homemade Chicken Soup From Scratch — Winter Healing — another from-scratch, base-first method worth trying
Storage and Reheating
Fridge: Refrigerate leftover chicken curry within 2 hours of cooking, or within 1 hour if the room temperature is above 90°F (32°C). Store at 40°F (4°C) or below and use within 3 to 4 days. Store the curry in shallow containers when possible so it cools more quickly.
Reheat (stovetop): Reheat over medium-low heat, stirring occasionally, until the chicken and sauce reach 165°F (74°C) internally. Add a splash of water if the sauce has thickened.
Reheat (microwave): Cover loosely and heat in short intervals, stirring halfway through so the curry heats evenly. Continue until the chicken and sauce reach 165°F (74°C) internally.
Freeze: Freeze cooled curry in airtight, freezer-safe containers. For best quality, use within about 3 months. Thaw in the refrigerator before reheating thoroughly to 165°F (74°C).
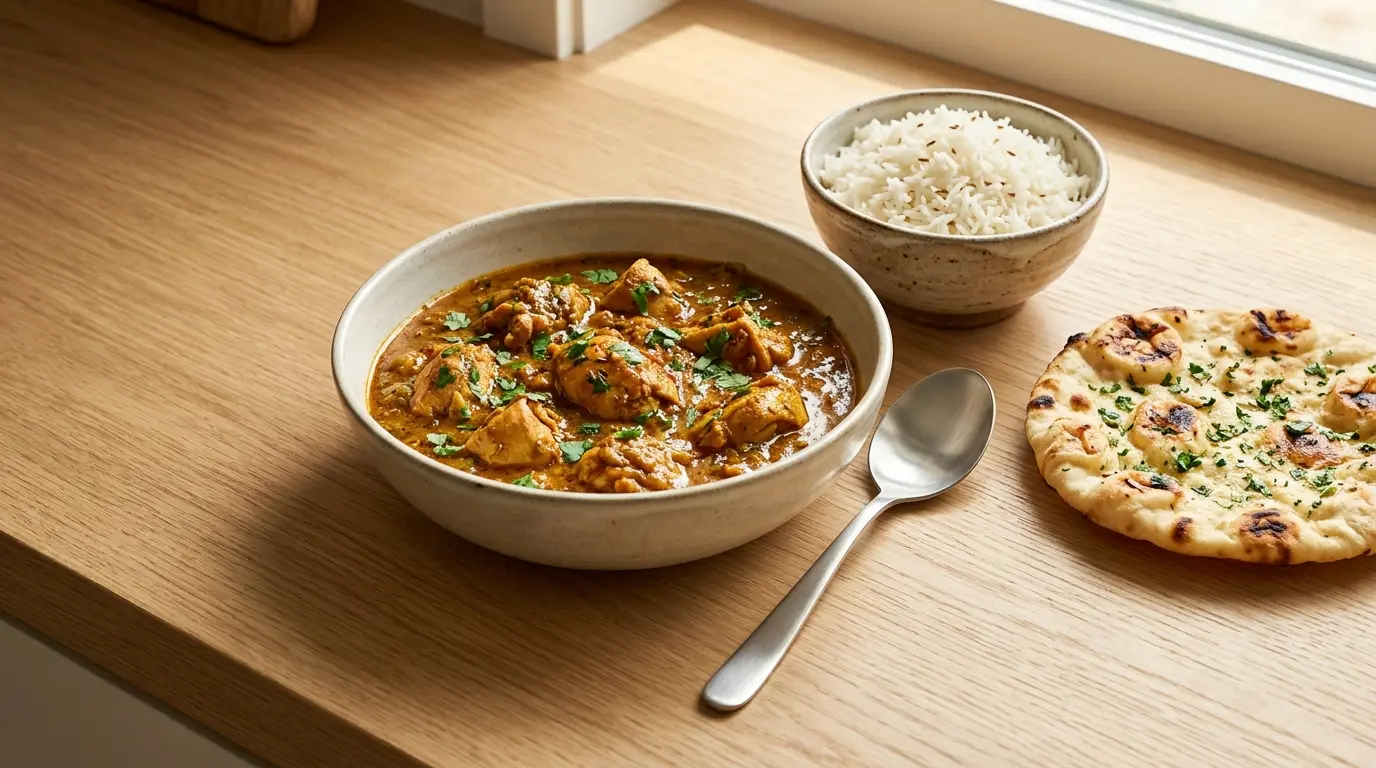
Best Chicken Curry From Scratch UK-Style Comfort
Ingredients
Equipment
Method
- Cook the Onions Heat 4 tbsp oil in a large pot over medium heat. Cook onions, stirring occasionally, for 15 to 18 minutes until deeply golden and jammy. Add garlic and ginger for the final 2 minutes.
- Simmer and Blend Add tinned tomatoes and water. Simmer 10 minutes. Remove from heat and blend until completely smooth. Stir in salt. Set aside.
- Sear the Chicken Heat 2 tbsp oil in the same pot over medium-high heat. Sear chicken 3 to 4 minutes, turning occasionally, until lightly browned. Does not need to be cooked through.
- Bloom the Spices Reduce heat to medium-low. Push chicken aside, add curry powder, turmeric, and cumin to the oil. Stir constantly 30 to 40 seconds until fragrant.
- Simmer Stir chicken through spices. Add tomato purée and base gravy. Stir, bring to a gentle simmer, cover, and cook 20 minutes.
- Adjust and Finish Check the sauce consistency and measure the thickest piece of chicken with an instant-read thermometer. The chicken must reach 165°F (74°C) internally before serving. Simmer uncovered if the sauce is too thin, or add water 2 tbsp at a time if too thick. Stir in garam masala off the heat. Rest 2 minutes and garnish with coriander.
Notes
Nutrition Info (per serving, based on 4 servings)
| Nutrient | Amount |
|---|---|
| Calories | 342 |
| Protein | 31g |
| Fat | 19g |
| Carbohydrates | 12g |
| Sodium | 540mg |
| Fiber | 3g |
| Sugar | 6g |
Nutrition information is an estimate and may vary depending on the ingredients and brands used. Data sourced from USDA FoodData Central.
FAQs
Q: Why does my homemade curry taste flat compared to a takeaway?
A: Almost always the base gravy step is missing or rushed. Restaurants cook onions down slowly and blend them smooth before adding spices that step builds the depth that a quick simmer cannot replicate.
Q: Can I make this curry ahead for a dinner party?
A: Yes. The base gravy can be prepared ahead and refrigerated promptly. The finished chicken curry can also be made ahead, then cooled and refrigerated within 2 hours. Keep it refrigerated at 40°F (4°C) or below and use within 3 to 4 days. When serving, reheat the curry until the chicken and sauce reach 165°F (74°C) internally. The flavour may develop further after resting overnight, but safe cooling, storage, and reheating still matter.
Q: Why did my chicken turn dry and stringy?
A: Usually chicken breast simmered too long, or the sauce cooked at too high a heat. Thighs are more forgiving through a 20-minute simmer, and a gentle simmer rather than a rolling boil protects the texture either way.
Q: My sauce is too watery how do I fix it?
A: Simmer uncovered for 5 to 8 more minutes to reduce it. Avoid adding cornstarch here it changes the texture in a way that doesn’t suit this style of curry.
Q: What’s the internal temperature for the chicken to be safely cooked?
A: 165°F (74°C), checked with an instant-read thermometer in the thickest piece, per USDA safe minimum cooking temperatures.
Q: Can I use chicken breast instead of thighs?
A: Yes cut it into slightly larger chunks and reduce the final simmer by about 5 minutes, since breast dries out faster than thigh in a curry sauce.
Q: I don’t have a blender can I still make the base gravy?
A: You can mash it by hand with a potato masher for a rougher, more rustic texture, or use passata instead of tinned tomatoes to skip the blending step entirely (see the comparison table above).
Q: Can I use curry paste instead of curry powder?
A: Yes, as a shortcut swap the curry powder, turmeric, and cumin for 2 to 3 tbsp. of a shop-bought curry paste added at the same stage. It’s faster but slightly less customizable on heat level.
Q: Can I freeze this curry with rice already mixed in?
A: It’s better to freeze the curry and rice separately rice can turn mushy once thawed and reheated together with the sauce.
Would I Make This Again?
Weekly, easily.
The base gravy batch-cooks well, which means most weeks this curry is a 20-minute weeknight dinner rather than a full from-scratch project. The Madras variation has become the regular Friday-night order-in replacement.
The garam masala timing was the detail that changed everything such a small adjustment for how much difference it made to the final flavor. Once that clicked, the rest of the method fell into place.
Final Note
Chicken curry from scratch looks like a long list of steps, but most of it is unattended simmering. The base gravy is the one part worth taking seriously everything else builds on top of it. Once it’s made, the actual curry comes together faster than ordering one.
Made this? Let me know in the comments which variation you went with Madras heat or Korma comfort?

2 Comments