Best Chicken Katsu Curry Japanese-British Fusion
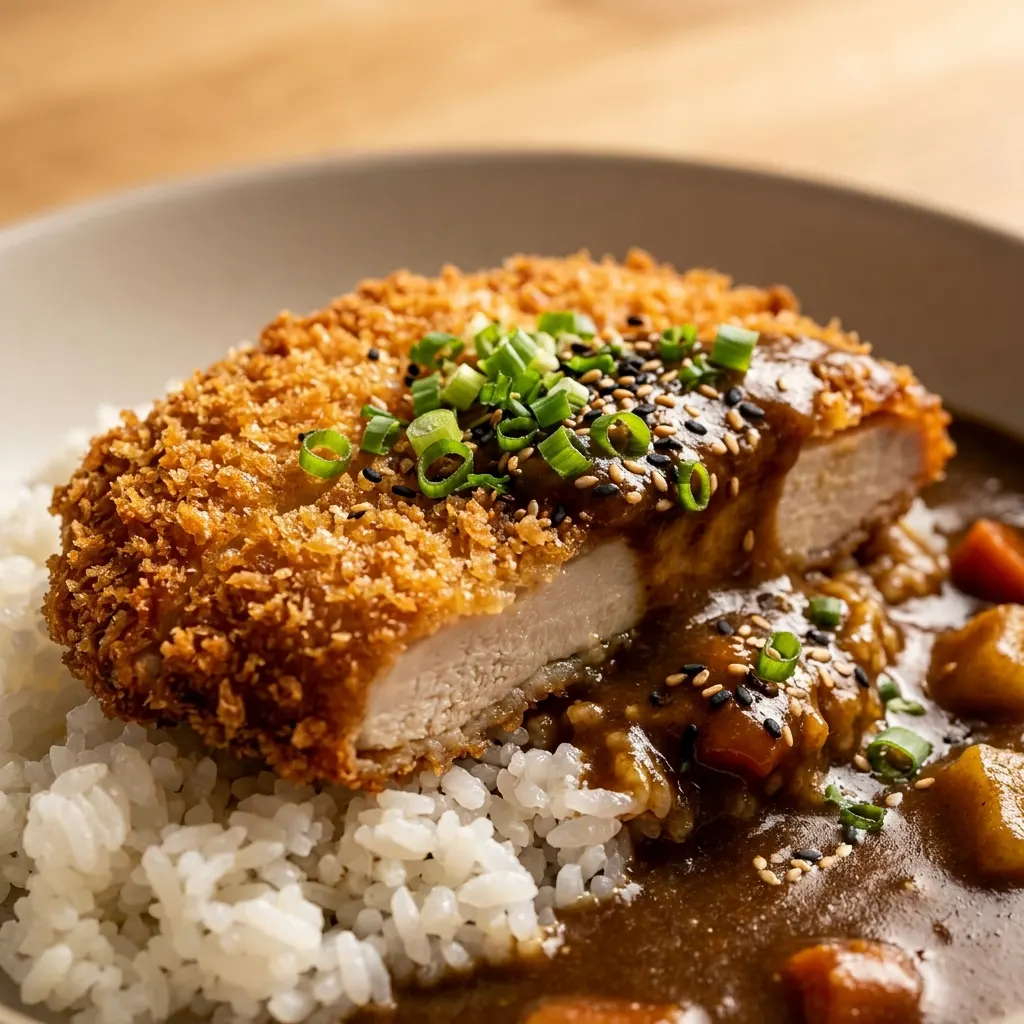
This chicken katsu curry recipe started as an attempt to recreate a dish from a small Japanese curry house crispy, golden fried chicken sliced into strips, sitting next to a pool of thick, mildly spiced curry sauce over rice. The first homemade attempt got the curry sauce reasonably close. The chicken was the problem.
It came out of the fryer looking right, but by the time it hit the table, five minutes later, the coating had already gone soft and slightly chewy where the sauce had touched it. The crunch that should have lasted through the whole meal was gone before the first bite.
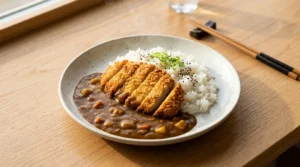
The fix wasn’t really about the frying method at all it was about serving order. Katsu curry is meant to be served with the sauce poured around or under the chicken, never directly over the crispy coating, and the chicken itself needs a proper rest on a rack rather than paper towels to avoid trapping steam that softens the crust from underneath.
Here’s the full method crispy chicken, silky sauce, and the serving logic that keeps the two working together instead of against each other.
Why the Coating on This Chicken Katsu Curry Stays Crispy
Two separate things keep the coating crisp on a proper chicken katsu: how the chicken is fried, and how it’s served afterward. Both matter, and most recipes only address the first one.
On the frying side, panko breadcrumbs are the real foundation of the texture. Unlike standard breadcrumbs, which are made from crustless bread ground into fine crumbs, panko is made from bread baked without crusts using an electrical current, which produces large, airy flakes rather than dense crumbs. Those larger flakes fry up into a coating with far more surface area and crunch, with visibly more texture than a standard breadcrumb coating manages.
On the serving side, the sauce needs to stay separate from the crispy coating for as long as possible. Curry sauce poured directly over freshly fried chicken starts softening the crust within a minute or two, purely from steam and moisture contact. Serving the sauce alongside, or spooned around the sliced chicken rather than directly on top, keeps the crunch intact for far longer and it’s exactly how it tends to be served at Japanese curry restaurants that specialize in this dish.
About This Recipe
This recipe was tested with a single breadcrumb coat, a double-dredge coat, deep frying, and a baked version for comparison. It was also tested with the sauce poured directly over the chicken versus served alongside. The double-dredge, deep-fried chicken with the sauce served separately was the clear winner on every count texture, appearance, and how well it held up by the time it reached the table.
Ingredients
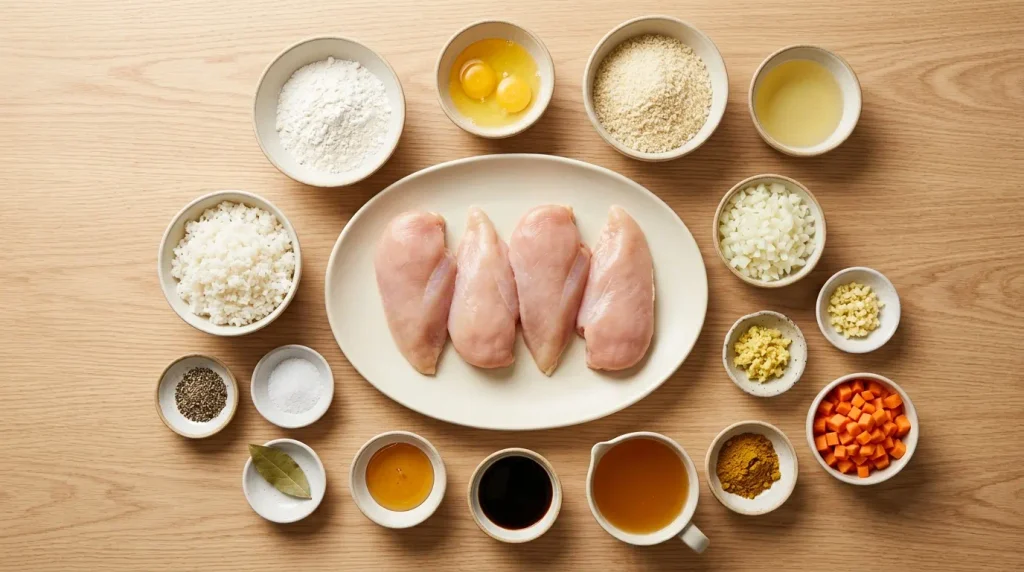
For the Chicken Katsu:
- Boneless skinless chicken breasts — 2 large, halved horizontally into thinner cutlets
- Salt and black pepper — to taste
- All-purpose flour — 100g
- Eggs — 2 large, beaten
- Panko breadcrumbs — 150g
- Neutral oil — for frying, enough for 2cm depth in the pan
For the Curry Sauce:
- Neutral oil — 1 tbsp
- Yellow onion — 1 medium, finely diced
- Garlic — 2 cloves, minced
- Fresh ginger — 1 tsp, grated
- Carrot — 1 medium, finely diced
- All-purpose flour — 2 tbsp
- Curry powder — 2 tbsp (Japanese curry powder if available, standard curry powder works too)
- Chicken stock — 500ml
- Soy sauce — 1 tbsp
- Honey — 1 tsp
- Bay leaf — 1
To Serve:
- Steamed white rice
Ingredient Substitutions
No panko available? Regular breadcrumbs can be used, but the coating will be noticeably less crunchy and more compact crushing cornflakes into coarse crumbs is a closer substitute in a pinch than fine dried breadcrumbs.
Chicken thighs can replace breasts, pounded to an even thickness before breading they’re more forgiving if the frying time runs slightly long.
Japanese curry roux blocks (sold in most Asian grocery stores) can replace the homemade sauce entirely melt 2 to 3 cubes into the same amount of stock, skipping the flour and curry powder steps. This is a common shortcut and produces a very close result to the from-scratch version.
No honey? A pinch of sugar works as a substitute for the same rounding, mellowing effect on the sauce’s flavour.
Step-by-Step Instructions
Step 1: Prepare the Chicken
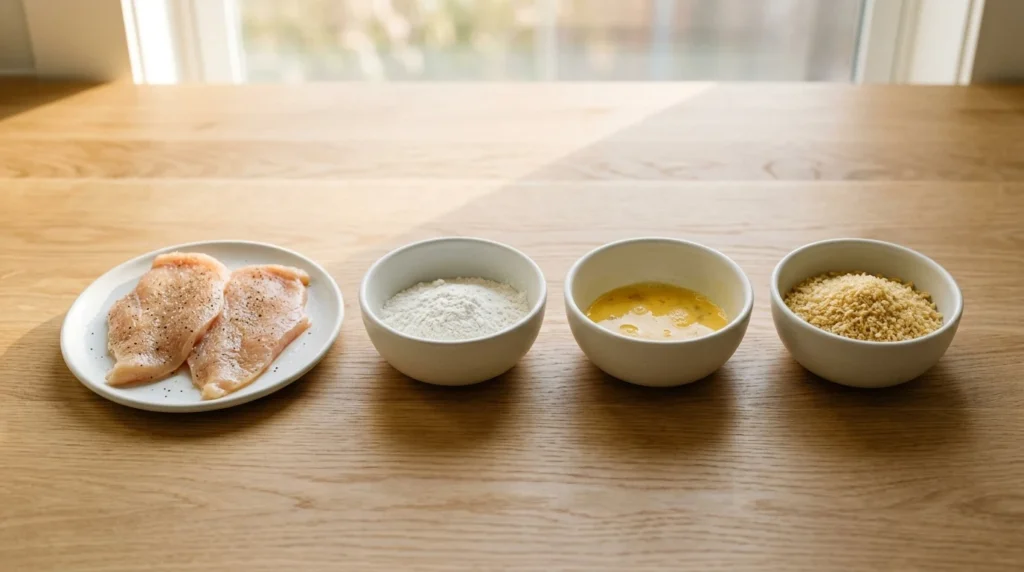
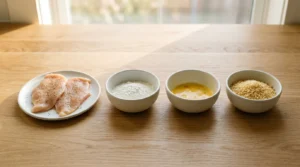
Season the chicken cutlets with salt and pepper. Set up three shallow dishes: one with flour, one with the beaten eggs, and one with the panko breadcrumbs.
Step 2: Double-Dredge the Chicken
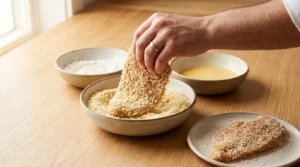
Coat each cutlet in flour, shaking off the excess. Dip into the egg, then into the panko, pressing gently so the crumbs adhere. Dip back into the egg a second time, then back into the panko for a second, more generous coating.
This double coat is what gives the finished chicken its noticeably thicker, craggier crust compared to a single dip more surface area means more crunch, and it also acts as a slightly better barrier against the coating soaking through too quickly once the curry sauce is nearby on the plate.
Step 3: Heat the Oil
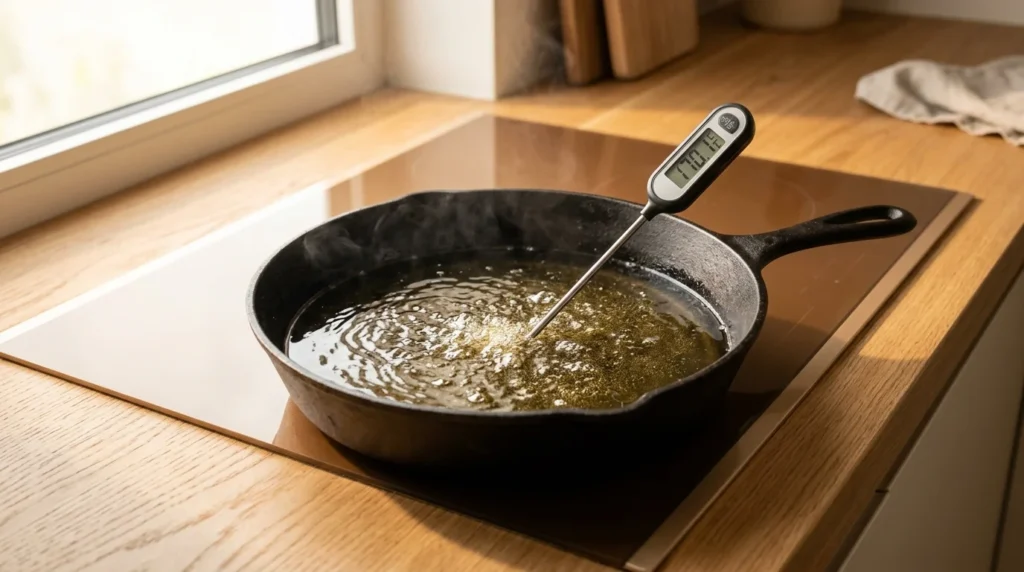
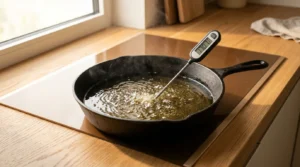
Heat the oil in a wide, heavy pan or a deep-sided skillet to 170°C (340°F). A thermometer gives the most reliable result, but a small breadcrumb dropped in the oil should sizzle immediately and float, without burning too fast, when the temperature is right.
Step 4: Fry the Chicken
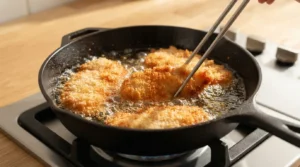
Fry the cutlets in batches, without crowding the pan, for 3 to 4 minutes per side, until deeply golden and the internal temperature reaches 165°F (74°C).
Oil that’s too cool soaks into the coating before it crisps, leaving a greasy, heavy crust. Oil that’s too hot browns the outside within a minute while the inside stays underdone. 170°C is the sweet spot that gives the coating time to crisp fully while the chicken cooks through at roughly the same pace.
Step 5: Rest the Chicken
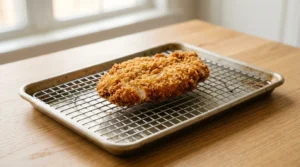
Transfer the fried chicken to a wire rack set over a baking sheet, not a plate lined with paper towels. Let it rest for 2 to 3 minutes before slicing.
A wire rack lets air circulate underneath the chicken, so any residual steam escapes rather than getting trapped against the coating. Paper towels trap that steam directly against the crust, softening the bottom within minutes a small detail that makes a real difference in how the chicken holds up by the time it’s served.
Step 6: Make the Curry Sauce
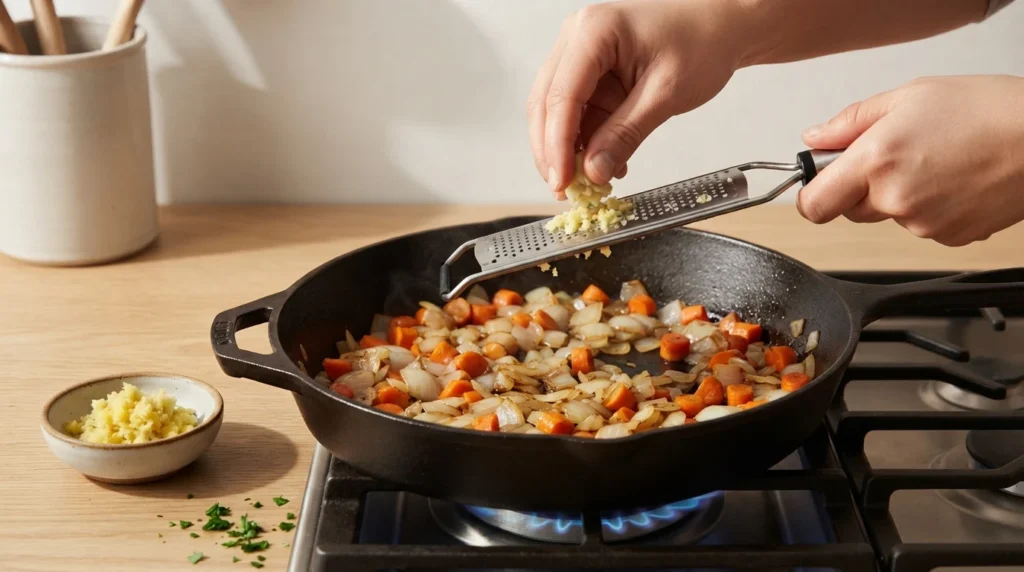
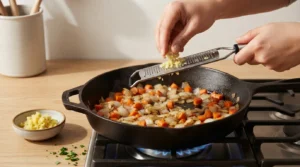
While the chicken rests, heat oil in a saucepan over medium heat. Add onion and carrot, cooking for 5 to 6 minutes until the onion softens. Add garlic and ginger for the final minute.
Step 7: Build the Roux
Sprinkle in flour and curry powder together, stirring constantly for 1 to 2 minutes to cook out the raw flour taste and bloom the spices in the oil at the same time.
Step 8: Add Liquid
Slowly pour in the chicken stock while stirring, followed by the soy sauce, honey, and bay leaf. Bring to a simmer and cook for 10 to 12 minutes, stirring occasionally, until thickened and glossy.
Step 9: Serve
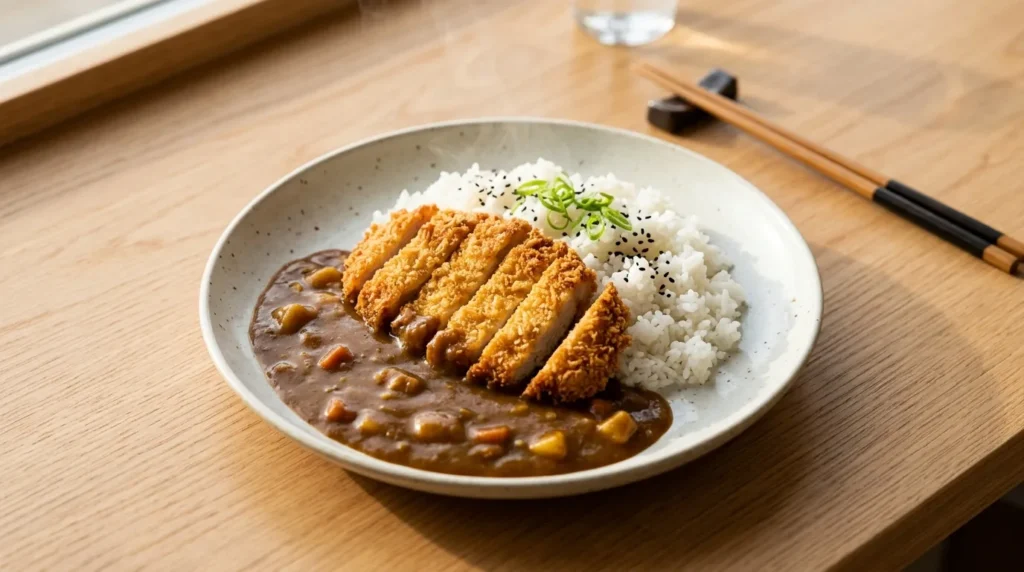
Slice the chicken into strips. Plate over steamed rice with the curry sauce spooned around the base of the chicken rather than over the top of it, keeping the crispy coating exposed and intact.
What Went Wrong in Early Testing
Round 1: Used a single breadcrumb coat instead of double-dredging.
The crust was noticeably thinner and less crunchy, and it softened faster once anywhere near the sauce. Lesson: the double-dredge step, while an extra minute of work per piece, makes a real difference in both initial crunch and how long that crunch lasts.
Round 2: Poured the curry sauce directly over the sliced chicken.
Within two to three minutes, the coating had visibly softened wherever the sauce touched it, losing most of its crunch by the time it reached the table if there was any delay in eating. Serving the sauce alongside, rather than on top, solved this completely.
Round 3: Rested the fried chicken on paper towels instead of a wire rack.
The bottom of each cutlet turned noticeably soggier than the top within a few minutes, from trapped steam softening the crust against the paper. Switching to a wire rack fixed this fully, with no other changes needed.
Round 4: Tried baking the chicken instead of deep frying, to compare textures.
The baked version was lighter and less greasy, but the crust never developed the same deep crunch as the fried version, staying more crisp-tender than genuinely crunchy even with a light oil spray. It’s a reasonable lighter alternative, but not a direct substitute for the texture deep frying produces.
Panko vs Regular Breadcrumbs Texture Comparison
| Type | Texture When Fried | Crunch Level | Notes |
|---|---|---|---|
| Panko | Light, airy, large flakes | High | Standard for authentic katsu texture |
| Regular Breadcrumbs | Denser, finer crumb | Moderate | Works in a pinch, less crunchy result |
Deep Frying vs Baking Texture Comparison
| Method | Crunch | Fat Content | Time |
|---|---|---|---|
| Deep Frying | Deep, substantial crunch | Higher | Faster, ~7-8 minutes total |
| Baking | Crisp-tender, lighter crunch | Lower | Slower, ~20-25 minutes at 200°C |
Pro Tips
- Double-dredge for real crunch. A single coat of egg and panko is noticeably thinner than a double coat, and it shows once the chicken is fried.
- Use a thermometer for the oil. Guessing oil temperature is the most common cause of either greasy or unevenly cooked katsu.
- Rest on a wire rack, never paper towels. This single swap keeps the bottom of the chicken as crisp as the top.
- Serve the sauce alongside, not on top. This is the single biggest factor in how long the coating stays crunchy on the plate.
- Bloom the curry powder with the flour together. Cooking them in the same step saves time and gets the spices toasting in oil rather than sitting raw in the liquid.
- Slice the chicken just before serving, not well ahead of time, to minimize how long the cut surfaces are exposed to steam and moisture from the plate.
Variations
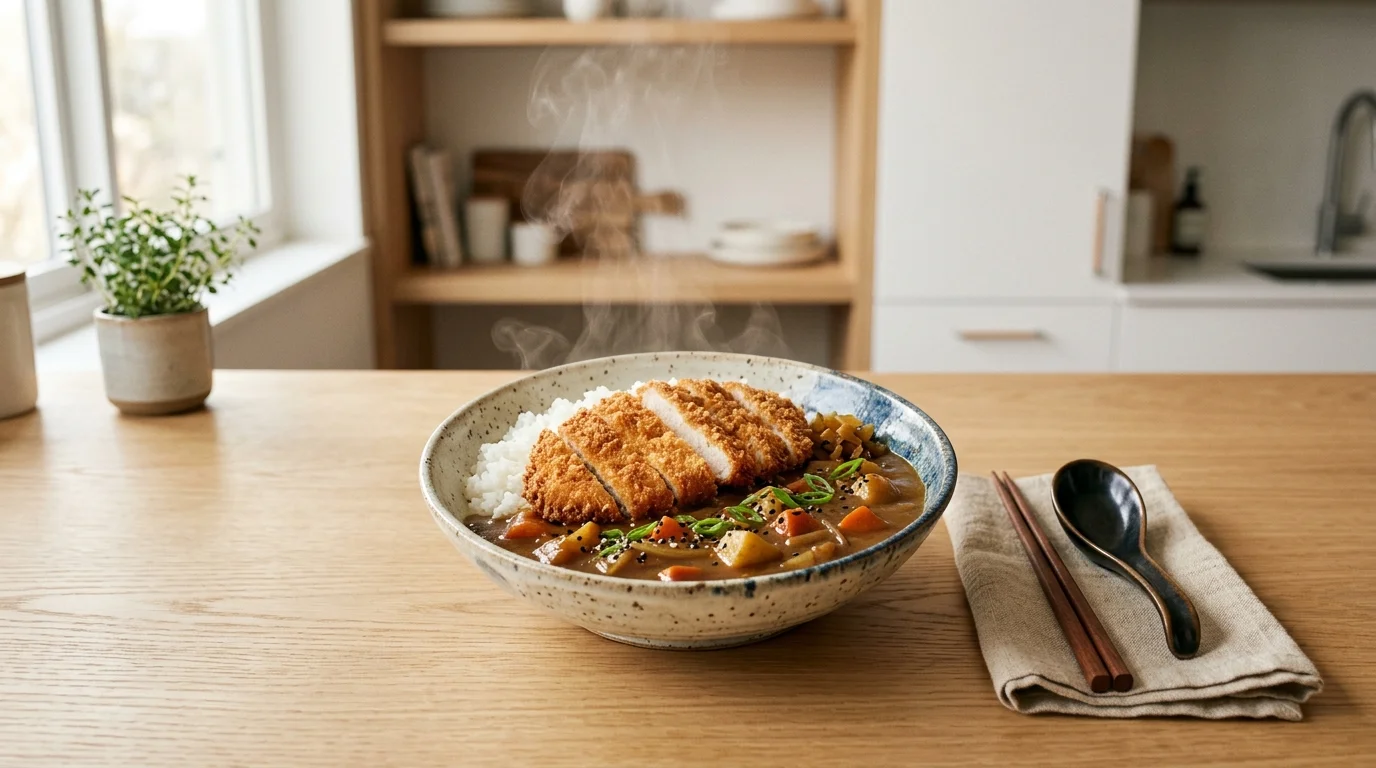
Katsu Curry Bowl (Donburi Style): Serve the sliced chicken and sauce directly over rice in a deep bowl, in the traditional donburi presentation, rather than plated separately.
Pork Katsu Curry: Swap the chicken for thin pork loin cutlets, following the same breading and frying method this is actually the more traditional version in Japan.
Spicier Curry Sauce: Add ½ tsp cayenne or a small diced chilli with the onions for a curry sauce with more background heat.
Vegetable Katsu Curry: Swap the chicken for thick slices of aubergine or sweet potato, breaded and fried the same way, for a vegetarian version of the dish.
Curry Udon Katsu: Serve the curry sauce over udon noodles instead of rice, with the sliced katsu chicken on top, for a heartier noodle-based version.
What to Serve With
- Steamed short-grain white rice the traditional base for katsu curry
- Pickled vegetables (fukujinzuke, if available, or a simple quick-pickled cucumber) for a sharp contrast to the richness
- Best Chicken Curry From Scratch — UK-Style Comfort — for comparing this Japanese-style curry against a British Indian restaurant-style one
- Best Air Fryer Chicken Thighs — Perfectly Crispy in 20 Minutes — for another crispy chicken technique worth trying
- Best Chicken Alfredo — Creamy Restaurant-Style Sauce — for a different rich, sauce-based dinner idea
- A simple miso soup on the side, for a more complete Japanese-style meal
Storage and Reheating
Fridge: Refrigerate leftover chicken and curry sauce within 2 hours of cooking, or within 1 hour if the room temperature is above 90°F (32°C). Store at 40°F (4°C) or below and use within 3–4 days. Keep the chicken and curry sauce in separate containers to help preserve the chicken’s texture.
Reheat (chicken): Reheat in an oven or air fryer at 200°C (400°F) until the chicken reaches 165°F (74°C) internally. The coating may not become as crisp as freshly fried chicken. A microwave will heat the chicken through but will usually soften the coating.
Reheat (curry sauce): Reheat gently on the stovetop over low to medium-low heat, stirring occasionally, until the sauce reaches 165°F (74°C) when reheating a portion that contains chicken. If reheating the sauce separately, heat it until steaming hot throughout before serving.
Freeze: The curry sauce freezes well on its own for up to 3 months. For best quality, freeze the fried chicken separately or make it fresh when serving. Thaw frozen sauce in the refrigerator and reheat thoroughly before serving.
Best Chicken Katsu Curry Japanese-British Fusion
Ingredients
Equipment
Method
- Prepare the Chicken Season cutlets. Set up flour, egg, and panko stations.
- Double-Dredge Coat in flour, then egg, then panko. Dip back into egg, then panko again for a second coat.
- Heat the Oil Heat oil to 170°C (340°F).
- Fry Fry 3 to 4 minutes per side until golden and 165°F (74°C) inside.
- Rest Rest on a wire rack over a baking sheet for 2 to 3 minutes before slicing.
- Cook the Vegetables Cook onion and carrot 5 to 6 minutes. Add garlic and ginger for the final minute.
- Build the Roux Stir in flour and curry powder, cook 1 to 2 minutes.
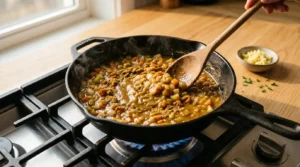
- Add Liquid Stir in stock, soy sauce, honey, and bay leaf. Simmer 10 to 12 minutes until thickened.
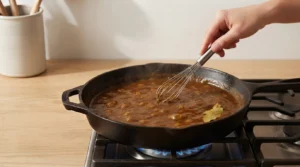
- Plate Slice chicken. Serve over rice with sauce spooned around, not over, the chicken.
Notes
Nutrition Info (per serving, based on 4 servings)
| Nutrient | Amount |
|---|---|
| Calories | 548 |
| Protein | 36g |
| Fat | 22g |
| Carbohydrates | 48g |
| Sodium | 720mg |
| Fiber | 3g |
| Sugar | 6g |
Nutrition information is an estimate and may vary depending on the ingredients and brands used, and does not include rice served on the side. Data sourced from USDA FoodData Central.
FAQs
Q: Why does the coating on my chicken katsu go soggy so fast?
A: Usually one of two causes: the curry sauce was poured directly over the chicken instead of served alongside, or the chicken rested on paper towels instead of a wire rack after frying. Fixing either one makes a noticeable difference.
Q: What’s the difference between Japanese curry and Indian-style curry?
A: Japanese curry is typically milder, sweeter, and thicker, built on a roux-based sauce closer in technique to a gravy, while Indian-style curries tend to lean more heavily on layered whole spices and a wider range of heat levels. Both share the word “curry” but land quite differently on the plate.
Q: Can I use Japanese curry roux blocks instead of making the sauce from scratch?
A: Yes melt 2 to 3 cubes of store-bought roux into the same amount of chicken stock in place of the flour and curry powder steps. It’s a common shortcut in Japan itself, not just a home-cook workaround.
Q: Can I bake the chicken instead of deep frying it?
A: Yes. Bake at around 200°C (400°F) with a light oil spray, but use an instant-read thermometer to confirm the thickest part of the chicken reaches 165°F (74°C) before serving. The 20 to 25 minute timing is only an estimate because cutlet thickness can vary. The crust will be noticeably lighter and less deeply crunchy than the fried version.
Q: Why is my curry sauce lumpy?
A: The flour and curry powder likely weren’t cooked into the oil fully before the stock was added, or the stock was added too quickly all at once. Adding it gradually while stirring, after the roux step has fully cooked, gives a smoother result.
Q: What’s the safe internal temperature for the chicken?
A: 165°F (74°C), checked with an instant-read thermometer at the thickest part of the cutlet, per USDA safe minimum cooking temperatures.
Q: Can I air fry the chicken instead of deep frying?
A: Yes. Spray the breaded cutlets lightly with oil and air fry at 200°C (400°F), flipping halfway through. Timing will vary with thickness, so cook until the thickest part reaches 165°F (74°C) on an instant-read thermometer. The result sits between baked and deep-fried in terms of crunch.
Would I Make This Again?
Regularly it’s turned into a genuine favorite for anyone who likes crispy fried chicken but wants something beyond the usual weeknight options.
The serving-order fix was the detail that changed everything. It seems almost too simple to matter, but keeping the sauce off the crispy coating until the very last second is the difference between a dish that photographs and eats like the restaurant version, and one that turns soft and disappointing within minutes. The wire rack habit has carried over into other fried recipes too, once it became clear how much of a difference it makes.
Final Note
Chicken katsu curry rewards attention to a few small, specific details rather than any complicated technique a proper double-dredge, the right oil temperature, a wire rack instead of paper towels, and sauce served alongside rather than poured over. Once those habits are in place, it’s a genuinely achievable restaurant-style dish at home, with a crunch that actually lasts long enough to enjoy.
Made this? Let me know in the comments if you went classic, or tried the pork or vegetable version.