
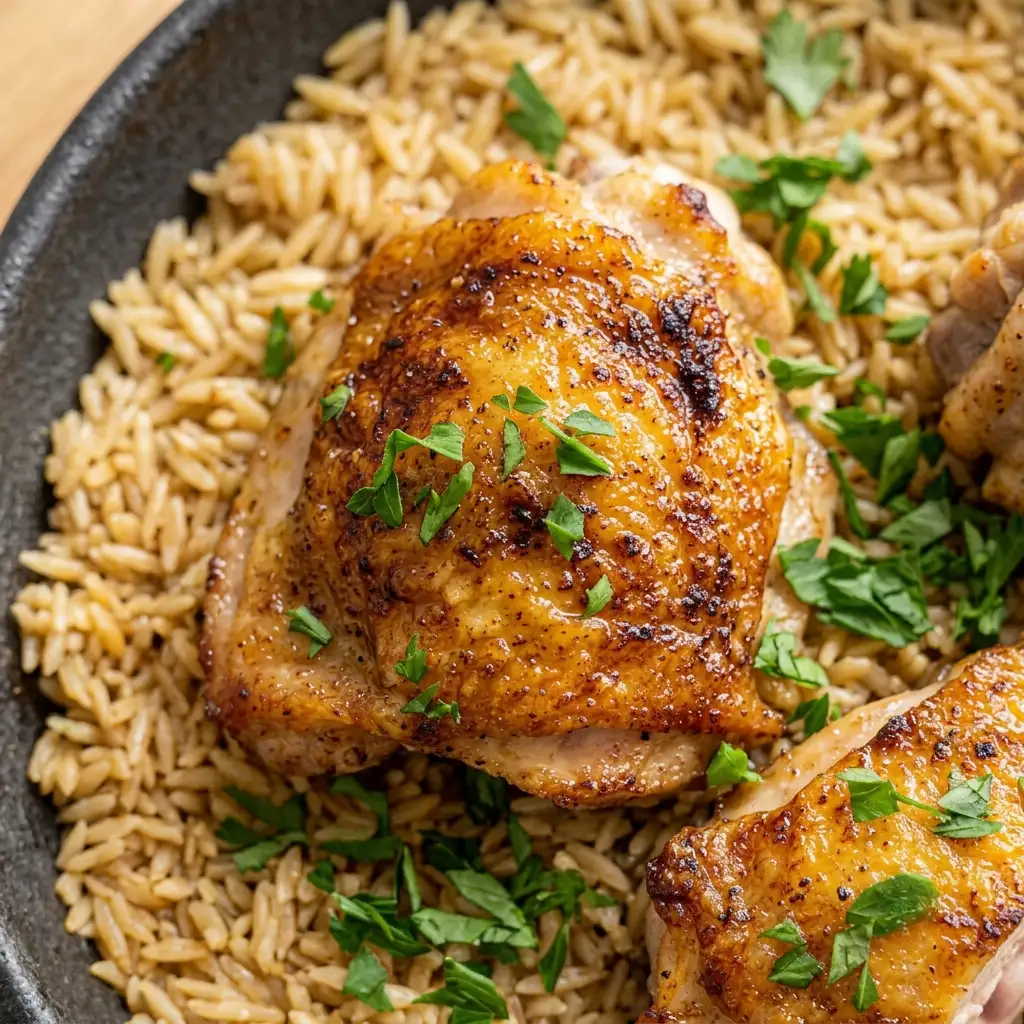
Best One Pan Chicken and Rice Dinner Ready in 30 Minutes
Chicken and rice has a reputation for being either perfectly comforting or completely forgettable.
The forgettable versions all share the same problem: bland rice that absorbed liquid but not flavor, and chicken that cooked through but lost its texture in the process. For a long time, that described every one pan chicken and rice dinner that came out of this kitchen.
The change came from two adjustments made on the same night out of frustration. First: toast the dry rice in the pan before adding any liquid. Second: use chicken broth instead of water not as a small upgrade, but as the base that carries flavor into every grain. Those two changes transformed a dish that had been average into one that gets requested most weeks.
Here is the full method.
Why One Pan Makes a Better Dish:
Cooking chicken and rice together in one pan is not just a cleanup convenience. The chicken sears in the pan first, leaving behind browned bits called fond on the bottom. When the liquid goes in, those bits dissolve and become part of the rice. Every grain absorbs that flavor as it cooks.
A separate pot of rice cooked in plain water cannot replicate this. The pan does the work here but only if the steps happen in the right order.
About This Recipe:
This one pan chicken and rice dinner was tested with three different liquid ratios, two different pan types, and both white and brown rice before settling on the method below. The version here uses long-grain white rice and chicken broth, which produced the most consistent results across every test.
Ingredients:
For the Chicken:
- Bone-in skin-on chicken thighs — 4 pieces (about 2 lbs total)
- Smoked paprika — 1 tsp
- Garlic powder — 1 tsp
- Onion powder — ½ tsp
- Dried thyme — ½ tsp
- Salt — 1 tsp
- Black pepper — ½ tsp
- Olive oil — 1 tbsp
For the Rice:
- Long-grain white rice — 1.5 cups (jasmine or basmati — not instant)
- Chicken broth — 2.5 cups (low-sodium recommended)
- Garlic — 3 cloves, minced
- Yellow onion — ½ medium, diced
- Butter — 1 tbsp
- Fresh thyme or parsley — for garnish
Ingredient Notes and Substitutions:
Rice type matters here. Long-grain white rice (jasmine or basmati) absorbs liquid evenly and stays fluffy. Short-grain rice absorbs more liquid and turns starchy. Instant rice cooks too fast and turns mushy before the chicken finishes. Brown rice needs about 45 minutes of covered cook time doable but requires adjusting the method.
Bone-in skin-on thighs are the best choice for this dish. The skin crisps during searing and the bones add flavor to the rice as it cooks. Boneless thighs work but produce less flavor in the rice. Chicken breast works but tends to dry out during the rice cooking phase if using breast, add it on top of the rice for the last 15 minutes rather than searing first.
Chicken broth can be substituted with vegetable broth. Water works but produces noticeably less flavor in the finished rice
Step-by-Step Instructions:
Step 1: Season the Chicken
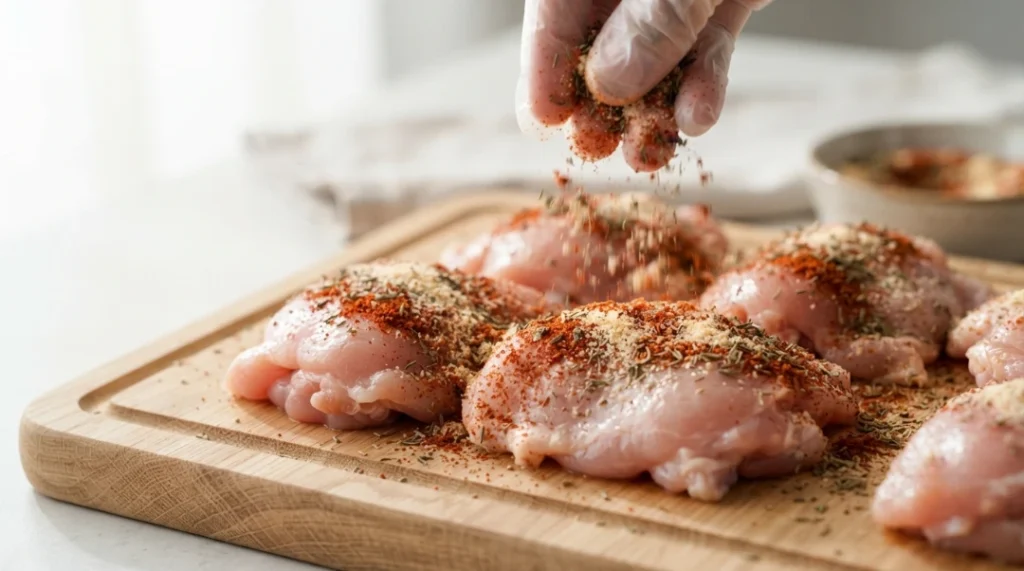
Pat chicken thighs completely dry with paper towels. Combine smoked paprika, garlic powder, onion powder, thyme, salt, and pepper. Rub seasoning over all surfaces of each piece, including under the skin where possible.
Drying the chicken before seasoning prevents steaming during the sear. Wet chicken in a hot pan creates steam and the skin will not crisp.
Step 2: Sear Skin Side Down
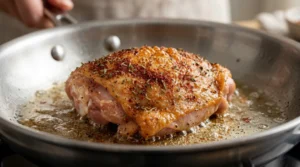
Heat olive oil in a large oven-safe skillet over medium high heat until shimmering. Place chicken skin side down. Do not move for 6 to 7 minutes until the skin is deep golden and releases naturally from the pan.
Flip and sear the second side for 3 minutes. The chicken will not be fully cooked through at this stage that happens during the rice cooking step. Remove chicken from pan and set aside.
Step 3: Build the Flavor Base
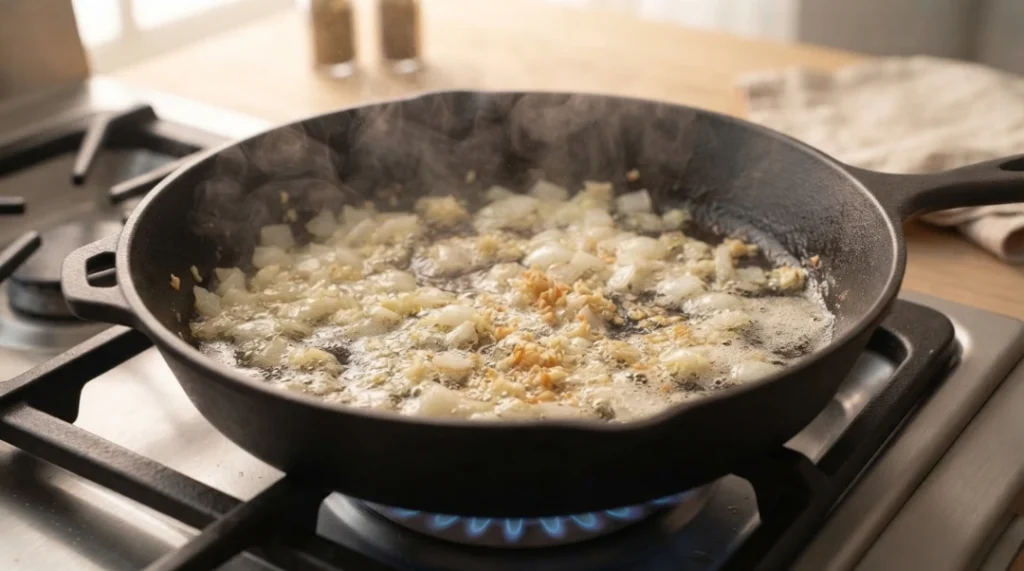
Reduce heat to medium. Add butter to the pan with the remaining chicken fat. Add diced onion and cook for 3 minutes, stirring occasionally, until softened and beginning to turn translucent.
Add minced garlic and stir for 45 seconds. The fond from the chicken sear is still on the pan the onion and garlic are cooking in that layer of flavor.
Step 4: Toast the Rice
Add dry rice directly to the pan. Stir to coat every grain in the butter and fat mixture. Cook for 2 minutes, stirring frequently, until the rice smells nutty and some grains begin to look slightly translucent at the edges.
This step is skipped in most one pan chicken and rice recipes and it makes a significant difference. Toasted rice absorbs liquid more evenly, develops a subtle depth of flavor, and is less likely to turn mushy. Two minutes is enough.
Step 5: Add Liquid
Pour in 2.5 cups of chicken broth. Stir to combine and scrape up any remaining fond from the bottom of the pan. Bring to a boil.
The liquid ratio for long grain white rice in this method is 1 cup rice to 1.67 cups liquid. This produces fluffy rice that is neither undercooked nor mushy. More liquid means softer, stickier rice. Less liquid means firmer rice that may need extra time.
Step 6: Nestle Chicken and Cover
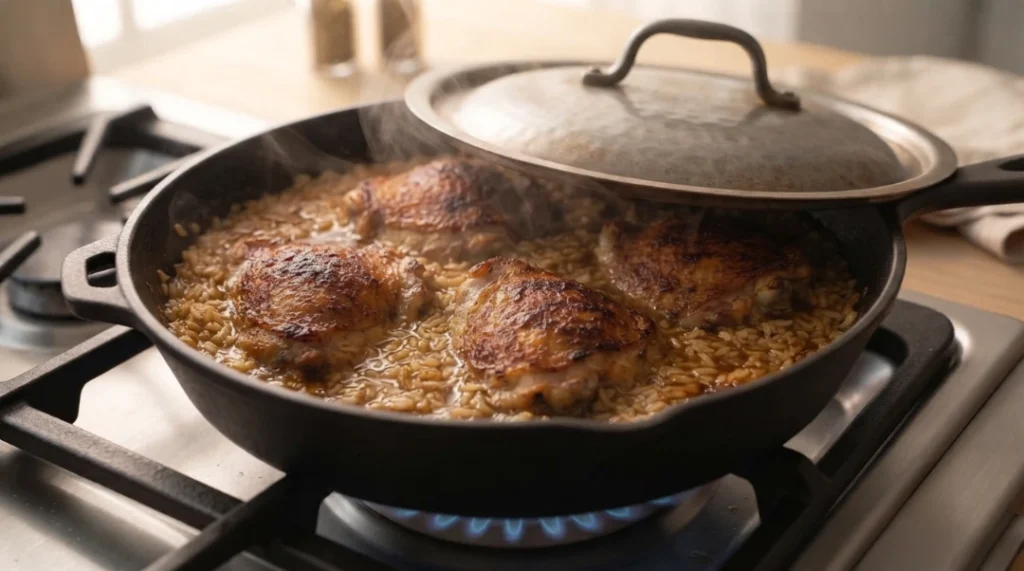
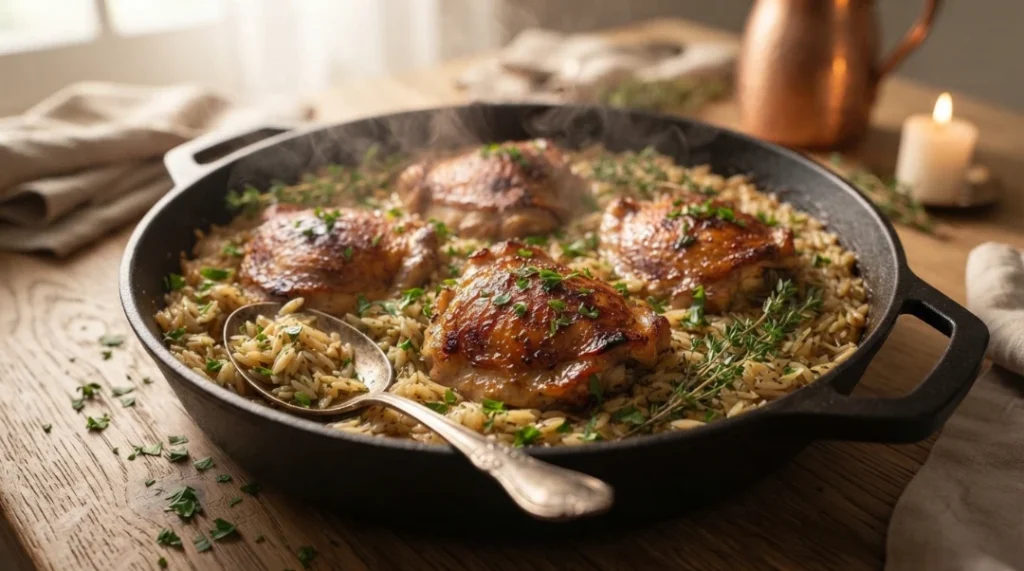
Place seared chicken thighs skin side up on top of the rice. The skin should sit above the liquid line not submerged. Submerged skin turns soft during cooking.
Cover tightly with a lid or foil. Reduce heat to medium low. Cook for 20 minutes without lifting the lid. Lifting the lid releases steam and disrupts the rice cooking process.
Step 7: Check and Finish
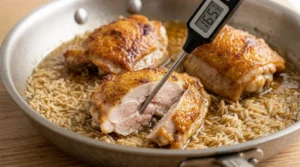
After 20 minutes, check the rice by tipping the pan slightly. The liquid should be fully absorbed. Chicken internal temperature should read 165°F at the thickest part away from the bone.
If rice is done but chicken needs more time: transfer chicken to a 400°F oven for 5 to 10 minutes while rice rests covered on the stovetop.
If chicken is done but rice is slightly undercooked: remove chicken, add 2 tbsp broth to the pan, cover and cook 3 to 5 more minutes on low heat.
Step 8: Rest and Serve
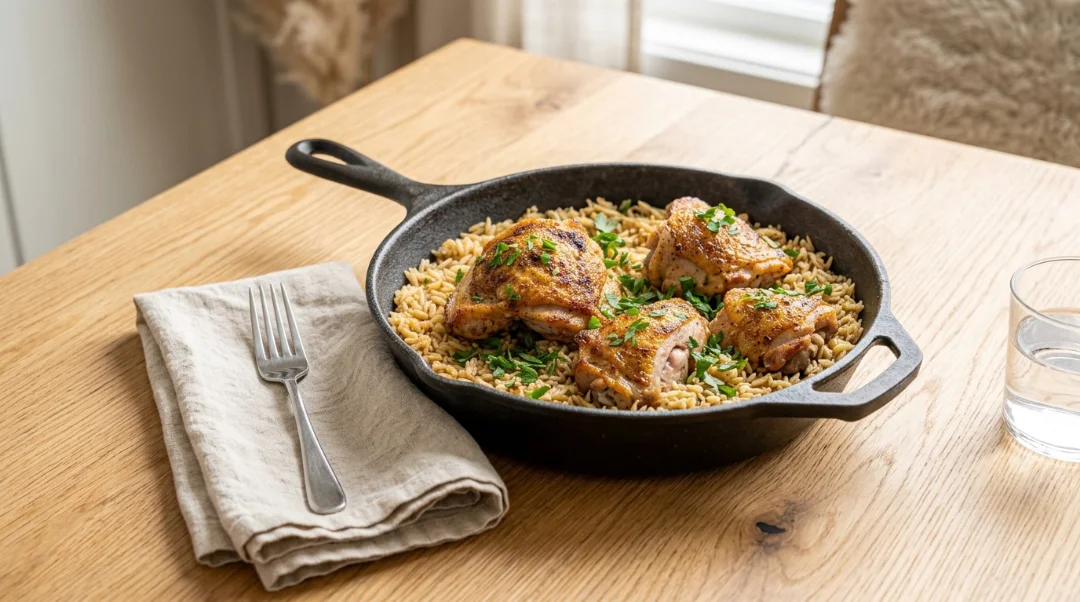
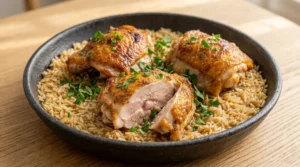
Remove from heat. Rest covered for 5 minutes. The rice continues absorbing any remaining moisture and the chicken juices redistribute. Garnish with fresh thyme or chopped parsley. Serve directly from the pan.
What Went Wrong in Early Testing:
Round 1: Used water instead of broth, skipped toasting rice. The rice cooked fine but tasted flat. The chicken seasoning sat on the surface with nothing pulling the flavor into the dish. Switched to broth and toasting on the next batch the difference was immediate.
Round 2: Used a cast iron skillet. The cast iron retained too much heat at medium-low and the bottom layer of rice scorched before the top finished cooking. Stainless steel and heavy bottomed nonstick both work better for this recipe. Cast iron can work but requires extra attention to heat management.
Round 3: Lifted the lid at 10 minutes to check. Lost enough steam that the rice needed an extra 8 minutes to finish. From that point on, the lid stayed on for the full 20 minutes.
Pan Type Guide:
| Pan Type | Result | Recommendation |
|---|---|---|
| Stainless Steel | Best fond, even heat | Top choice |
| Heavy Nonstick | Good result, less fond | Works well |
| Cast Iron | Risk of scorched bottom | Use lowest heat setting |
| Oven-Safe Only | Transfer to oven for finish | Possible but inconvenient |
Liquid Ratio Reference:
| Rice Amount | Broth Needed | Servings |
|---|---|---|
| 1 cup | 1.67 cups | 2 |
| 1.5 cups | 2.5 cups | 4 |
| 2 cups | 3.3 cups | 5–6 |
These ratios reflect long-grain white rice (jasmine or basmati) cooked covered on medium-low stovetop heat after toasting.
Pro Tips:
- Skin stays above the liquid. Submerged skin turns soft and loses the texture from the initial sear.
- Do not lift the lid during the 20-minute cook. Steam loss extends cook time significantly.
- Toasting the rice is worth the 2 minutes. Nutty flavor and better texture with no extra ingredients.
- Bone-in thighs add flavor the rice absorbs. This is the primary reason to use bone in over boneless for this dish.
- Taste the broth before adding. Low sodium broth lets you control salt. Regular broth can make the dish too salty with the chicken seasoning already applied.
Variations:
Lemon Herb: Add 1 tsp lemon zest and 1 tbsp fresh lemon juice to the broth. Use thyme and oregano on the chicken.
Spanish Style: Add ½ tsp cumin and ½ tsp turmeric to the rice. Use diced tomatoes (½ cup, drained) in place of some broth.
Garlic Butter: Double the butter and garlic. Finish with 1 tbsp cold butter stirred into the rice just before serving.
Creamy Version: Stir in 3 tbsp cream cheese or ¼ cup heavy cream after the rice finishes cooking and before serving.
Mushroom and Thyme: Add 1 cup sliced cremini mushrooms with the onion in Step 3.
What to Serve With:
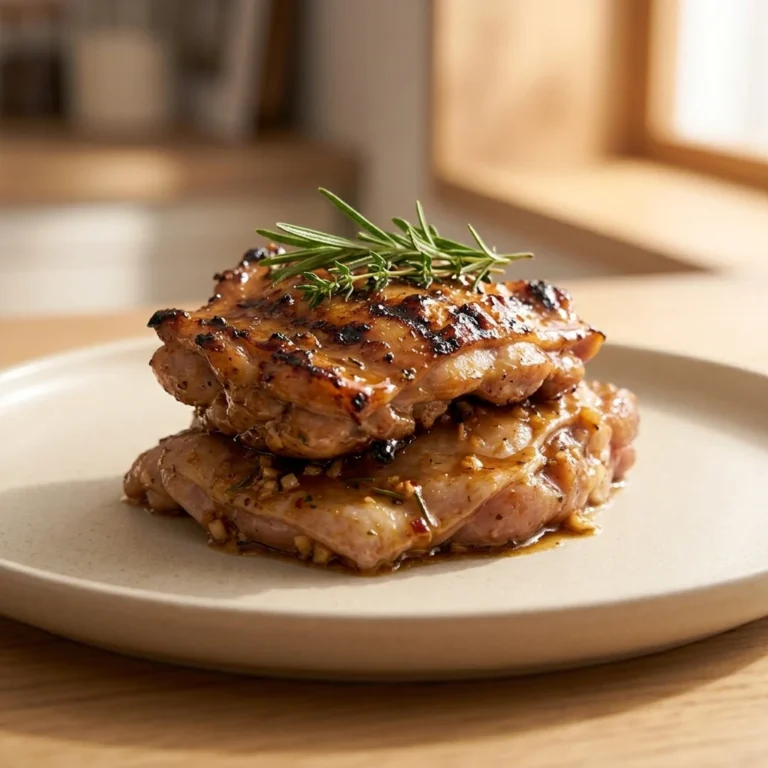
- Best Honey Garlic Chicken Thighs Stovetop — another one-pan chicken dinner for the weekly rotation
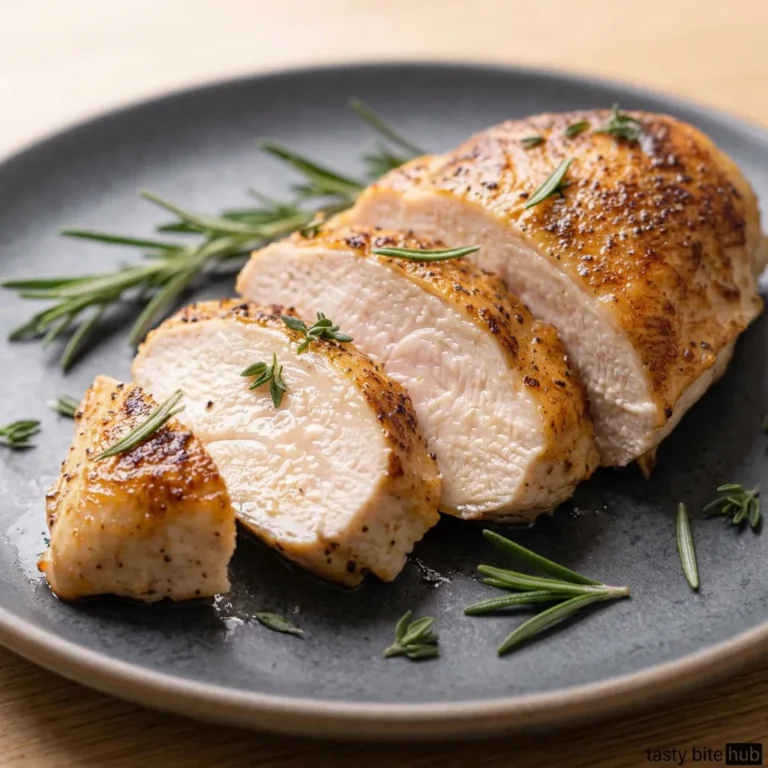
- Best Baked Chicken Breast That Never Dries Out — if you want a lighter protein option
- Simple green salad with lemon vinaigrette the acidity cuts through the richness
- Roasted broccoli or asparagus both roast at 400°F while the dish finishes on the stovetop
Storage and Reheating:
Fridge: Up to 4 days in an airtight container. Rice absorbs more moisture overnight and thickens slightly.
Reheat (stovetop): Medium low heat with 2 tbsp water or broth per serving, covered. Stir every minute or so. The added liquid brings the rice back to the right texture.
Reheat (microwave): Sprinkle 1 tbsp water over rice before covering. Medium power for 90 seconds. The water creates steam that rehydrates the rice.
Freeze: Freeze rice and chicken separately for best results. Rice freezes and reheats better on its own. Thaw overnight in fridge, reheat as above.
Best One Pan Chicken and Rice Dinner
Ingredients
Equipment
Method
- Season Chicken Pat chicken thighs completely dry with paper towels. Combine smoked paprika, garlic powder, onion powder, thyme, salt, and pepper. Rub seasoning over all surfaces of each piece including under the skin
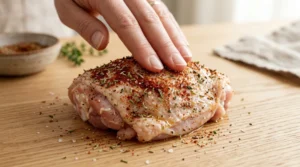
- Sear Heat olive oil in large skillet over medium-high heat until shimmering. Place chicken skin side down. Do not move for 6 to 7 minutes until skin is deep golden and releases naturally from pan. Flip and sear second side 3 minutes. Remove chicken and set aside.
- Saute Aromatics Reduce heat to medium. Add butter to pan. Add diced onion and cook 3 minutes until softened. Add minced garlic and stir 45 seconds until fragrant.
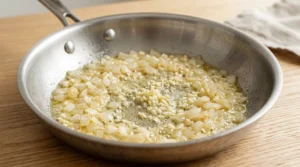
- Toast Rice Add dry rice to pan. Stir to coat in butter and fat. Cook 2 minutes stirring frequently until grains smell nutty and some look slightly translucent. This step improves texture and flavor significantly.
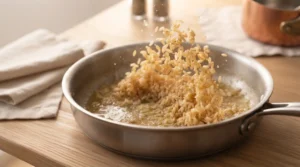
- Add Broth Pour in 2.5 cups chicken broth. Stir and scrape up any fond from pan bottom. Bring to a boil.
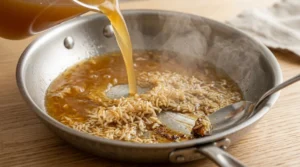
- Add Chicken and Cover Place chicken thighs skin side up on top of rice. Skin should sit above liquid line. Cover tightly. Reduce heat to medium-low. Cook 20 minutes without lifting lid.
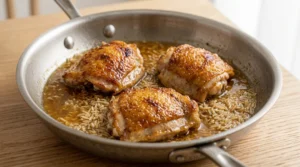
- Check Doneness After 20 minutes check rice — liquid should be absorbed. Chicken internal temperature should read 165°F per USDA safe minimum cooking temperatures. If rice is done but chicken needs more time transfer to 400°F oven for 5 to 10 minutes. If chicken is done but rice is slightly undercooked remove chicken, add 2 tbsp broth, cover and cook 3 to 5 more minutes on low.
- Rest and Serve Remove from heat. Rest covered 5 minutes. Garnish with fresh parsley or thyme. Serve from pan.
Notes
Nutrition Info (per serving):
| Nutrient | Amount |
|---|---|
| Calories | 486 |
| Protein | 34g |
| Fat | 18g |
| Carbohydrates | 44g |
| Sodium | 580mg |
| Fiber | 1g |
| Sugar | 1g |
Nutrition information is an estimate and may vary depending on the ingredients and brands used. Data sourced from USDA FoodData Central.
FAQs:
Q: Why is my rice mushy in one pan chicken and rice?
A: Mushy rice in a one pan chicken and rice dinner comes from too much liquid, heat that is too high, or lifting the lid during cooking. Use the 1:1.67 ratio for long-grain white rice, keep heat at medium low after covering, and resist lifting the lid until the 20-minute mark.
Q: Can I use brown rice in this recipe?
A: Brown rice works but needs about 40 to 45 minutes of covered cooking time instead of 20. Increase broth to 3 cups per 1.5 cups brown rice. The chicken may need to finish in a 375°F oven while the rice completes cooking on the stovetop.
Q: Can I make this without an oven safe skillet?
A: A regular stovetop skillet with a tight-fitting lid works fine for this recipe the oven is only needed if the chicken finishes before the rice. A 12-inch skillet with a lid handles 4 thighs and 1.5 cups rice comfortably.
Q: Why did my rice burn on the bottom?
A: Usually a heat issue medium-low after adding the liquid is the right temperature. Cast iron retains heat longer and often needs the lowest possible setting. A scorch layer at the bottom also happens if the lid is not tight and too much steam escapes during cooking.
Q: What internal temperature should chicken thighs reach?
A: 165°F at the thickest part, away from the bone. Thighs are forgiving past this temperature and stay juicy. See the USDA safe minimum cooking temperatures for reference.
Q: Can I use chicken breast instead of thighs?
A: Breast works but add it on top of the rice during the last 15 minutes of cooking rather than searing first. Breast dries out quickly with extended heat the shorter cook time in the pan keeps it juicy.
Would I Make This Again?
Every week it has become the most reliable dinner in this rotation.
The version before the broth and toasting changes was fine. The version after is the one that gets requested. The difference between cooking rice in water versus building it in seasoned chicken fat and broth is not subtle it is the entire flavor of the dish.
One pan, 30 minutes, almost no cleanup. The kind of weeknight dinner that actually delivers on what it promises.
Final Note:
A one pan chicken and rice dinner done right is one of the most satisfying meals to put on the table on a weeknight. The rice tastes like it took twice as long as it did. The chicken stays juicy from the sear through the rest. The pan does most of the work.
Toast the rice, use broth, keep the lid on. Those three things are what separate a forgettable version from one you make again.
Made this? Drop a comment curious whether you went with the lemon herb variation or kept it classic.


6 Comments