
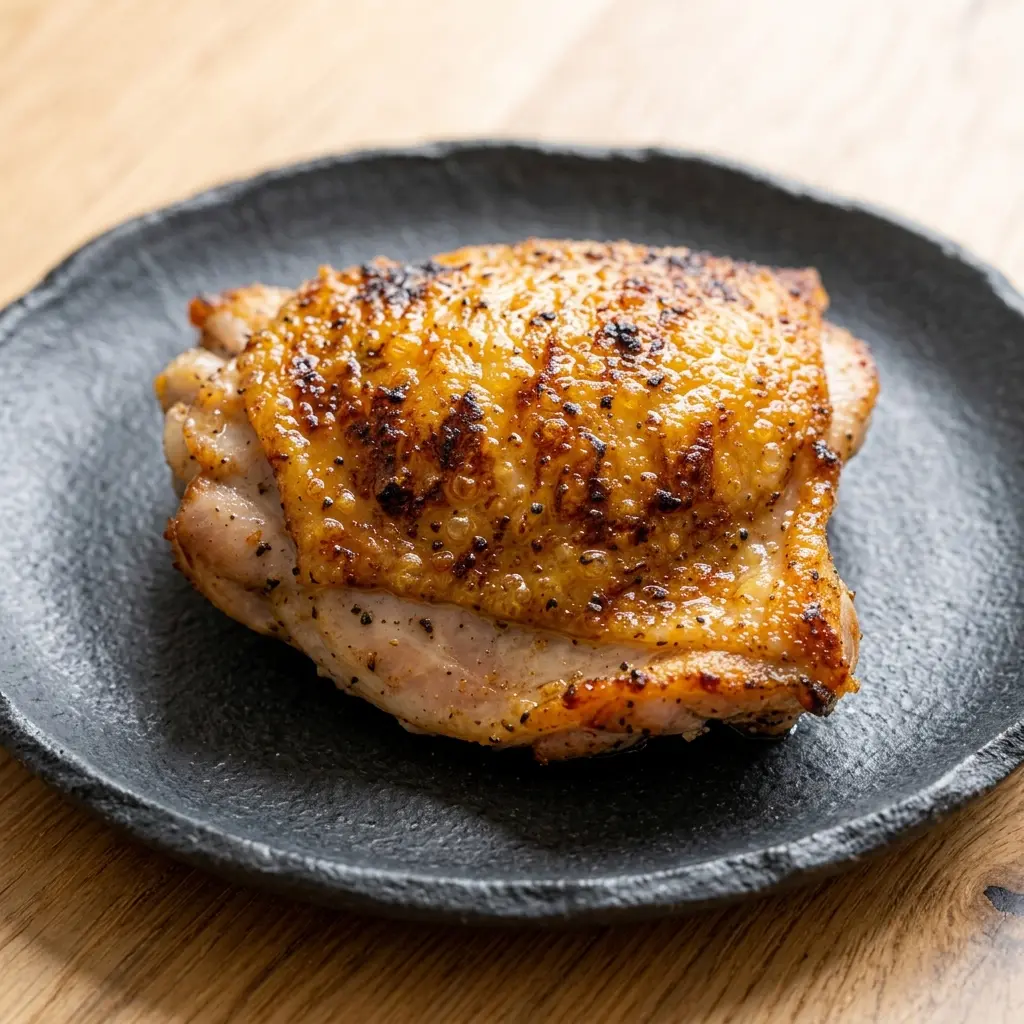
Best Air Fryer Chicken Thighs Perfectly Crispy in 20 Minutes
There was a period when chicken thighs were the default dinner because everything else felt like too much effort.
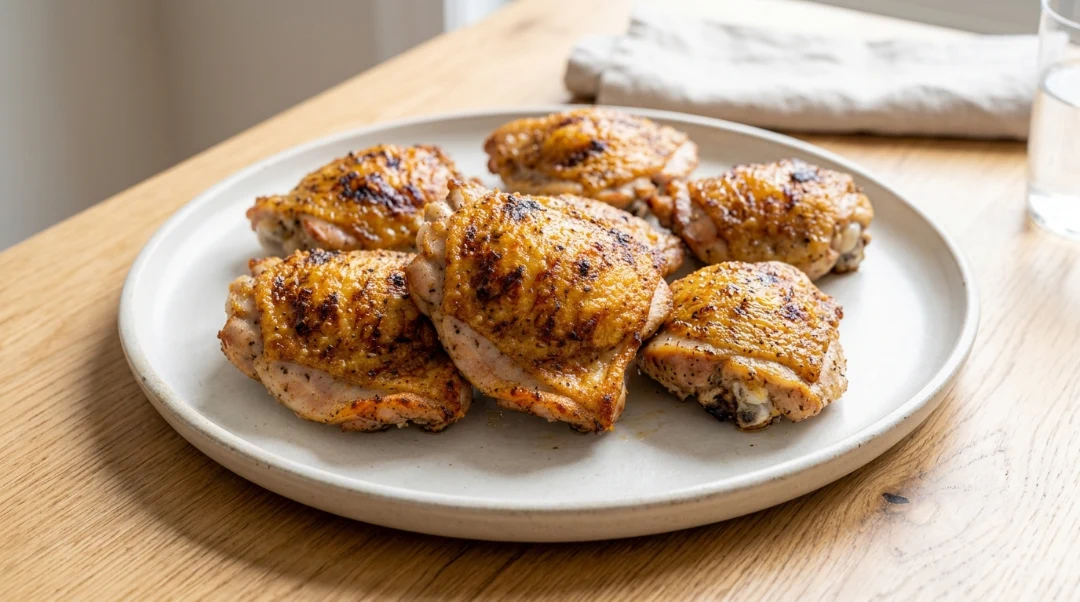
Not in a bad way more in the way that something becomes a default because it keeps delivering. Air fryer chicken thighs under 20 minutes, crispy skin, juicy inside, one pan to clean. The kind of weeknight dinner that earns its spot in the rotation not because it is impressive but because it is reliable.
The method here came out of three batches where something small changed each time temperature, skin placement, timing until the version that produced the most consistent results across different thigh sizes and air fryer models was clear. That version is what follows.
Why Chicken Thighs Are the Best Air Fryer Choice:
Chicken breast in an air fryer requires precise timing a few minutes past done and it turns dry. Thighs forgive that margin. The fat content keeps the meat moist even slightly past 165°F, and the skin renders beautifully under circulating heat without any oil needed beyond a light coating to help the seasoning stick.
The air fryer’s concentrated heat mimics a convection oven but on a much smaller scale which is exactly why thighs work so well. All that moving hot air hits every surface simultaneously, and the fat under the skin renders into the meat as it cooks rather than dripping away.
About This Recipe:
This recipe was tested with bone-in skin-on thighs and boneless skinless thighs, at 375°F, 380°F, and 400°F, with skin side down and skin side up, across two different air fryer models a 5.8-quart basket style and a 6-quart toaster oven style. The results below reflect what produced the crispiest skin and juiciest meat consistently across all tests.
Ingredients:
- Bone-in skin-on chicken thighs — 4 pieces (about 2 lbs total)
- Smoked paprika — 1 tsp (color and subtle depth)
- Garlic powder — 1 tsp
- Onion powder — ½ tsp
- Brown sugar — ½ tsp (creates that deep mahogany color and caramelized surface)
- Dried oregano — ½ tsp
- Salt — 1 tsp
- Black pepper — ½ tsp
- Olive oil or avocado oil — 1 tsp (just enough to help seasoning stick)
No marinade. No long prep. The dry rub does everything needed.
Ingredient Notes and Substitutions:
Brown sugar is optional but worth using. It creates the deep golden-mahogany color that makes these thighs look as good as they taste. For a keto version, leave it out the color will be lighter but the flavor is still excellent.
Boneless skinless thighs work with this recipe reduce cook time by 4 to 5 minutes total and check internal temperature at the 14-minute mark.
For a spicy version: add ½ tsp cayenne or chili powder to the dry rub. The heat balances well with the brown sugar.
The One Prep Step Most People Skip:
Before seasoning, trim any large hanging pieces of excess skin and fat from the edges of each thigh. Leave enough skin to cover the top of the meat but the loose, flapping pieces that extend beyond the meat do not crisp. They steam and turn soft, which pulls moisture onto the skin that should be rendering crispy.
Two minutes of trimming produces noticeably better skin texture across the whole thigh. Most recipes mention this in passing. It deserves more attention than that.
Step-by-Step Instructions:
Step 1: Trim and Dry
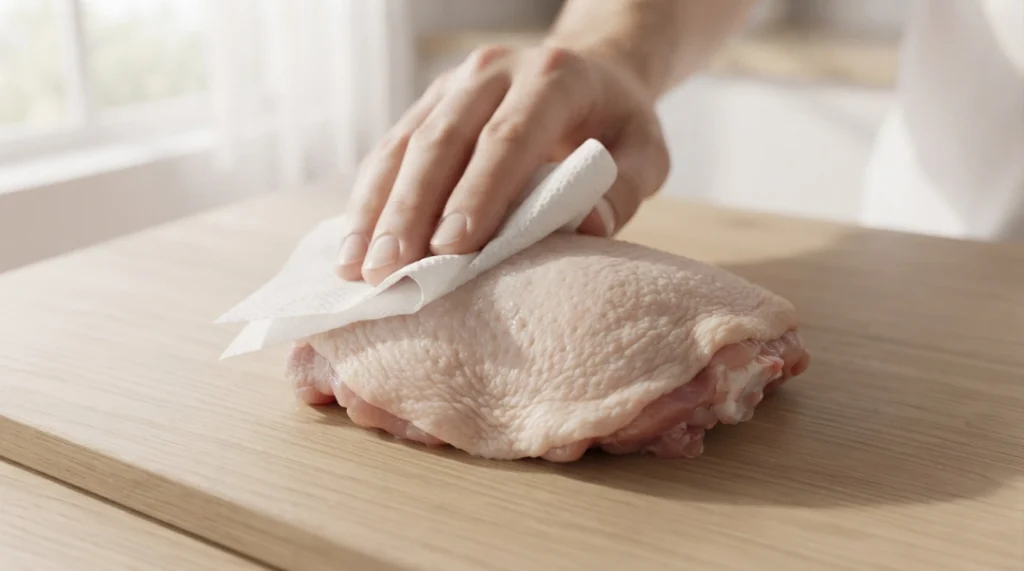
Trim any excess hanging skin and fat from the thigh edges. Pat every thigh completely dry with paper towels both sides, including under any folds of skin. Surface moisture is what prevents crisping. The air fryer circulates heat around the chicken, but wet skin creates steam inside that heat before it can render the fat.
Step 2: Season
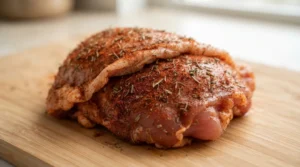
Combine smoked paprika, garlic powder, onion powder, brown sugar, oregano, salt, and pepper in a small bowl. Add 1 tsp oil to the thighs and rub over all surfaces. Apply the dry rub evenly over every surface including under the skin where possible seasoning under the skin flavors the meat directly rather than just the outer layer.
Step 3: Preheat (If Your Air Fryer Needs It)
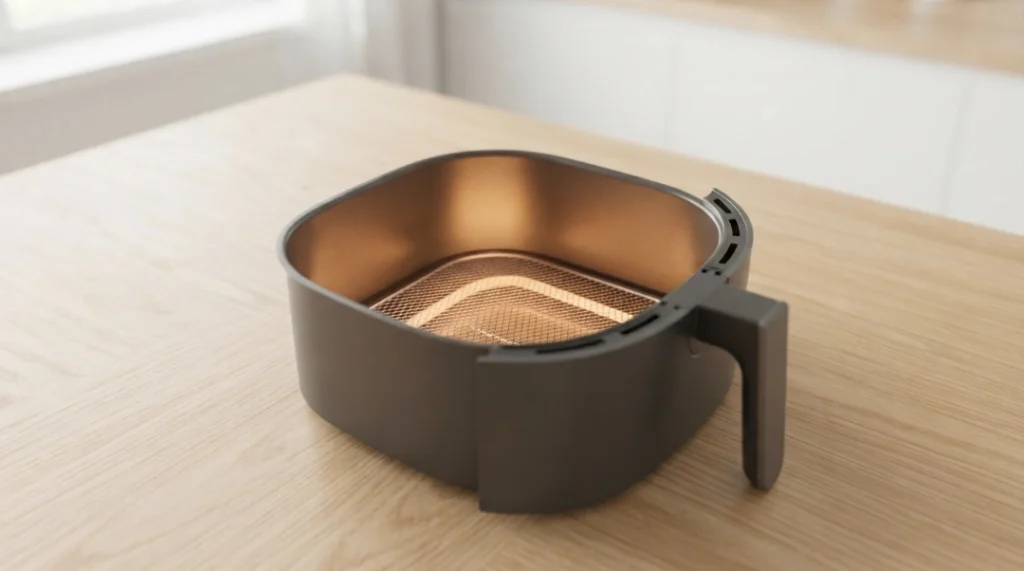
This depends on the model. Basket-style air fryers benefit from a 3-minute preheat at the cook temperature the basket heats up and starts rendering the skin immediately on contact. Toaster-oven style air fryers have more thermal mass and typically do not need preheating.
If uncertain: preheat. The worst outcome is a slightly shorter cook time. The cost of not preheating a basket-style model is uneven cooking.
Step 4: Place Skin Side Down First
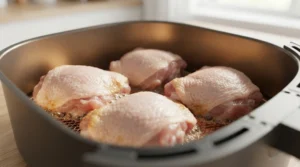
Place thighs skin side down in a single layer. No overlapping thighs that touch each other steam at the contact points.
Skin side down first is the method that produced better results in testing. The skin begins rendering immediately against the hot basket surface, and the fat drips down and away from the meat rather than pooling on top.
Step 5: Cook First Round
Air fry at 380°F for 12 minutes.
At 12 minutes the skin on the underside will be pale this is correct. The fat has been rendering. Flip each thigh skin side up.
Step 6: Cook Second Round
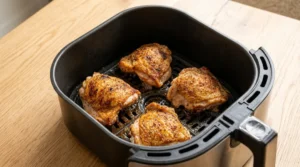
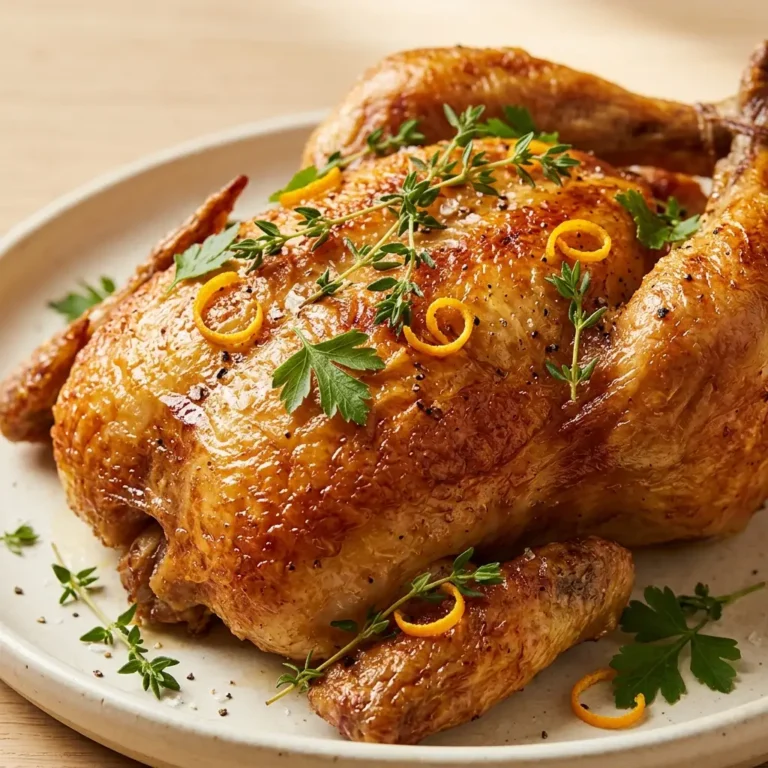
Air fry at 400°F for 8 to 10 minutes until the skin is deep golden, feels firm when pressed, and the internal temperature reads 165°F at the thickest part away from the bone.
The temperature increase in the second round is the difference between pale gold and deep mahogany. Single temperature at 400°F the entire time produces slightly drier results the outside colors before the fat fully renders. The two step method addresses both.
Check at 8 minutes. Smaller thighs finish at 8. Standard thighs finish at 9 to 10.
Step 7: Rest and Serve
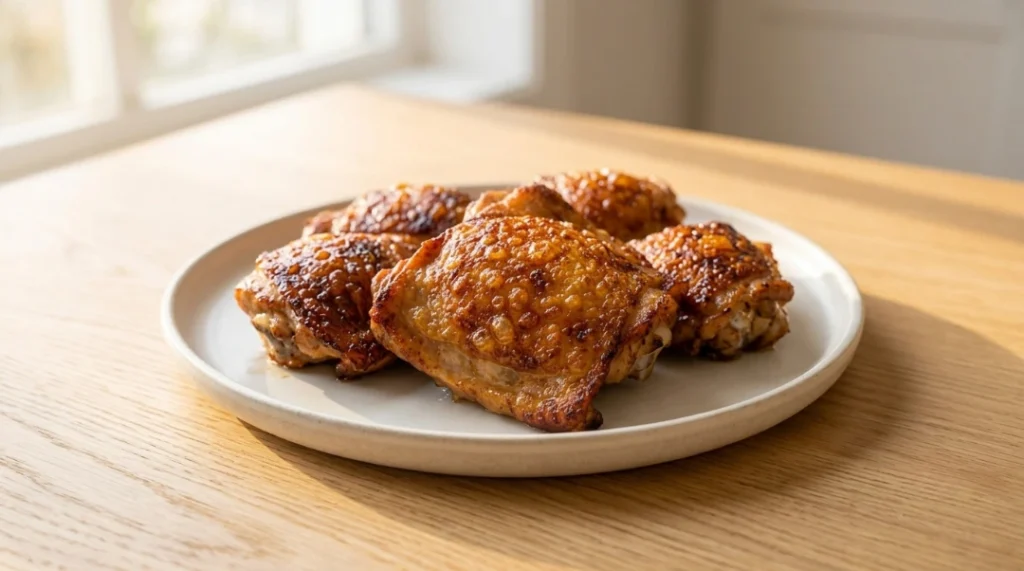
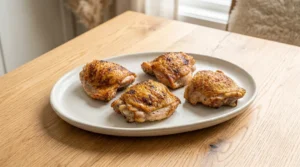
Remove from air fryer. Rest on a wire rack or plate for 5 minutes. The skin firms up further during this rest and the internal juices redistribute through the meat. Serve immediately.
What Went Wrong in Early Testing:
Batch 1: Skin side up the entire time. The skin colored nicely but the underside fat did not render properly. The bottom of each thigh was soft where it sat against the basket. Flipping to start skin side down fixed this.
Batch 2: Single temperature at 400°F. The skin went golden quickly too quickly. At the 20-minute mark the skin was done but the meat needed another 4 minutes. By the time the center was cooked, the skin had gone past golden and was heading toward tough. Two-step temperature solved both timing problems at once.
Batch 3: Skipped trimming excess skin. The loose skin on two thighs turned limp and soft rather than crispy. The untrimmed skin created a steam trap right against the meat. Trimmed the next batch before seasoning the improvement in skin texture across the whole thigh was noticeable.
Bone In vs Boneless Time Comparison:
| Thigh Type | First Round | Second Round | Total Cook Time |
|---|---|---|---|
| Bone-in skin-on | 12 min at 380°F | 8–10 min at 400°F | 20–22 minutes |
| Boneless skinless | 8 min at 380°F | 6–8 min at 400°F | 14–16 minutes |
Boneless thighs cook significantly faster check temperature at the 14-minute mark and adjust from there.
Air Fryer Model Guide:
| Air Fryer Type | Preheat Needed | Time Adjustment |
|---|---|---|
| Basket style (3–5 qt) | 3 min preheat | Cook times as written |
| Basket style (6–8 qt) | 3 min preheat | Add 1–2 min to second round |
| Toaster oven style | Usually not needed | Reduce second round by 1–2 min |
Toaster oven models run slightly hotter due to the enclosed element placement. Check temperature at 7 minutes into the second round.
165°F vs 175°F Which Is Better for Thighs:
The USDA minimum safe internal temperature for chicken is 165°F. Chicken thighs, unlike breast, can go slightly higher without drying out fat content protects the meat.
At 165°F: thighs are safe, juicy, and tender. The right pull point for most situations.
At 175°F: connective tissue has broken down further, producing a softer, almost falling-apart texture. Some people strongly prefer this particularly for thighs being shredded or used in other dishes.
For serving whole with crispy skin, 165°F to 170°F is the target window. See the USDA safe minimum cooking temperatures for the official reference.
Pro Tips:
- Trim excess skin before seasoning. Hanging flaps of skin steam instead of crisp and bring moisture back onto the surface you are trying to dry out.
- Season under the skin. Seasoning on the skin surfaces the outside. Seasoning under the skin flavors the meat directly.
- Single layer, no touching. Contact points between thighs produce soft skin at those spots no exceptions.
- Two-step temperature produces better results than single temperature. Low first to render fat, high to finish crisping. The difference is visible and tasteable.
- Rest 5 minutes before serving. Skin continues to firm and juices redistribute during this time.
Variations
Honey Garlic Glaze: Brush with 2 tbsp honey + 1 tbsp soy sauce + 1 tsp minced garlic in the last 3 minutes of the second round. Watch closely the glaze darkens fast.
Cajun Style: Replace oregano with Cajun seasoning (1 tsp). Add ¼ tsp cayenne. Bold, slightly spicy, excellent with rice.
Lemon Herb: Add 1 tsp lemon zest to the dry rub. Finish with fresh lemon squeeze and chopped parsley after resting.
BBQ Style: Skip dry rub. Season with salt and pepper only. Brush with BBQ sauce in the last 3 minutes of second round.
Keto Version: Remove brown sugar from dry rub. Keep everything else. Serve with cauliflower rice or a simple green salad.
What to Serve With:
- Best One Pan Chicken and Rice Dinner — if you want rice on the side without a second pan
- Best Honey Garlic Chicken Thighs Stovetop — a different flavor profile on the same cut
- Steamed jasmine rice with a squeeze of lemon simple and perfect
- Roasted broccoli or green beans both cook at 400°F and can go in the air fryer right after the chicken
- Simple cucumber and tomato salad cool contrast against the hot, crispy skin
Storage and Reheating:
Fridge: Up to 4 days in an airtight container.
Reheat (air fryer): 375°F for 5 to 6 minutes. The skin comes back crispy noticeably better than any other reheat method for this dish.
Reheat (oven): 400°F for 8 to 10 minutes on a wire rack, uncovered.
Microwave: Not recommended skin turns soft immediately and does not recover.
Freeze: Freeze after cooking. Thaw overnight in fridge. Reheat in air fryer at 375°F for 8 to 10 minutes from cold.
Best Air Fryer Chicken Thighs Perfectly Crispy in 20 Minutes
Ingredients
Equipment
Method
- Trim and Dry Trim any large hanging pieces of excess skin and fat from the edges of each thigh leave enough to cover the top of the meat. Pat completely dry with paper towels including under skin folds. Wet skin and excess hanging skin both prevent crisping.
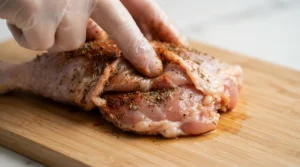
- Season Combine all dry rub ingredients in a small bowl. Add oil to thighs and rub over all surfaces. Apply dry rub evenly including under the skin where possible for direct flavor on the meat.
- Preheat For basket-style air fryers: preheat at 380°F for 3 minutes. Toaster oven models typically do not need preheating.
- First Round Skin Side Down Place thighs skin side down in a single layer not touching. Air fry at 380°F for 12 minutes. Flip each thigh skin side up.
- Second Round Skin Side Up Increase temperature to 400°F. Air fry for 8 to 10 minutes until skin is deep golden and internal temperature reads 165°F at thickest part away from bone per USDA safe minimum cooking temperatures. Check at 8 minutes smaller thighs finish first.
- Rest and Serve Remove from air fryer. Rest on wire rack or plate for 5 minutes. Skin firms further during rest and juices redistribute through the meat. Serve immediately.
Notes
Nutrition Info (per serving, 1 bone in thigh)
| Nutrient | Amount |
|---|---|
| Calories | 213 |
| Protein | 16g |
| Fat | 15g |
| Carbohydrates | 3g |
| Sodium | 390mg |
| Fiber | 0g |
| Sugar | 1g |
Nutrition information is an estimate and may vary depending on the ingredients and brands used. Data sourced from USDA FoodData Central.
FAQs
Q: How long do air fryer chicken thighs take under 20 minutes? A: Boneless skinless thighs take 14 to 16 minutes total. Bone-in skin-on thighs take 20 to 22 minutes. The “under 20 minutes” window applies specifically to boneless thighs or smaller bone-in pieces in a preheated basket-style air fryer.
Q: Should I put chicken thighs skin side up or skin side down in the air fryer?
A: Skin side down first produces better results. The skin begins rendering immediately against the hot basket surface and the fat drips down and away from the meat. Flip to skin side up for the second round to finish crisping and coloring the top.
Q: Do I need to preheat my air fryer for chicken thighs?
A: For basket style air fryers, a 3-minute preheat produces more even cooking and better skin texture. Toaster-oven style models typically do not need preheating. When in doubt, preheat the downside is minimal.
Q: Why is the skin on my air fryer chicken thighs not crispy?
A: Four likely causes excess skin was not trimmed before cooking, thighs were not patted dry, pieces were touching in the basket, or the air fryer was not preheated. Addressing all four produces consistent results.
Q: What internal temperature should air fryer chicken thighs reach? A: 165°F at the thickest part away from the bone per USDA guidelines. Thighs can go to 175°F for a softer texture without drying out, unlike breast meat.
Q: Can I cook frozen chicken thighs in the air fryer?
A: Thaw first for best results. Cooking from frozen means the thighs spend the first 10 minutes essentially defrosting rather than cooking the skin rarely crisps properly. Thaw overnight in the fridge and pat very dry before seasoning.
Would I Make This Again?
At least once a week and that has been consistent for months.
The version before the trim and two temperature method was fine. Good, even. The version after is the one that gets finished completely at the table and gets asked about. The gap between the two versions comes down to two minutes of prep and one temperature adjustment mid-cook.
For a weeknight where time matters and cleanup matters and the result still needs to actually be good air fryer chicken thighs under 20 minutes is the answer that keeps showing up.
Final Note
Crispy air fryer chicken thighs in under 20 minutes are not a compromise. The skin is genuinely crispy. The meat is genuinely juicy. The cleanup is one basket.
Trim the excess skin, season under it, start skin side down, go two temperatures. Those four things are what separate a forgettable result from one that earns a weekly spot in the rotation.
Made these? Drop a comment did you go with the classic dry rub or try one of the variations?


5 Comments