
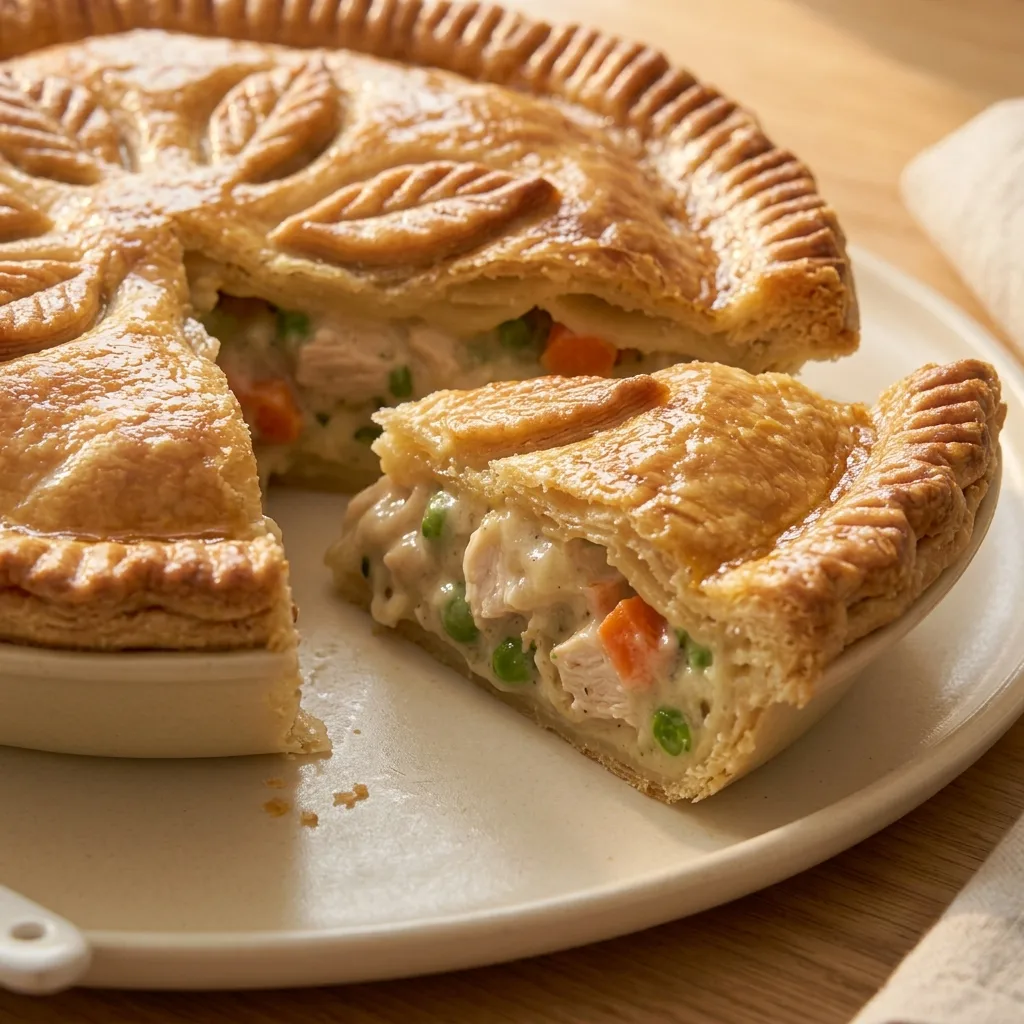
Best Easy Homemade Chicken Pot Pie — Ultimate Comfort
There is a specific kind of cold evening that calls for chicken pot pie and nothing else.
Not soup. Not pasta. Not anything that takes less than an hour. The full thing flaky golden crust, thick creamy filling, vegetables that have absorbed the gravy, steam rising when the crust breaks.
The problem most home versions have is one of three things: a pale, soft bottom crust, a filling that is either too thick to spoon or too thin to hold, or chicken that tastes like it was added as an afterthought.
This easy homemade chicken pot pie fixes all three in the same recipe. The blind-bake step handles the bottom crust. The roux-based filling handles the consistency. The rotisserie chicken shortcut handles the flavor without adding an extra hour of cooking.
Here is the full method.
Why You’ll Love This Recipe
- Flaky golden crust on the top and bottom no soggy bottom
- Thick, creamy filling that holds its shape when served
- Ready in 1 hour using a rotisserie chicken shortcut
- Make ahead friendly assemble the night before, bake the next day
- Freezer friendly freeze before or after baking, both methods work
The Soggy Bottom Problem Solved
This is the most common complaint in every chicken pot pie recipe. The bottom crust sits in wet filling for the entire bake time and comes out soft and pale rather than golden and flaky.
Two things fix this:
1. Blind bake the bottom crust for 10 minutes before adding the filling. The crust sets and begins to crisp before the wet filling ever touches it. This alone eliminates most of the soggy bottom problem.
2. Bake on the lowest oven rack. The bottom of the pie gets the most direct heat this way which helps the bottom crust crisp from below while the top crust colors from above.
Both steps together produce a bottom crust that is genuinely golden and flaky not just the top.
The Filling Consistency Secret
Most chicken pot pie recipes use cream of chicken soup as a shortcut. It works but the consistency is inconsistent. Sometimes the filling is too thick. Sometimes it is too thin. And the flavor is noticeably processed.
A simple roux-based filling (butter + flour + broth + cream) takes 8 minutes and produces a filling that:
- Holds its shape when spooned
- Does not turn to soup when the pie is cut
- Tastes deeply savory and homemade
- Reheats better than soup-based versions
The ratio that works every time: 4 tbsp butter + 4 tbsp flour + 1.5 cups chicken broth + 0.5 cup heavy cream. This produces a filling thick enough to hold but pourable enough to spread into the crust.
About This Recipe
This easy homemade chicken pot pie was tested with homemade crust vs store-bought, roux filling vs cream-of-soup filling, blind bake vs no blind bake, and several different filling consistency ratios before settling on the method below. Every step reflects what produced the best result consistently.
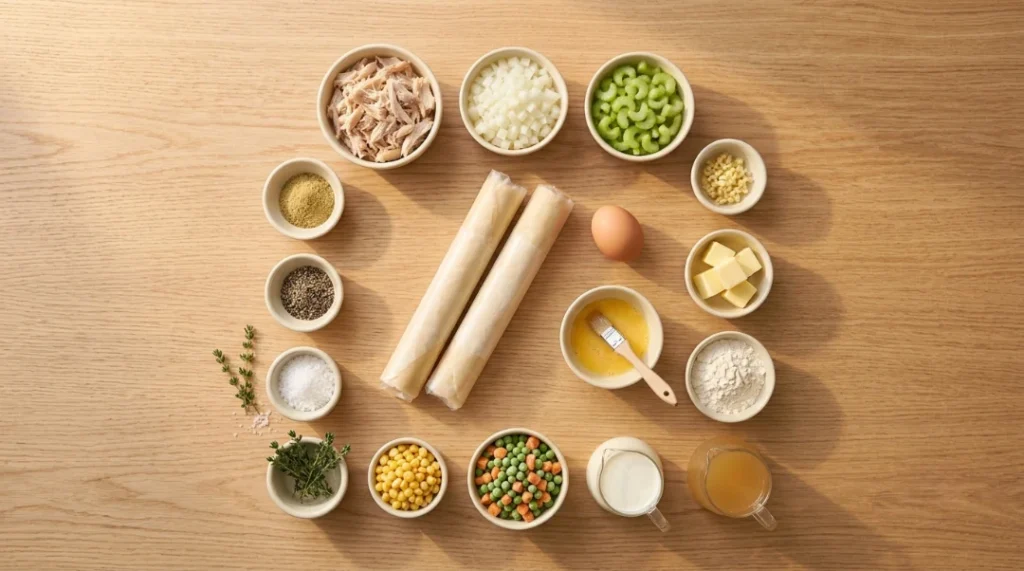
Ingredients
For the Crust:
- Refrigerated pie crusts 2 (14 oz package, 2 crusts) (see homemade option in notes)
- Egg 1, beaten (for egg wash golden color on top crust)
For the Filling:
- Rotisserie chicken — 3 cups, shredded or diced (about 1 small rotisserie chicken the shortcut that saves 45 minutes)
- Butter — 4 tbsp
- Yellow onion — 1 medium, diced
- Celery — 2 stalks, sliced
- Garlic — 2 cloves, minced
- All-purpose flour — 4 tbsp
- Chicken broth — 1.5 cups (low-sodium recommended)
- Heavy cream — ½ cup (the restaurant-quality secret do not substitute milk)
- Frozen peas and carrots — 1.5 cups (thawed frozen vegetables go in uncooked)
- Frozen corn — ½ cup (optional adds sweetness and texture)
- Fresh thyme — 1 tsp (or ½ tsp dried)
- Salt — 1 tsp
- Black pepper — ½ tsp
- Poultry seasoning — ½ tsp (the detail that makes filling taste like Thanksgiving)
Ingredient Notes and Substitutions
Rotisserie chicken is the shortcut that makes this recipe genuinely weeknight-friendly. The chicken is already seasoned and cooked it adds flavor to the filling beyond what plain poached chicken provides. One standard rotisserie chicken yields about 3 cups of meat. Use the white meat for cleaner pieces, dark meat for richer flavor, or a mix.
Raw chicken alternative: Poach 2 large chicken breasts in chicken broth for 18 minutes, shred, and use the poaching liquid as part of the broth in the filling. Adds 25 minutes but produces excellent results.
Heavy cream substitute: Half-and-half works but produces a slightly thinner filling. Whole milk produces a noticeably thinner filling that may not hold its shape when served. Full fat is worth it here.
Store-bought crust vs homemade: Store-bought refrigerated pie crust (Pillsbury) produces excellent results flaky, golden, and indistinguishable from homemade to most people. Homemade crust produces a richer, more buttery flavor. For a weeknight recipe, store-bought wins on time without sacrificing much quality.
Vegetable substitutions: Green beans, mushrooms, diced potatoes (pre-cooked), or asparagus all work in place of or in addition to peas and carrots. Avoid very watery vegetables like zucchini they release moisture that thins the filling.
Step-by-Step Instructions
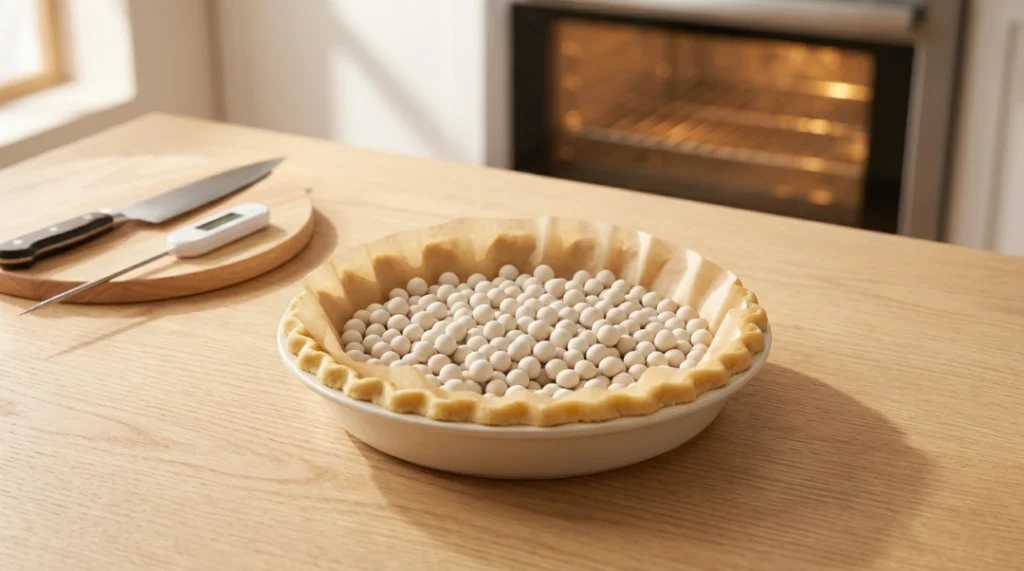
Step 1: Blind Bake the Bottom Crust
Preheat oven to 425°F (220°C). Place oven rack in the lowest third position.
Unroll one pie crust and press gently into a 9-inch deep dish pie plate. Prick the bottom and sides with a fork 10 to 12 times this prevents air bubbles from lifting the crust during blind baking.
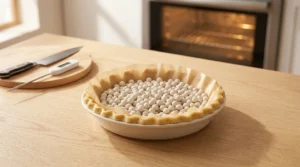
Line the crust with parchment paper and fill with pie weights or dried beans. Bake on the lowest rack for 10 minutes.
Remove parchment and weights. The crust should look dry and just beginning to set at the edges not fully baked. This is correct. The filling bake will finish it.
This step is the soggy bottom fix. Ten minutes is enough to set the crust without over-baking it before the filling goes in.
Step 2: Make the Filling
While the bottom crust blind bakes, start the filling.
Melt butter in a large skillet or saucepan over medium heat. Add diced onion and celery. Cook 4 to 5 minutes until softened and translucent. Add minced garlic and cook 45 seconds.
Add flour and stir constantly for 1 to 2 minutes. The flour and butter form a paste this is the roux that thickens the filling. Cook it for the full 2 minutes to remove the raw flour taste.
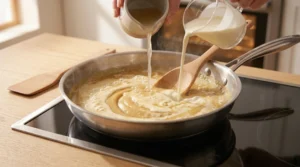
Pour in chicken broth gradually while stirring add ½ cup at a time to prevent lumps. Add heavy cream. Stir continuously until the mixture thickens and begins to bubble about 3 to 4 minutes.
The filling should coat the back of a spoon thickly. If it seems too thick, add 2 tbsp more broth. If too thin, simmer 2 more minutes.
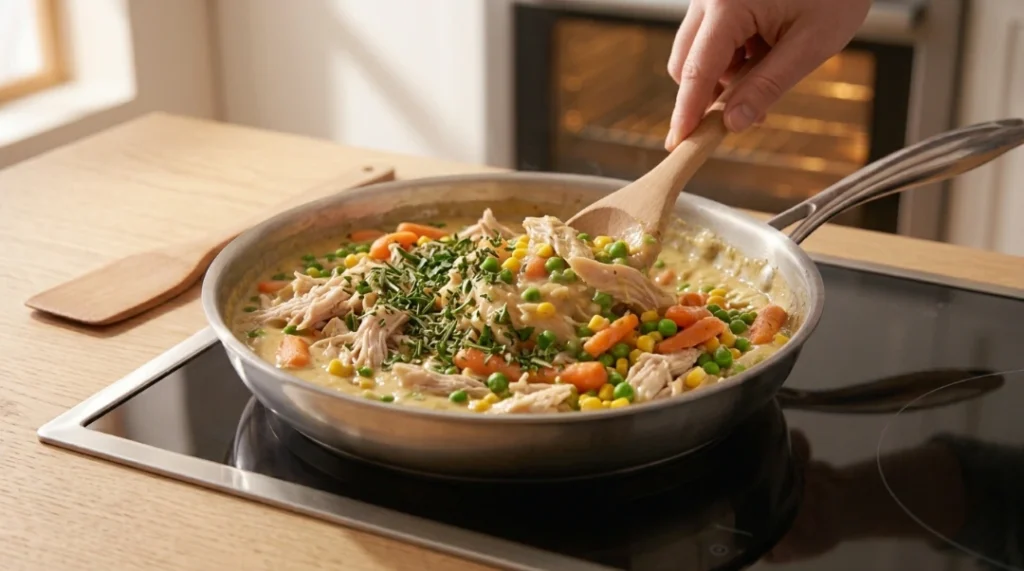
Step 3: Add Chicken and Vegetables
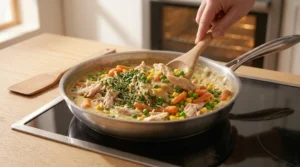
Remove from heat. Stir in shredded rotisserie chicken, thawed peas and carrots, corn, thyme, poultry seasoning, salt, and pepper.
Taste the filling before it goes into the pie. This is the moment to adjust more salt, more pepper, a pinch more poultry seasoning. The filling should taste fully seasoned on its own. It will seem slightly over-seasoned at this point the crust absorbs some of that intensity during baking.
Step 4: Fill the Pie
Pour filling into the blind-baked bottom crust. Spread evenly the filling should come to about ½ inch from the rim.
Unroll the second pie crust and lay it over the filling. Trim any excess crust to about ½ inch beyond the rim of the pie plate. Fold the edges under and crimp to seal press the top and bottom crusts firmly together.
Cut 4 to 5 slits in the top crust for steam venting. Without vents, steam builds inside the pie and creates a gap between the filling and the top crust.
Brush the top crust with beaten egg. The egg wash is what creates the deep golden color on the top crust not just oven heat.
Step 5: Bake
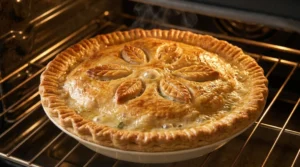
Bake at 425°F on the lowest rack for 30 to 35 minutes until the top crust is deep golden brown and filling is visibly bubbling through the vents.
If the edges brown too quickly before the center is golden, cover the rim loosely with strips of foil or a pie shield at the 20-minute mark.
Step 6: Rest Before Serving
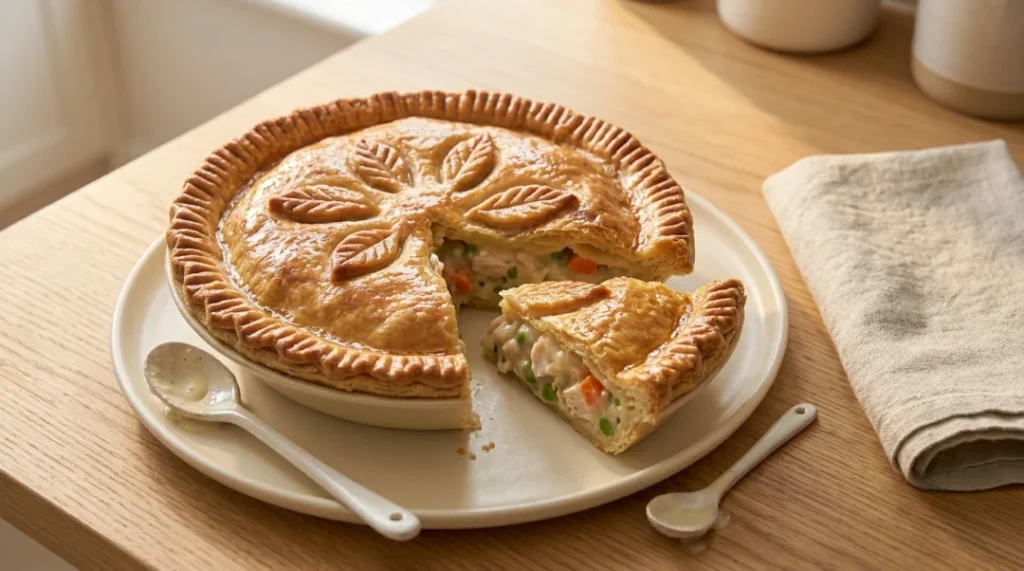
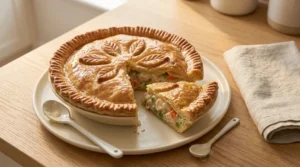
Rest the pie for 10 minutes before cutting. This is the step most people skip and then wonder why the filling runs onto the plate.
The filling continues to set as it cools. At 10 minutes, it holds its shape when spooned. At 5 minutes, it is still partially liquid. At room temperature (30+ minutes), it is fully set which makes leftovers even easier to serve. USDA safe minimum cooking temperatures
What Went Wrong in Early Testing
Batch 1: No blind bake, baked on middle rack.
Top crust was perfect deep golden, flaky. Bottom crust was pale and soft at the center. The wet filling had sat against it for 35 minutes without enough heat from below. Blind bake plus lowest rack on the next batch fixed both problems.
Batch 2: Used cream of chicken soup instead of roux.
The filling flavor was good but the consistency was unpredictable thickened in some spots, still liquid in others. The roux method produces a consistent, smooth filling every time.
Batch 3: Skipped the 10-minute rest.
The first slice collapsed filling ran across the plate. The pie tasted perfect but looked like it had failed. Ten minutes of rest changed everything.
Make Ahead Guide
Assemble today, bake tomorrow: Complete through Step 4. Cover tightly with plastic wrap and refrigerate overnight. When ready to bake: brush with egg wash, cut vents, bake at 425°F for 35 to 40 minutes (add 5 minutes to account for cold filling).
This is the most useful make-ahead method. The filling can be made up to 2 days ahead and refrigerated separately the crust goes in fresh on baking day.
Same day make filling ahead: The filling can be made in the morning and refrigerated. Assemble and bake in the evening. Cold filling goes into the crust cold this actually helps keep the bottom crust from softening before baking.
Freeze Guide Before vs After Baking
Freeze before baking (best method): Assemble completely through Step 4. Do not add egg wash. Wrap tightly in plastic wrap then foil. Freeze up to 3 months. Bake from frozen at 400°F for 55 to 65 minutes add egg wash before baking. Cover rim with foil for first 30 minutes.
Freeze after baking: Cool completely. Wrap and freeze up to 2 months. Reheat at 350°F covered with foil for 30 minutes, then uncovered for 10 minutes.
Freezing before baking produces a noticeably better crust the crust has not been exposed to steam from the filling yet and stays flakier.
Individual Pot Pies vs One Large Pie
| Large Pie (9-inch) | Individual Ramekins (6 oz) | |
|---|---|---|
| Bake time | 30–35 min | 20–25 min |
| Servings | 6 | 6 (one each) |
| Crust ratio | Less crust per serving | More crust per serving |
| Meal prep | Harder to portion | Easy to grab and reheat |
| Presentation | Classic | Impressive |
For individual pies: use oven-safe ramekins or muffin tins. Line with crust, fill, top with crust circle, cut vents, egg wash, bake at 425°F for 20 to 25 minutes. No blind bake needed the smaller size means the bottom crust gets more heat relative to the filling volume.
Pro Tips
- Blind bake the bottom crust always. Ten minutes on the lowest rack eliminates the soggy bottom problem completely.
- Heavy cream, not milk. The fat content is what makes the filling hold its consistency after baking. Milk produces a thinner result that runs when cut.
- Poultry seasoning is the secret. One half-teaspoon makes the filling taste like a proper pot pie rather than generic creamy chicken.
- Rest 10 minutes before cutting. The filling sets during this time. Cutting immediately always produces a runny result regardless of how well the filling was made.
- Lowest oven rack. Bottom heat is what crisps the bottom crust. Middle rack produces soft bottoms even with blind baking.
Variations
Leftover Thanksgiving Chicken: Use any leftover roasted chicken. This recipe was designed to use holiday leftovers the filling carries the flavor.
Chicken and Mushroom: Add 1 cup sliced cremini mushrooms with the onion in Step 2. The mushrooms add earthiness that makes this feel more restaurant-quality.
Chicken and Leek: Replace onion with 2 large leeks (white and light green parts, sliced). More delicate and elegant excellent for a dinner party.
Biscuit Top Instead of Crust: Skip the top crust entirely. Drop biscuit dough by spoonfuls on top of the filling before baking. Bake at 400°F for 25 to 30 minutes. Faster and equally comforting.
Mini Halloween Pot Pies: Cut top crust into ghost or bat shapes using cookie cutters. Place on top of filling instead of a full crust lid. Fun for Halloween kids love this version.
What to Serve With
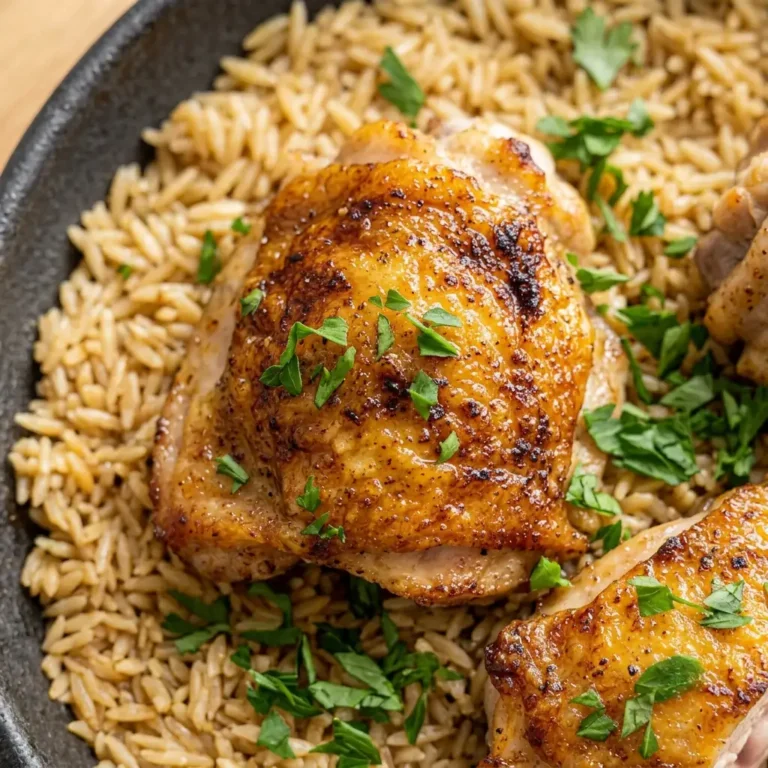
- Best One Pan Chicken and Rice Dinner — if you want a simpler weeknight chicken dinner
- Best Baked Chicken Breast That Never Dries Out — for a lighter option
- Creamy White Chicken Chili — another fall comfort food coming soon
- Simple green salad with apple cider vinaigrette the acidity cuts through the richness
- Roasted broccoli the slight bitterness balances the creamy filling
- Cranberry sauce yes, with chicken pot pie the sweetness works surprisingly well in fall
Storage and Reheating
Fridge: Up to 4 days covered tightly. The crust softens slightly after day 1 still very good, just different texture.
Reheat (oven): 350°F covered with foil for 20 minutes, then uncovered for 5 to 10 minutes. The crust crisps back up better than expected.
Reheat (microwave): Individual slices only. Cover with damp paper towel. 50% power for 2 minutes, then full power for 60 seconds. Crust will soften acceptable for a quick lunch.
Reheat (air fryer): 325°F for 6 to 8 minutes. The crust comes back noticeably crispier than microwave worth using for leftover slices.
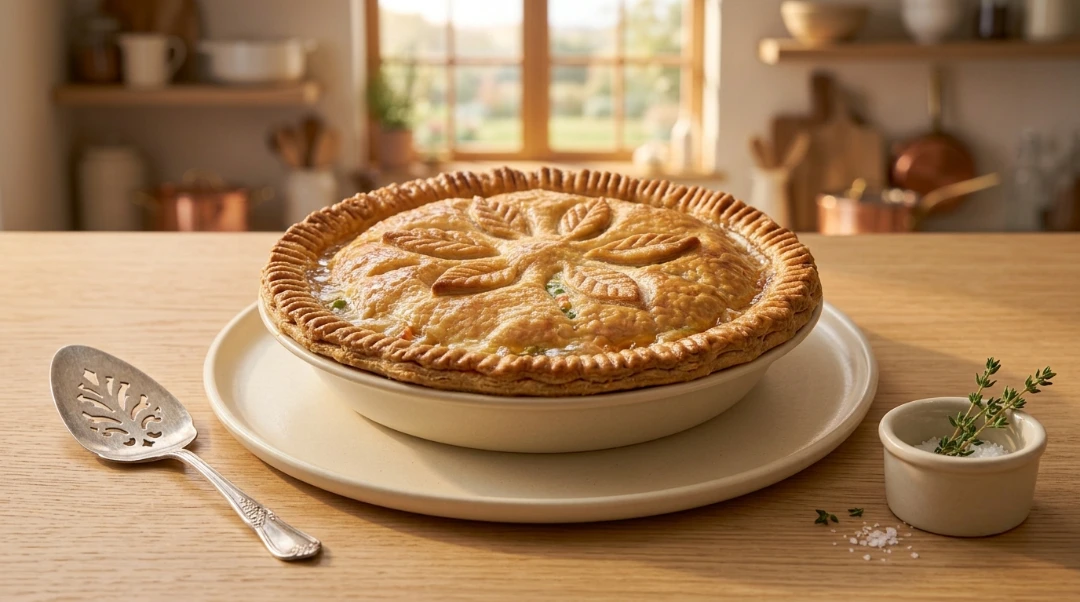
Best Easy Homemade Chicken Pot Pie
Ingredients
Equipment
Method
- Blind Bake Preheat oven to 425°F. Position rack on lowest third. Press one crust into deep dish pie plate. Prick bottom and sides with fork 10 to 12 times. Line with parchment and fill with pie weights. Bake 10 minutes on lowest rack. Remove parchment and weights crust should look dry and just setting. This step prevents soggy bottom crust.
- Cook Aromatics Melt butter in large skillet over medium heat. Add onion and celery. Cook 4 to 5 minutes until soft. Add garlic and stir 45 seconds.
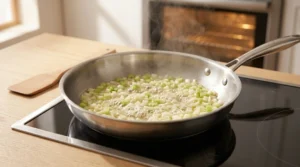
- Make Roux Add flour and stir constantly for 1 to 2 minutes until paste forms. Cook the full 2 minutes to remove raw flour taste.
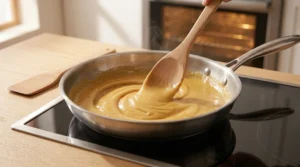
- Add Liquid Pour in broth gradually while stirring ½ cup at a time to prevent lumps. Add heavy cream. Stir continuously until filling thickens and bubbles 3 to 4 minutes. Should coat a spoon thickly.
- Add Chicken and Vegetables Remove from heat. Stir in rotisserie chicken, peas and carrots, corn, thyme, poultry seasoning, salt, and pepper. Taste and adjust seasoning filling should be well-seasoned.
- Fill and Top Pour filling into blind-baked bottom crust. Top with second crust, trim to ½ inch beyond rim, fold and crimp edges. Cut 4 to 5 vents in top. Brush with egg wash.
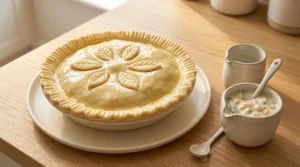
- Bake Bake at 425°F on lowest rack for 30 to 35 minutes until top is deep golden and filling bubbles through vents. Cover rim with foil at 20 minutes if edges brown too fast.
- Rest Rest 10 minutes before cutting. Filling sets during this time cutting earlier always produces runny result regardless of filling quality.
Notes
Nutrition Info (per serving, 1 slice of 6)
| Nutrient | Amount |
|---|---|
| Calories | 487 |
| Protein | 28g |
| Fat | 28g |
| Carbohydrates | 34g |
| Sodium | 620mg |
| Fiber | 3g |
| Sugar | 4g |
Nutrition information is an estimate and may vary depending on the ingredients and brands used. Data sourced from USDA FoodData Central.
FAQs
Q: How do I prevent a soggy bottom crust in chicken pot pie?
A: Two things together: blind bake the bottom crust for 10 minutes before adding filling, and bake the finished pie on the lowest oven rack. The blind bake sets the crust before wet filling touches it. The lowest rack position gives the bottom crust direct heat from below. Both steps together eliminate the soggy bottom problem completely.
Q: How do I make chicken pot pie filling thicker?
A: A roux-based filling (butter + flour cooked together before adding liquid) produces the most consistently thick result. The ratio that works every time is 4 tbsp butter, 4 tbsp flour, 1.5 cups broth, and ½ cup heavy cream. If the filling is still too thin after adding liquid, simmer uncovered for 2 to 3 more minutes. Do not add more flour it produces a pasty taste.
Q: Can I use rotisserie chicken for chicken pot pie?
A: Yes and it is actually the recommended method for this recipe. Rotisserie chicken is already seasoned and cooked, which adds flavor to the filling beyond what plain poached chicken provides. One standard rotisserie chicken yields about 3 cups of shredded meat exactly the right amount for this recipe.
Q: Can I freeze chicken pot pie?
A: Yes freeze before baking for best results. Assemble completely without the egg wash, wrap tightly, and freeze for up to 3 months. Bake directly from frozen at 400°F for 55 to 65 minutes. Freezing before baking produces a flakier crust than freezing after baking.
Q: Why does my chicken pot pie filling run when I cut it
? A: Almost always a resting time issue. The filling needs 10 full minutes to set after coming out of the oven. Cutting immediately releases liquid that has not had time to firm up even perfect filling will run if cut too soon. Rest 10 minutes without exception.
Q: How long does homemade chicken pot pie take?
A: About 1 hour total 10 minutes blind bake, 8 minutes making the filling, 5 minutes assembly, and 30 to 35 minutes baking. Using rotisserie chicken removes the chicken cooking time entirely.
About the Author
Written by a home cook and recipe developer who tested chicken pot pie methods across multiple crust types, filling approaches, and baking techniques. Every recommendation reflects real kitchen testing including several batches with soggy bottoms that led to the blind bake solution.
Would I Make This Again?
Every fall and most of winter.
The first batch with the blind bake and roux filling was the one that settled the method permanently. The bottom crust was golden all the way across. The filling held its shape when served. The rotisserie chicken shortcut meant the whole thing was on the table in an hour.
Chicken pot pie done right is not a weekend project. It is a weeknight dinner that happens to feel like a weekend project. That combination is what keeps it in the rotation every year when the weather turns.
Final Note
Flaky crust on top and bottom, thick creamy filling, deeply savory chicken the blind bake, the roux, the 10-minute rest, and the lowest rack position are the four things that make this easy homemade chicken pot pie consistently excellent.
Blind bake first, make the filling while it bakes, assemble, egg wash, bake on the lowest rack, rest 10 minutes. That is the whole method.
Made this? Save this recipe for the first cold evening this fall and drop a comment below. Did you go rotisserie chicken or cook your own? Pin this before the season starts.



2 Comments