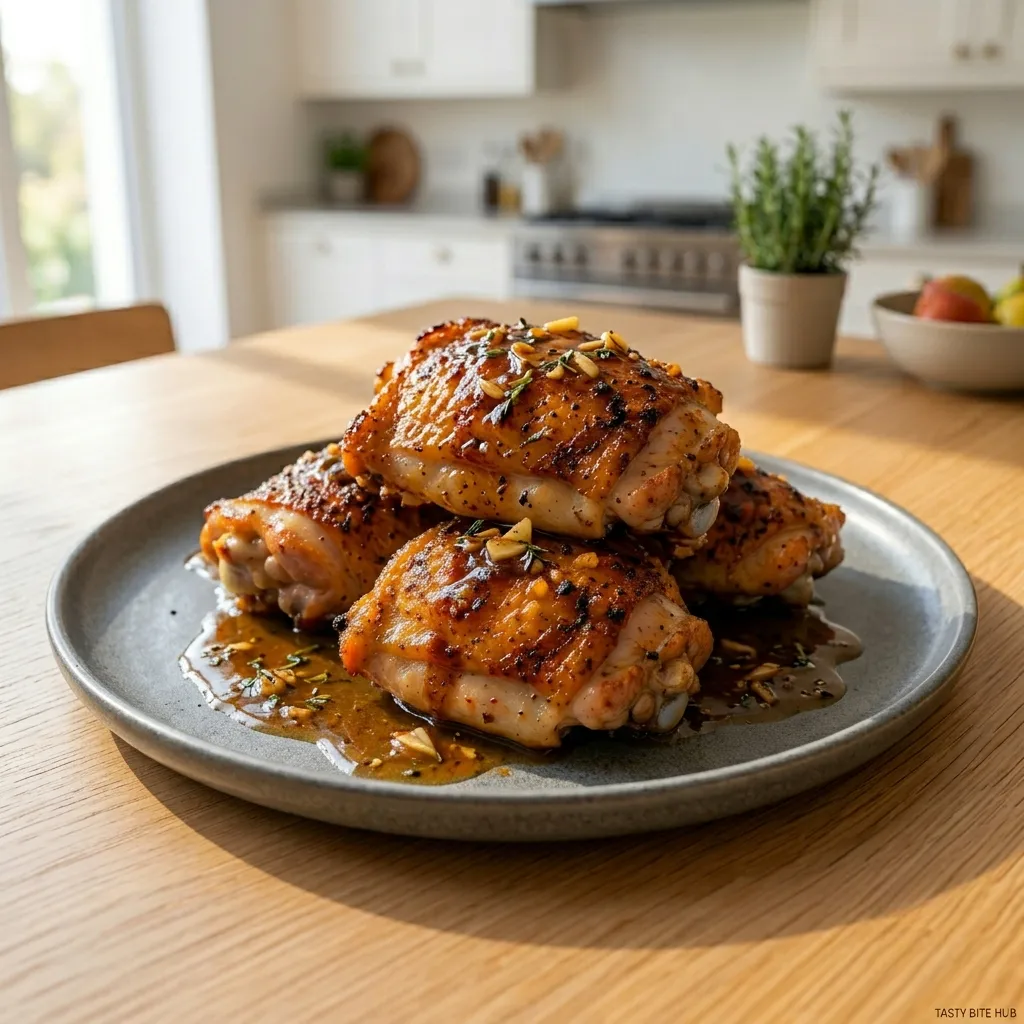
Best Stovetop Crispy Chicken Thighs One Pan Wonder
Wednesday night, 25 minutes, one pan.
That is what stovetop crispy chicken thighs became in this kitchen after figuring out two things that most recipes never mention: which side goes down first, and how much oil actually goes in the pan.
For a long time the results were inconsistent sometimes beautifully golden, sometimes sticking, sometimes crispy on top and pale underneath. The problem turned out to be starting with too much oil and not knowing which side of the thigh creates the best crust. Once those two things clicked, stovetop crispy chicken thighs became the most reliable weeknight dinner in the rotation.
Here is the full method including the three-minute pan sauce that makes the whole thing feel like a restaurant-quality meal.
Why Stovetop Beats the Oven for Chicken Thighs
The oven produces excellent chicken thighs. The stovetop produces faster ones with better crust control.
On the stovetop, you see and hear exactly what is happening. The sizzle tells you the heat is right. The color tells you when to flip. The fond building in the pan tells you there is a sauce coming. The oven gives none of that feedback you set a timer and hope.
For a 25-minute weeknight dinner with genuinely crispy skin, the stovetop wins. The oven is better for large batches. The stovetop is better for two to four thighs on a busy evening.
About This Recipe
These stovetop crispy chicken thighs were tested with bone-in skin-on and boneless skinless thighs, in cast iron, stainless steel, and nonstick pans, with different oil amounts, covered and uncovered, and with presentation side down vs smooth side down. The method below produced the crispiest, most consistent results across every test.
Ingredients
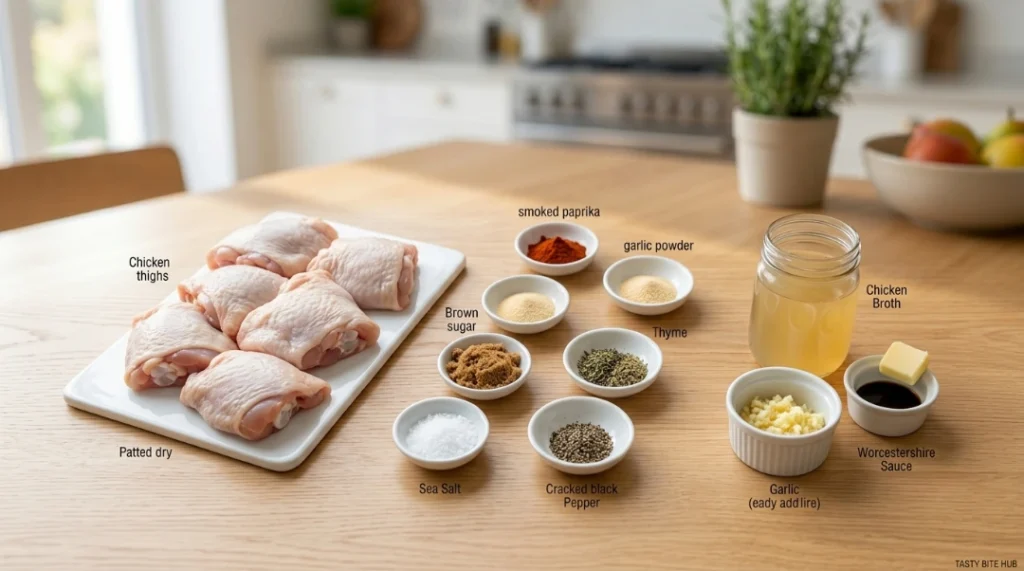
- Bone-in skin-on chicken thighs — 4 pieces (about 1.5 to 2 lbs)
- Olive oil or avocado oil — 1 tsp only (the secret is less oil than you think explained in Step 2)
- Smoked paprika — 1 tsp
- Garlic powder — 1 tsp
- Onion powder — ½ tsp
- Brown sugar — ½ tsp (encourages deeper browning and helps develop a lightly caramelized crust)
- Dried thyme — ½ tsp
- Salt — 1 tsp
- Black pepper — ½ tsp
For the Optional Pan Sauce:
- Butter — 1 tbsp
- Garlic — 2 cloves, minced
- Chicken broth — ¼ cup
- Fresh thyme or parsley for finishing
Ingredient Notes and Substitutions
Bone-in skin-on thighs are the recommended choice for this recipe. The skin is the entire point it renders into the pan, creates the fond for the sauce, and produces the crispy exterior that makes stovetop chicken thighs worth making. Boneless skinless thighs work and are faster instructions included below.
Brown sugar is optional but worth including. It encourages deeper browning and helps develop a lightly caramelized surface without adding any noticeable sweetness to the finished chicken.
Smoked paprika can be replaced with regular paprika, Cajun seasoning, or any spice blend that suits the variation being made.
The Presentation Side Which Goes Down First
Most recipes say “skin side down.” That is correct but incomplete.
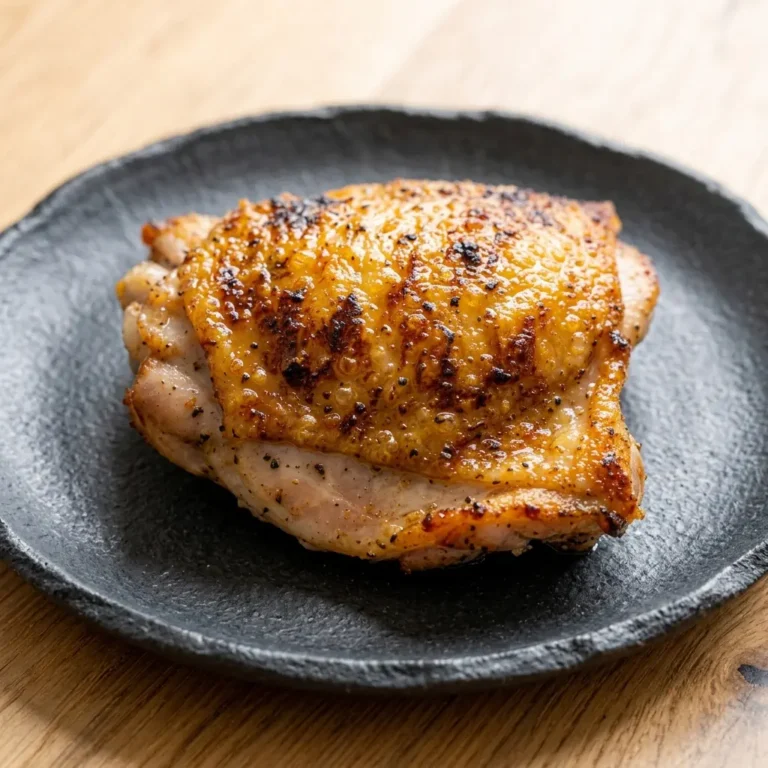
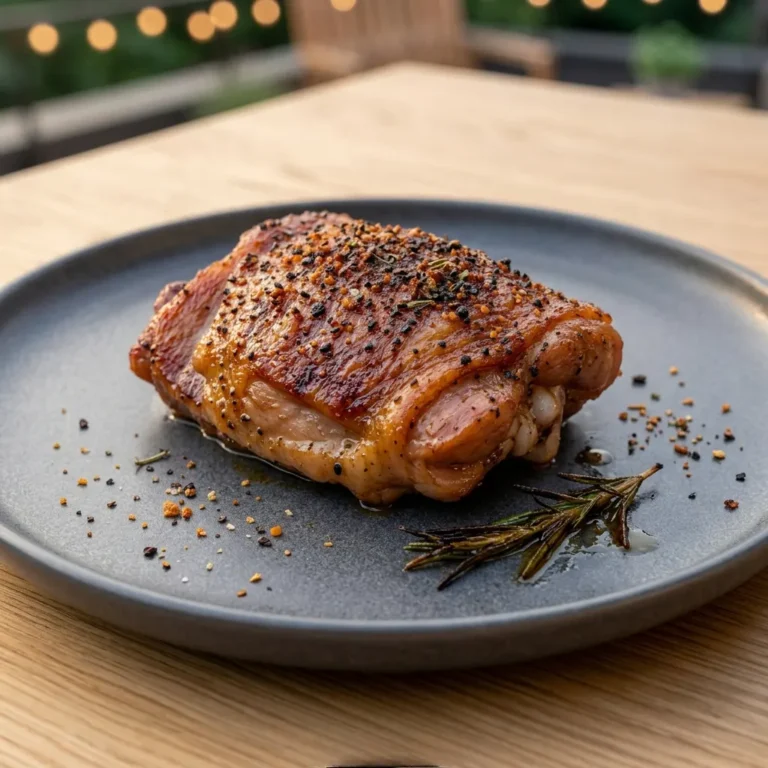
The presentation side of a chicken thigh is the smooth, rounded top surface. This is the side that looks best when served and the side that develops the most even, photogenic golden crust. The underside has more folds, seams, and exposed muscle fibers it browns unevenly.
Put the presentation side (smooth, rounded skin side) down first. That side spends the longest time against the heat and develops the best crust. The underside gets less time and that is fine it is not the side anyone sees.
Step-by-Step Instructions
Step 1: Trim and Season
Pat chicken thighs completely dry with paper towels both sides. Trim any large hanging pieces of excess skin from the edges. Leave enough skin to cover the meat, but remove the loose flapping pieces that steam instead of crisp.
Combine smoked paprika, garlic powder, onion powder, brown sugar, thyme, salt, and pepper. Apply dry rub evenly over all surfaces including under the skin where possible.
Step 2: The Oil Secret
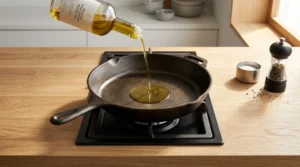
Add just 1 tsp of oil to a cold skillet. Tilt the pan to coat the bottom lightly.
This is the surprisingly simple detail that changed everything in testing. Most stovetop chicken recipes call for 1 to 2 tablespoons of oil. That much oil causes the chicken to shallow-fry rather than sear the skin steams slightly in the oil rather than rendering against the dry pan surface.
Chicken thighs render their own fat within the first 3 to 4 minutes. That rendered fat becomes the cooking medium. Starting with just enough oil to prevent sticking and letting the chicken do the rest produces a noticeably crisper result.
Step 3: Cold Pan Start
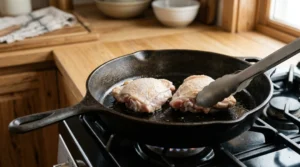
Place chicken thighs presentation side down in the cold oiled pan. Then turn the heat to medium.
Starting in a cold pan is the little-known professional technique that most home recipes skip entirely. A cold start lets the fat under the skin begin rendering gradually before the pan gets hot enough to brown the exterior. By the time the pan reaches searing temperature, the fat has already partially rendered and the skin crisps faster and more evenly as a result.
This is the game-changing step. A hot-pan start browns the exterior before the fat has a chance to render. The result is skin that looks golden but feels slightly rubbery underneath. Cold start fixes this completely.
Step 4: Sear Undisturbed 10 to 12 Minutes
Do not move the chicken for 10 to 12 minutes. The thighs will release naturally from the pan when the skin has developed a proper crust. If they resist when you try to move them at the 10-minute mark, they need more time. Forcing them up before the crust has set tears the skin.
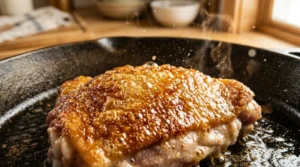
At the 10-minute mark the skin should be deep golden, feel firm when pressed, and release cleanly from the pan.
Step 5: Flip and Finish
Flip each thigh. Reduce heat slightly to medium-low. Cook the second side for 10 to 12 minutes until internal temperature reaches 165°F at the thickest part away from the bone per USDA safe minimum cooking temperatures.
For bone-in thighs: cover the pan loosely for the last 5 minutes of the second side. This traps heat and ensures the bone-in center cooks through without over-browning the already-seared exterior.
For boneless thighs: no cover needed. Cook second side 5 to 6 minutes uncovered and check temperature early.
Step 6: Rest the Chicken
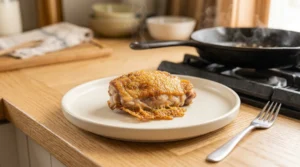
Remove chicken from the pan and rest on a plate for 5 minutes. Do not rest it in the pan the residual heat continues cooking and the skin softens against the pan surface. A plate or wire rack keeps the skin exposed to air and it stays crispier.
Step 7: Three-Minute Pan Sauce (Foolproof and Worth It)
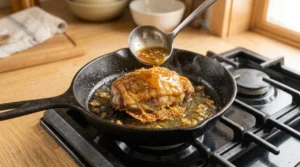
While the chicken rests, make the pan sauce. There is a layer of golden fond the browned bits left from the chicken on the bottom of the pan. This is concentrated flavor that most people discard.
Reduce heat to medium-low. Add butter and let it melt into the rendered chicken fat. Add minced garlic and stir for 30 to 45 seconds until fragrant.
Pour in ¼ cup chicken broth. Stir and scrape up every bit of fond from the pan bottom. Let simmer for 2 minutes until slightly reduced.
Taste and adjust seasoning. Spoon over rested chicken or serve alongside for dipping.
This sauce takes three minutes and elevates the entire dish. It is the step that makes stovetop chicken thighs taste restaurant-quality without any extra effort.
What Went Wrong in Early Testing
Batch 1: Too much oil 2 tbsp. The chicken sizzled and looked like it was cooking perfectly. When flipped, the skin was golden but had a slightly steamed texture underneath not the shatter-crispy result expected. Reduced to 1 tsp on the next batch and the difference was immediate.
Batch 2: Hot pan start. The skin browned quickly on the outside but the fat underneath had not rendered. The exterior was golden at 6 minutes but still had a layer of soft, ungendered fat under the crust. Cold pan start on the next batch produced a completely different result.
Batch 3: Moved the chicken at 7 minutes. The crust was not set. The skin tore at the edges and the golden crust stayed in the pan instead of on the chicken. Left it alone for the full 10 to 12 minutes from that point on.
Cover or No Cover Actual Difference
| Method | Skin Texture | Cook Through | Result |
|---|---|---|---|
| No cover — both sides | Crispiest skin | Bone-in may not cook through | Best for boneless |
| Cover last 5 min (second side) | Slightly less crispy | Bone-in cooks through reliably | Best for bone-in |
| Cover entire cook | Softest skin | Always cooks through | Not recommended |
Covering for the full cook time softens the skin significantly steam is the enemy of crispiness. Covering only for the last 5 minutes of the second side is the balance point for bone-in thighs.
Pan Type Comparison
| Pan Type | Crust | Fond for Sauce | Cleanup | Recommendation |
|---|---|---|---|---|
| Cast Iron | Excellent deep, even crust | Best fond | Medium | Top choice |
| Stainless Steel | Excellent crust and fond | Very good | Medium | Close second |
| Nonstick | Lighter crust, less fond | Minimal | Easy | Works but less crispy |
| Enameled Cast Iron | Good crust | Good fond | Easy | Good option |
Cast iron retains heat evenly and produces the best crust for stovetop crispy chicken thighs particularly on the cold-pan-start method where the pan heats up gradually with the chicken. Stainless steel is a close second and produces excellent fond for the pan sauce.
Bone-In vs Boneless Time Comparison
| Thigh Type | First Side | Second Side | Total Time |
|---|---|---|---|
| Bone-in skin-on | 10–12 min (medium) | 10–12 min (medium-low, cover last 5) | 22–26 min |
| Boneless skinless | 6–7 min (medium-high) | 5–6 min (medium) | 11–13 min |
Boneless thighs cook significantly faster and do not need the cover method. They produce a lighter crust than bone-in but are excellent for weeknight speed.
Splatter Management
Stovetop chicken thighs splatter. This is not avoidable the fat rendering from the skin hits a hot pan surface and produces a fine spray of oil.
Three things reduce this significantly:
- Start in a cold pan. The gradual heat increase means less violent fat rendering early on.
- Keep heat at medium. High heat causes aggressive splattering. Medium heat renders the fat more gently.
- Use a splatter screen. A mesh splatter screen over the pan contains most of the spray while still allowing steam to escape unlike a solid lid which would trap moisture and soften the skin.
A small bowl of white vinegar placed next to the stove absorbs cooking odors during and after cooking a surprisingly effective tip that most recipes never mention.
Pro Tips
- 1 tsp oil only. The chicken renders its own fat. Starting with too much oil causes shallow-frying instead of searing.
- Cold pan start is the secret. Most professional kitchens use this for skin-on poultry. It gives the fat time to render before the exterior browns.
- Do not move the chicken for 10 minutes. It releases naturally when the crust is ready. Forcing it up early tears the skin.
- Rest on a plate, not in the pan. Pan residual heat softens the skin during rest. A plate keeps the skin exposed and it stays crispier.
- The pan sauce takes 3 minutes. The fond on the pan bottom is concentrated chicken flavor do not wash it away without making the sauce first.
Variations
Lemon Herb Stovetop: Add 1 tsp lemon zest to dry rub. Deglaze with lemon juice + broth in the pan sauce. Finish with fresh parsley.
Garlic Butter: Double the butter in the pan sauce. Add 4 cloves garlic. Spoon repeatedly over resting chicken.
Cajun Stovetop: Replace dry rub with 1.5 tsp Cajun seasoning + ½ tsp brown sugar. Bold, slightly spicy, excellent over rice.
Honey Garlic Glaze: Skip pan sauce. Mix 2 tbsp honey + 1 tbsp soy sauce + 1 clove minced garlic. Brush over chicken in last 2 minutes of second side. Watch heat closely honey burns fast.
Italian Herb: Replace thyme with Italian seasoning. Add ¼ cup white wine to the pan sauce instead of broth.
What to Serve With:
- Best Honey Garlic Chicken Thighs Stovetop — same pan method, completely different flavor profile
- Best Slow Cooker Chicken Thighs — Dump and Go — hands-off version for busy days
- Best Air Fryer Chicken Thighs — Perfectly Crispy in 20 Minutes — faster option with similar crispiness
- Garlic mashed potatoes the pan sauce spoons over perfectly
- Steamed jasmine rice simple crowd pleaser that catches every drop of sauce
- Roasted asparagus or green beans both cook while the chicken rests
Storage and Reheating
Fridge: Up to 4 days in an airtight container. Store with a spoonful of pan sauce poured over to keep the meat moist.
Reheat (air fryer): 375°F for 5 to 6 minutes. The skin comes back crispier than any other reheat method genuinely worth using the air fryer just for this.
Reheat (oven): 400°F for 8 to 10 minutes uncovered on a wire rack. Second best option for crispy skin on reheated chicken.
Reheat (stovetop): Medium-low in a covered pan with 1 tbsp water for 4 to 5 minutes. Skin will soften but the meat reheats beautifully.
Freeze: Freeze after cooking. Thaw overnight in fridge. Reheat in oven at 375°F uncovered for 15 minutes from cold.
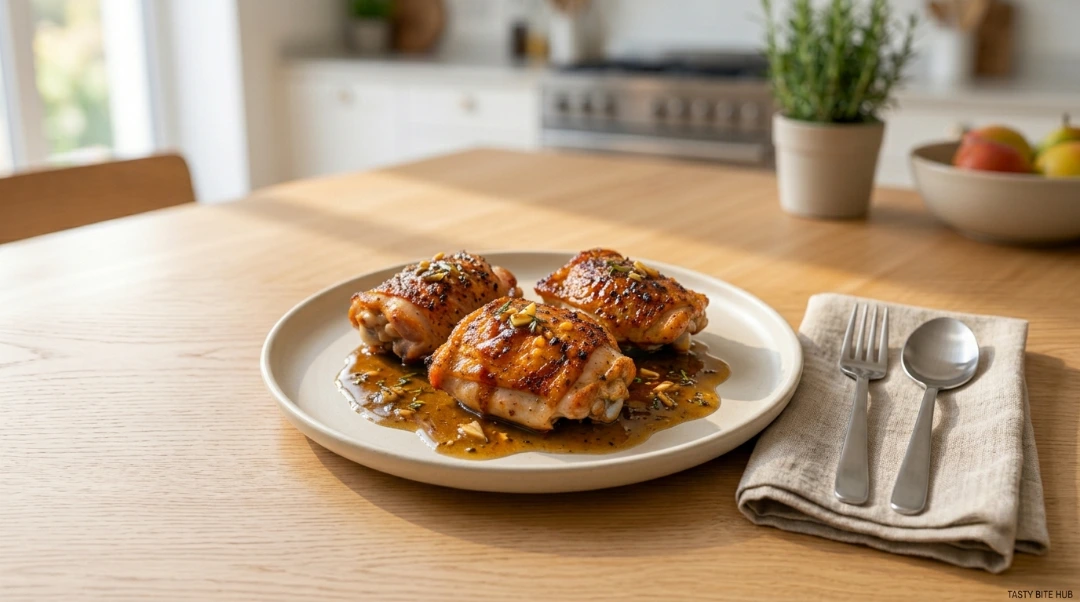
Best Stovetop Crispy Chicken Thighs One Pan, 25 Minutes
Ingredients
Equipment
Method
- Trim and Season Pat chicken thighs dry with paper towels. Trim large hanging skin pieces from edges. Combine all dry rub ingredients and rub evenly over all surfaces including under the skin.
- Oil the Pan Add just 1 tsp oil to a cold skillet and tilt to coat lightly. This is the surprisingly simple secret too much oil causes steaming instead of searing. The chicken renders its own fat within the first few minutes.
- Cold Pan Start Place thighs presentation side (smooth skin side) down in the cold oiled pan. Turn heat to medium. Starting cold lets the fat under the skin render gradually before the pan gets hot enough to brown the little-known trick that produces the crispiest stovetop results.
- Sear Undisturbed Do not move chicken for 10 to 12 minutes. It releases naturally from the pan when the crust is ready. Forcing it up before the crust sets tears the skin. At 10 to 12 minutes skin should be deep golden and firm.
- Flip and Finish Flip each thigh. Reduce heat to medium-low. Cook 10 to 12 minutes until internal temperature reads 165°F at thickest part away from bone per USDA safe minimum cooking temperatures. For bone-in thighs cover loosely for last 5 minutes only.
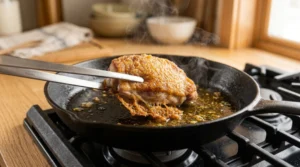
- Rest on a Plate Remove chicken to a plate not back into the pan. Pan residual heat softens the skin during rest. A plate keeps skin exposed to air and it stays crispier. Rest 5 minutes
- Pan Sauce (3 Minutes) Reduce heat to medium-low. Add butter to pan. Add garlic and stir 30 to 45 seconds. Pour in broth and scrape up all fond from pan bottom. Simmer 2 minutes until slightly reduced. Spoon over chicken.
Notes
Nutrition Info (per serving, 1 bone-in thigh approx. 7 to 8 Oz raw)
| Nutrient | Amount |
|---|---|
| Calories | 267 |
| Protein | 22g |
| Fat | 19g |
| Carbohydrates | 2g |
| Sodium | 390mg |
| Fiber | 0g |
| Sugar | 1g |
Nutrition information is an estimate and may vary depending on the ingredients and brands used. Data sourced from USDA FoodData Central.
FAQs
Q: How do I get stovetop chicken thighs crispy without burning them?
A: Medium heat and a cold pan start are the two controls. Medium heat allows the fat to render gradually without the exterior burning before the inside cooks through. Cold pan start gives the fat time to begin rendering before the pan reaches searing temperature the crust develops more evenly and more deeply as a result.
Q: How long do stovetop crispy chicken thighs take?
A: Bone-in skin-on thighs take 22 to 26 minutes total on the stovetop 10 to 12 minutes per side at medium heat. Boneless skinless thighs take 11 to 13 minutes total. A meat thermometer is the most reliable way to confirm doneness regardless of timing.
Q: Should I cover chicken thighs on the stovetop?
A: For bone-in thighs, cover loosely for the last 5 minutes of the second side only. This traps enough heat to ensure the bone-in center cooks through without steaming the already-seared skin. Covering the entire cook time produces significantly softer skin.
Q: Why does my stovetop chicken stick to the pan?
A: Usually one of two reasons the pan was not hot enough when the chicken went in, or the chicken was moved before the crust had time to form. With the cold-pan-start method, patience is the fix. Leave the chicken untouched for the full 10 minutes. It will release cleanly when the crust is set.
Q: What is the best pan for stovetop crispy chicken thighs?
A: Cast iron produces the best crust it retains heat evenly and works especially well with the cold-pan-start method. Stainless steel is a close second and produces excellent fond for the pan sauce. Nonstick works but produces a lighter crust and minimal fond.
Q: What internal temperature should stovetop chicken thighs reach?
A: 165°F minimum at the thickest part away from the bone per USDA guidelines. Chicken thighs can go to 170°F to 175°F for a more tender, fall-apart texture without drying out unlike breast meat, the fat content keeps thighs juicy past 165°F. See USDA safe minimum cooking temperatures.
About the Author
Written by a home cook and recipe developer who has tested stovetop chicken thigh methods across multiple pan types and heat levels. Every technique and timing in this article reflects real kitchen testing not assumptions.
Would I Make This Again?
Every week specifically on nights when there is 25 minutes and one pan available and the result still needs to be genuinely good.
The cold-pan-start method took one test batch to commit to permanently. The difference between a hot-pan start and a cold-pan start on the same thighs in the same pan was visible and testable. The pan sauce adds three minutes and changes the dish from good to one people ask about.
Stovetop crispy chicken thighs are the kind of recipe that earns a weekly spot not because they are impressive but because they are reliably excellent with almost no effort.
Final Note
Shatteringly crispy skin and juicy meat in 25 minutes from one pan the cold start, the right oil amount, and the three-minute pan sauce are all it takes. None of it is complicated. All of it makes a difference.
Start cold, be patient for 10 minutes, rest on a plate, make the sauce. That is the whole method.
Made these? Save this recipe for your next busy weeknight and drop a comment below. Did you try the cold-pan start for the first time? Pin this before you forget it.