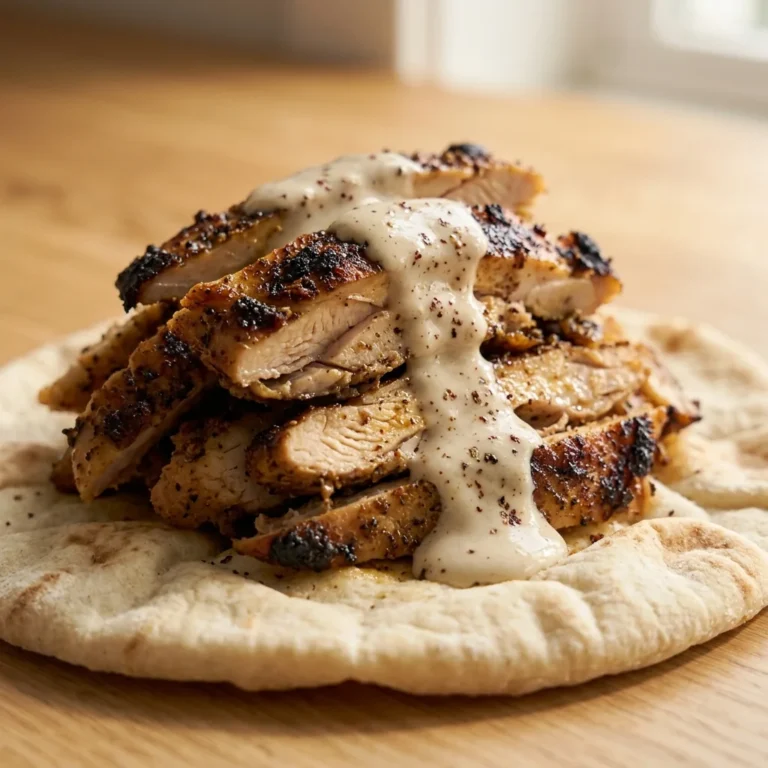

Best Crispy Baked Chicken Drumsticks — Perfectly Golden
Chicken drumsticks have a reputation for being a budget cut something you make when the freezer needs clearing, not something you make because you genuinely want it.
That changed the first time a batch came out of the oven with skin that shattered when bitten and meat that pulled away from the bone cleanly. The difference between that batch and every forgettable one before it came down to two things that cost nothing extra: baking powder in the dry rub and an uncrowded wire rack at high heat.
These crispy baked chicken drumsticks have been on the rotation ever since not because they are cheap (though they are), but because when done right, they are genuinely one of the most satisfying chicken recipes in this kitchen.
Here is the full method.
The 165°F vs 185°F Question Most Sites Get This Wrong
Almost every baked chicken recipe says pull at 165°F. For chicken breast, that is correct. For drumsticks, it misses something important.
Drumsticks are dark meat. Dark meat contains significantly more connective tissue and collagen than breast meat. At 165°F, drumstick meat is safe to eat but the collagen has not fully broken down. The texture is firmer and sometimes slightly chewy near the bone.
At 185°F, the collagen breaks down into gelatin. The meat becomes genuinely tender, pulls away from the bone cleanly, and has a richness that drumsticks cooked to 165°F simply do not have.
When it comes to dark meat like chicken legs, the magic number is 185°F letting the dark meat cook to that temperature lets the collagen break down, creating the juicy fall-off-the-bone tenderness that everyone loves.
For crispy baked chicken drumsticks, the target is 185°F not 165°F. The USDA minimum for safety is 165°F drumsticks cooked to 185°F exceed that safely and taste significantly better.
Why Baking Powder Is the Secret
Baking powder cannot be left out if you want amazingly crispy skin. It raises the skin’s pH level, which accelerates the Maillard reaction the browning process that creates color and crunch. It also draws surface moisture out of the skin during baking, which is what produces the blistered, shatteringly crispy texture rather than just a golden one.
The amount matters. This is a very light dusting the coating is not like a breading or as thick as when you coat chicken in flour. Too much baking powder leaves a slightly metallic taste. One teaspoon per pound of drumsticks, aluminum-free, is the correct amount.
About This Recipe
These crispy baked chicken drumsticks were tested at 400°F, 425°F, and 450°F, with and without baking powder, on a flat sheet and a wire rack, covered with foil and uncovered, and with different glaze timing. The method below produced the crispiest skin and most tender meat consistently across every test.
Ingredients
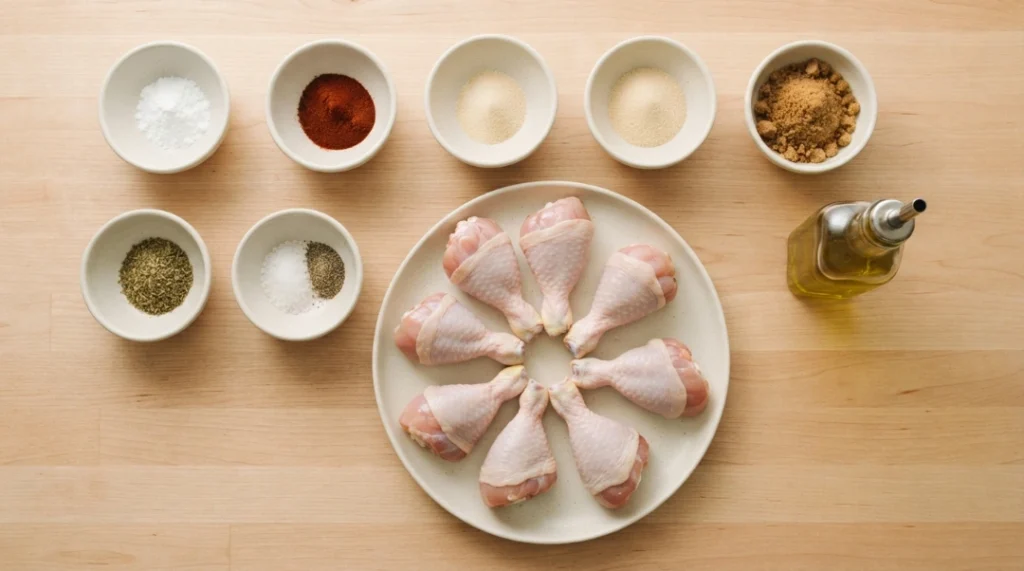
- Chicken drumsticks — 8 pieces (about 2.5 lbs total)
- Baking powder — 2 tsp (aluminum-free this is the game-changer)
- Smoked paprika — 1.5 tsp (deep color and smoky depth)
- Garlic powder — 1 tsp
- Onion powder — 1 tsp
- Brown sugar — 1 tsp (encourages deeper browning and helps develop a lightly caramelized crust)
- Dried oregano — ½ tsp
- Salt — 1.5 tsp
- Black pepper — ½ tsp
- Olive oil — 1 tbsp
Ingredient Notes and Substitutions
Aluminum-free baking powder is important. Regular baking powder contains aluminum compounds that leave a faintly metallic taste on the skin noticeable enough that most people register it as something being off without identifying the cause. Bob’s Red Mill and Rumford are two widely available aluminum-free options.
Brown sugar is optional for keto leave it out and the skin will still crisp well, just with slightly less surface color.
The smoked paprika provides both color and a subtle depth that regular paprika does not replicate exactly. If using regular paprika, add ¼ tsp cumin to approximate the smokiness.
The Overnight Fridge Method Biggest Crispiness Upgrade
Most recipes skip this entirely. It is the single most impactful step that costs zero extra ingredients.
After coating the drumsticks with baking powder and dry rub, place them on a wire rack over a baking sheet and refrigerate uncovered overnight or for at least 4 hours. The cold, dry air of the refrigerator draws additional moisture from the skin surface producing a drier, tighter skin that crisps dramatically faster in the oven.
In testing, overnight-rested drumsticks developed golden skin at the 25-minute mark. Same-day drumsticks needed 35 minutes to reach the same level of color and crunch.
For a weeknight dinner, even 1 to 2 hours in the fridge produces a noticeable difference. For a weekend dinner where planning is possible, overnight transforms the result.
Step-by-Step Instructions
Step 1: Dry the Drumsticks Thoroughly
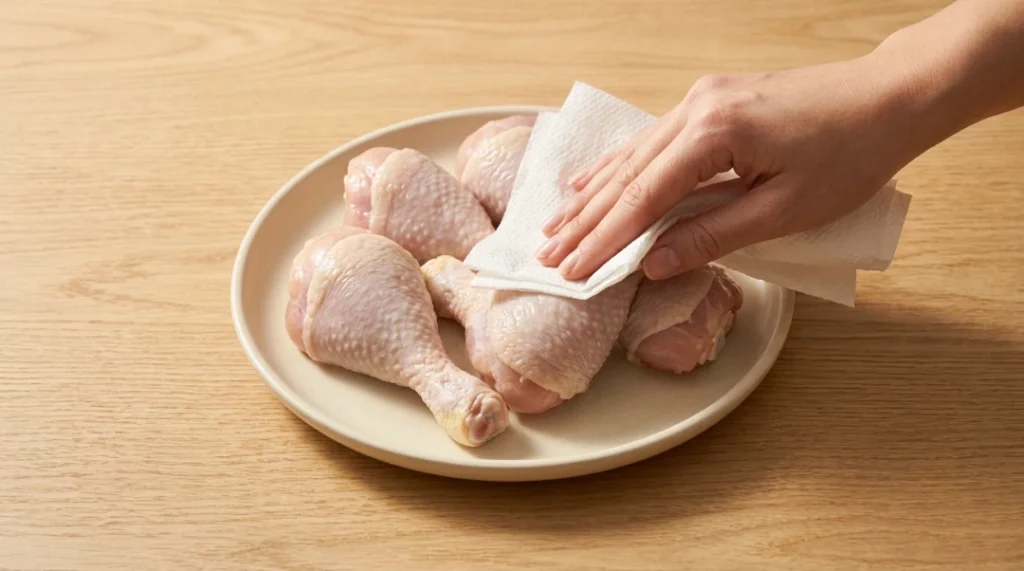
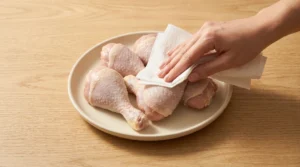
Pat every drumstick completely dry with paper towels all surfaces including the underside and the joint at the top. Drumsticks have more surface area than flat chicken pieces moisture hides in the folds near the joint. Take an extra 30 seconds per drumstick to ensure every area is dry.
Surface moisture is what prevents the skin from crisping. A drumstick that enters the oven with wet skin spends the first 15 minutes essentially steaming before any crisping can begin.
Step 2: Apply Dry Rub
Combine baking powder, smoked paprika, garlic powder, onion powder, brown sugar, oregano, salt, and pepper in a large bowl. Add olive oil and stir into a loose paste.
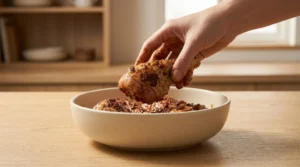
Add drumsticks and toss until every drumstick is evenly and lightly coated. The coating should look like a dusting not a thick layer. Baking powder works through contact with the skin surface, not through thickness.
Step 3: Refrigerate (Highly Recommended)
Place coated drumsticks on a wire rack over a rimmed baking sheet. Refrigerate uncovered for at least 1 hour overnight if possible.
If time does not allow refrigeration, proceed directly to baking. The result will still be good just not quite as crispy as the rested version.
Step 4: Preheat Oven
Preheat oven to 425°F (220°C). Position rack in the upper third of the oven closer to the heat element means faster skin crisping.
Testing at 400°F, 425°F, and 450°F showed 425°F as the balance point. At 400°F, the skin needed extra time and never got quite as deep in color. At 450°F, the skin darkened before the meat reached 185°F on larger drumsticks.
Step 5: Arrange on Wire Rack
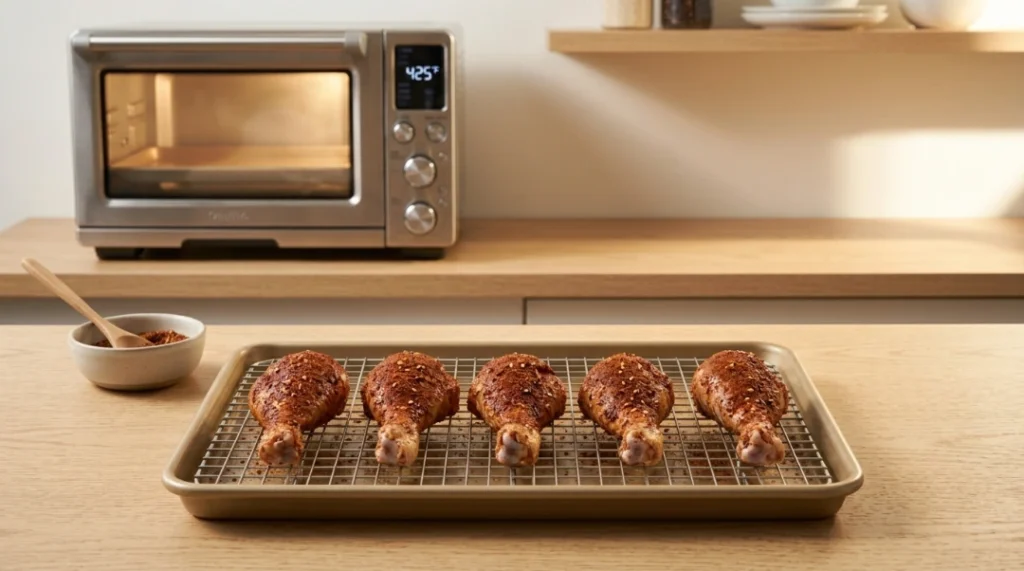
Place drumsticks on the wire rack with space between each piece. They should not touch contact points produce soft skin at those spots. A standard half-sheet pan with a wire rack fits 8 drumsticks comfortably.
The wire rack is non-negotiable. Without it, the underside of each drumstick sits against the pan surface and steams rather than crisps. Testing a flat sheet vs wire rack produced dramatically different results on the underside skin specifically.
Step 6: Bake and Rotate
Bake for 25 minutes. Remove from oven and rotate each drumstick 90 degrees this exposes a new side to the direct oven heat and ensures even crisping all the way around. Drumsticks are cylindrical, which means the sides touching the rack get less direct heat than the top.
Return to oven for another 20 to 25 minutes until internal temperature reads 185°F at the thickest part away from the bone and the skin is deep golden and blistered.
Total bake time: 45 to 50 minutes.
Step 7: Glaze (Optional Timing Matters)
If adding a sauce or glaze BBQ, honey garlic, or teriyaki apply it only in the last 8 minutes of baking. Sauces applied earlier burn from the sugar content before the chicken finishes cooking.
At the 8-minute mark, brush the glaze over all surfaces. Return to oven uncovered. The glaze caramelizes and sets without burning. A second thin coat in the last 3 minutes adds depth and shine.
Step 8: Rest Before Serving
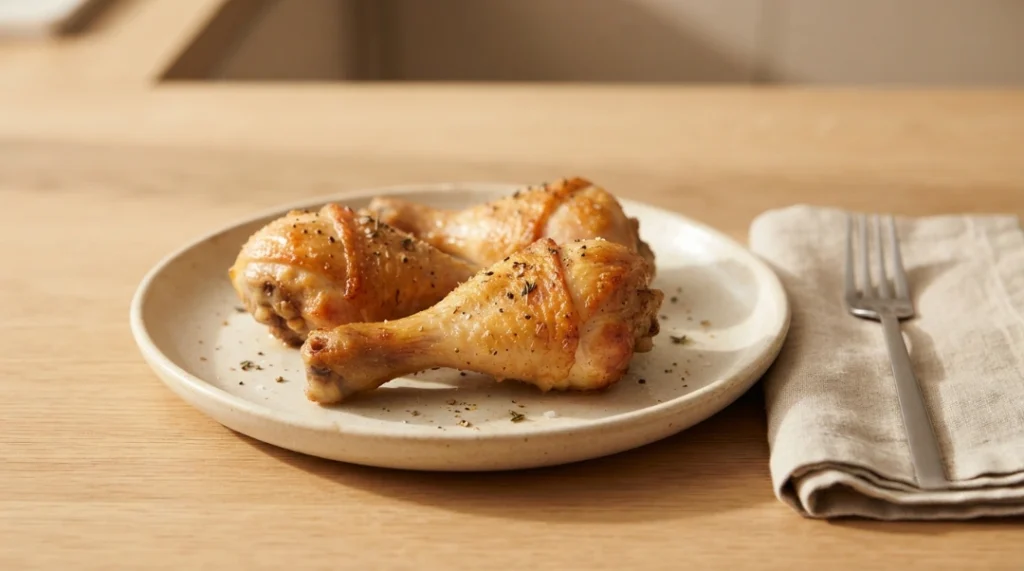
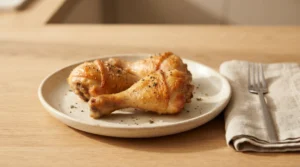
Remove from oven. Rest 5 minutes on the wire rack before serving. The skin firms slightly as it cools and becomes even crunchier during this rest.
What Went Wrong in Early Testing
Batch 1: Pulled at165°F.
The skin was excellent the method worked. But the meat near the bone was slightly firm and not as rich as expected. Pulled the next batch at 185°F the difference in meat texture and flavor was significant. The collagen breakdown at the higher temperature produced noticeably more tender, richer meat.
Batch 2: Applied BBQ sauce at the 20-minute mark.
The sauce was dark brown and slightly bitter by the time the chicken finished cooking. The sugar had caramelized past the right point and taken on a burned note. Moved glaze application to the last 8 minutes the result was a glossy, properly caramelized coating with no bitterness.
Batch 3: Skipped the rotation.
The top surface and one side were deep golden and crispy. The side that faced the rack for the entire cook was notably less crispy and slightly pale. Rotation at the 25-minute mark solved this in the next batch.
Small vs Large Drumstick Timing Guide
| Drumstick Size | Weight | Bake Time | Target Temp |
|---|---|---|---|
| Small | 3–4 oz | 38–42 min | 185°F |
| Standard | 4–5 oz | 45–50 min | 185°F |
| Large | 5–6 oz | 50–55 min | 185°F |
Drumstick size varies considerably in a single package checking temperature rather than relying solely on time is the only reliable method. Start checking at the lower end of the time range.
Foil vs No Foil What Actually Happens
| Method | Skin Result | Meat Result | Recommendation |
|---|---|---|---|
| Foil under rack | No difference | No difference | Fine — easy cleanup |
| Foil over chicken | Soft, steamed skin | Moist meat | Not recommended |
| No foil at all | No difference | No difference | Fine |
Foil under the rack (for easy cleanup) makes no difference to the result the chicken is elevated on the rack and not in contact with the foil. Foil over the chicken traps steam and undoes the drying work of both the refrigerator rest and the baking powder. Never cover drumsticks during baking.
Pro Tips
- 185°F is the target for drumsticks not 165°F. Dark meat needs the higher temperature for the collagen to break down fully. Safe, tender, and significantly more flavorful at 185°F.
- Baking powder is non-negotiable for the blistered, shatteringly crispy skin. Nothing else replicates the effect.
- Overnight fridge rest is the biggest free upgrade. One hour minimum, overnight for the best result.
- Rotate at the 25-minute mark. Drumsticks are cylindrical one rotation ensures even crisping all the way around.
- Glaze only in the last 8 minutes. Sugar burns. Timing the glaze correctly is what separates caramelized from bitter.
Variations
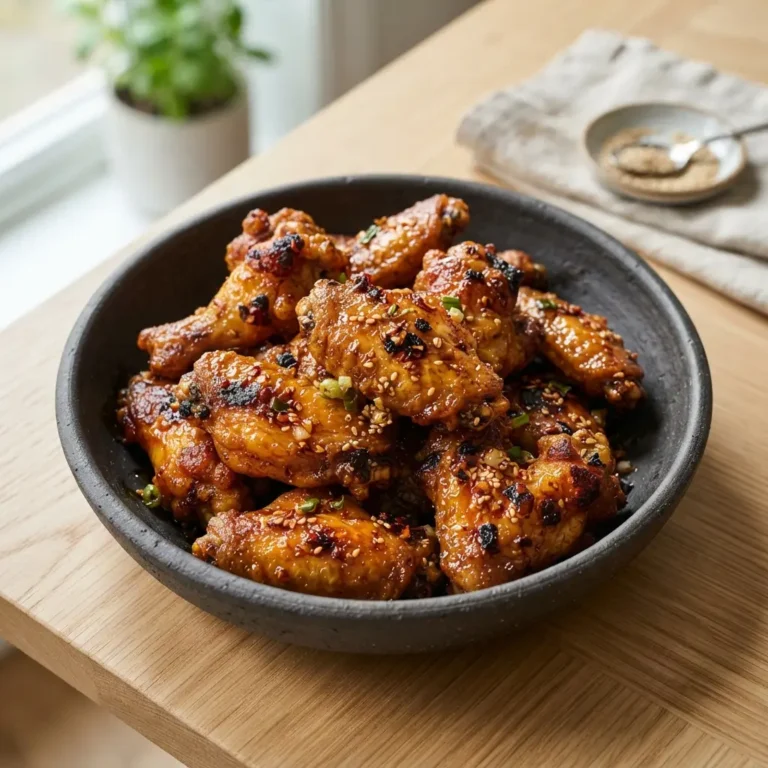
Classic BBQ: Brush with favorite BBQ sauce at the last 8 minutes. Second coat at 3 minutes. The most requested version in this kitchen.
Honey Garlic: Mix 3 tbsp. honey + 2 tbsp. soy sauce + 2 cloves minced garlic. Apply at last 8 minutes. Brush again at 3 minutes. Sticky, glossy, deeply flavored.
Lemon Pepper: Add 1 tsp lemon zest and extra black pepper to the dry rub. Finish with fresh lemon squeeze after resting.
Cajun Style: Replace dry rub with 2 tsp Cajun seasoning + baking powder + salt. Bold, slightly spicy, excellent with rice.
Teriyaki: Season with salt, pepper, garlic only. Brush with teriyaki sauce at last 8 minutes. Serve over steamed rice.
What to Serve With
- Crispy Chicken Wings Without Deep Frying — for a full no-fry spread at a party or game day
- Best Slow Cooker Chicken Thighs — Dump and Go — if you want hands-off dark meat instead
- Best Air Fryer Chicken Thighs — Perfectly Crispy in 20 Minutes — faster option for weeknight cooking
- Classic coleslaw the cool crunch is the perfect contrast to hot, crispy drumsticks
- Cornbread the combination is a genuinely comforting family dinner
- Roasted sweet potato bakes at the same temperature on the rack below
Storage and Reheating
Fridge: Up to 4 days in an airtight container.
Reheat (oven): 400°F for 12 to 15 minutes on a wire rack uncovered. The skin comes back significantly crispier than any other reheating method except air fryer.
Reheat (air fryer): 375°F for 6 to 8 minutes. The best reheating method skin returns genuinely crispy and the meat reheats evenly.
Microwave: Not recommended for crispy skin the skin turns soft within 60 seconds. If using microwave for convenience, accept that the skin will soften and focus on reheating the meat only.
Freeze: Freeze after cooking and cooling completely. Thaw overnight in fridge. Reheat in oven at 400°F for 18 to 20 minutes from cold, or air fryer at 375°F for 10 to 12 minutes.
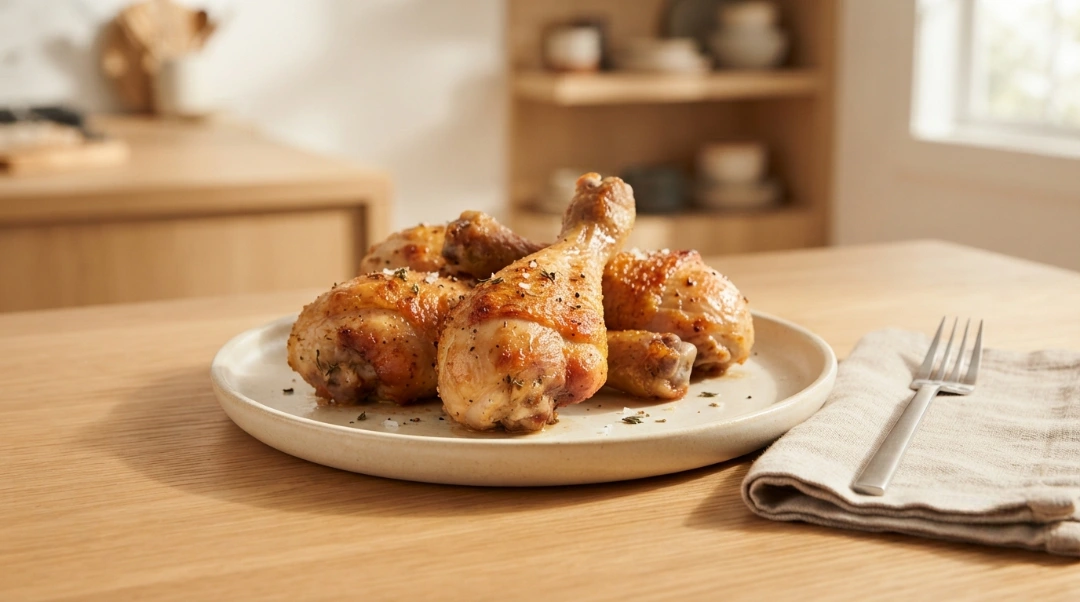
Best Crispy Baked Chicken Drumsticks — Perfectly Golden Every Time
Ingredients
Equipment
Method
- Dry Thoroughly Pat every drumstick completely dry with paper towels all surfaces including underside and joint area. Extra moisture near the joint is the most commonly missed spot. Thorough drying is the foundation of crispy skin.
- Apply Dry Rub Combine baking powder and all spices in a large bowl. Add olive oil and stir into a loose paste. Add drumsticks and toss until every piece is evenly and lightly coated.
- Refrigerate (Recommended) Place on wire rack over rimmed baking sheet. Refrigerate uncovered for 1 hour minimum overnight for best results. Cold dry air draws additional moisture from the skin, dramatically improving crispiness. Skip if time does not allow.
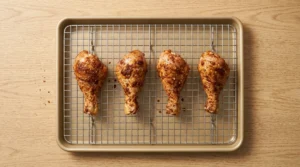
- Preheat Oven Preheat to 425°F (220°C). Position rack in upper third of oven for maximum skin crisping.
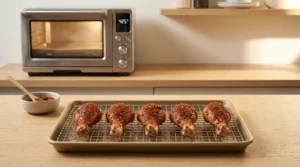
- Arrange and Bake First Round Place drumsticks on wire rack with space between each. Bake 25 minutes.
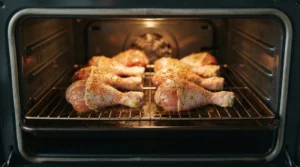
- Rotate and Finish Rotate each drumstick 90 degrees to expose a new side to heat. Bake another 20 to 25 minutes until internal temperature reads 185°F at thickest part away from bone per USDA safe minimum cooking temperatures. Skin should be deep golden and blistered.
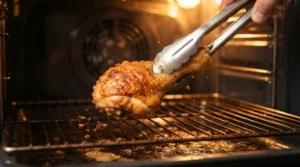
- Glaze (Optional) Apply any glaze (BBQ, honey garlic, teriyaki) only in the last 8 minutes of baking. Sugar burns if applied earlier. Second coat in final 3 minutes for depth and shine.
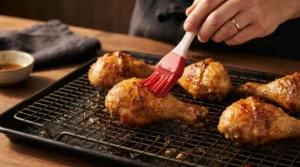
- Rest Before Serving Rest 5 minutes on wire rack. Skin firms and crunches more as it cools slightly.
Notes
Nutrition Info (per serving, 2 drumsticks approx. 8 to 10 Oz raw)
| Nutrient | Amount |
|---|---|
| Calories | 312 |
| Protein | 30g |
| Fat | 18g |
| Carbohydrates | 4g |
| Sodium | 480mg |
| Fiber | 0g |
| Sugar | 2g |
Nutrition information is an estimate and may vary depending on the ingredients and brands used. Data sourced from USDA FoodData Central.
FAQs
Q: What temperature should baked chicken drumsticks reach?
A: The USDA minimum safe temperature is 165°F. For drumsticks specifically, 185°F produces significantly better results the collagen in dark meat breaks down at this temperature, producing tender, fall-off-the-bone meat and a richer flavor. Both are safe. 185°F tastes better.
Q: How long do crispy baked chicken drumsticks take in the oven?
A: Standard-sized drumsticks (4 to 5 Oz each) take 45 to 50 minutes at 425°F on a wire rack. Small drumsticks finish in 38 to 42 minutes. Large drumsticks may need 50 to 55 minutes. Always check internal temperature rather than relying solely on time drumstick size varies considerably.
Q: Does baking powder really make chicken skin crispy?
A: Yes and it is the most impactful single ingredient change available for oven-baked chicken. It raises the skin’s pH, which accelerates browning and draws moisture to the surface where it evaporates faster. The result is skin that blisters and crisps rather than simply turning golden. Use aluminum-free baking powder regular baking powder can leave a faint metallic taste.
Q: Should I use foil when baking chicken drumsticks?
A: Foil under the wire rack for easy cleanup makes no difference to the result. Foil over the chicken traps steam and prevents crisping. Never cover drumsticks during baking.
Q: Can I make these ahead of time for meal prep?
A: Excellent for meal prep the flavor and texture hold well for 4 days in the fridge. Reheat in the air fryer at 375°F for 6 to 8 minutes for the best result. The BBQ and honey garlic variations reheat particularly well because the glaze helps retain moisture in the meat.
Q: Why does my baked chicken skin wrinkle and shrink instead of crisping?
A: Usually a moisture problem the skin was not dried thoroughly before seasoning, or there was too much oil in the dry rub. Pat very dry, use oil sparingly (1 tbsp. for 8 drumsticks), and ensure the chicken is on a wire rack so air circulates underneath.
About the Author
Written by a home cook and recipe developer who has tested oven chicken drumstick methods across multiple temperatures, coating types, and timing approaches. Every recommendation in this article reflects real kitchen testing.
Would I Make This Again?
Every week during grilling season when the oven is more convenient and most of the year otherwise.
The batch that changed the method permanently was the overnight-rested version with baking powder pulled at 185°F. The skin shattered. The meat pulled cleanly from the bone. Everything that makes drumsticks great was working at the same time.
Crispy baked chicken drumsticks done right are not a budget compromise. They are one of the best things that comes out of this oven on a regular basis.
Final Note
Shatteringly crispy skin and fall-off-the-bone tender meat from the oven no frying, no complicated technique. Dry the skin, baking powder in the rub, wire rack, refrigerate if possible, pull at 185°F, rotate once, glaze only at the end.
That sequence produces the same result every time the oven is on.
Made these? Save this recipe for your next family dinner and drop a comment below. Did you go classic or try the honey garlic variation? Pin this before you forget it.