
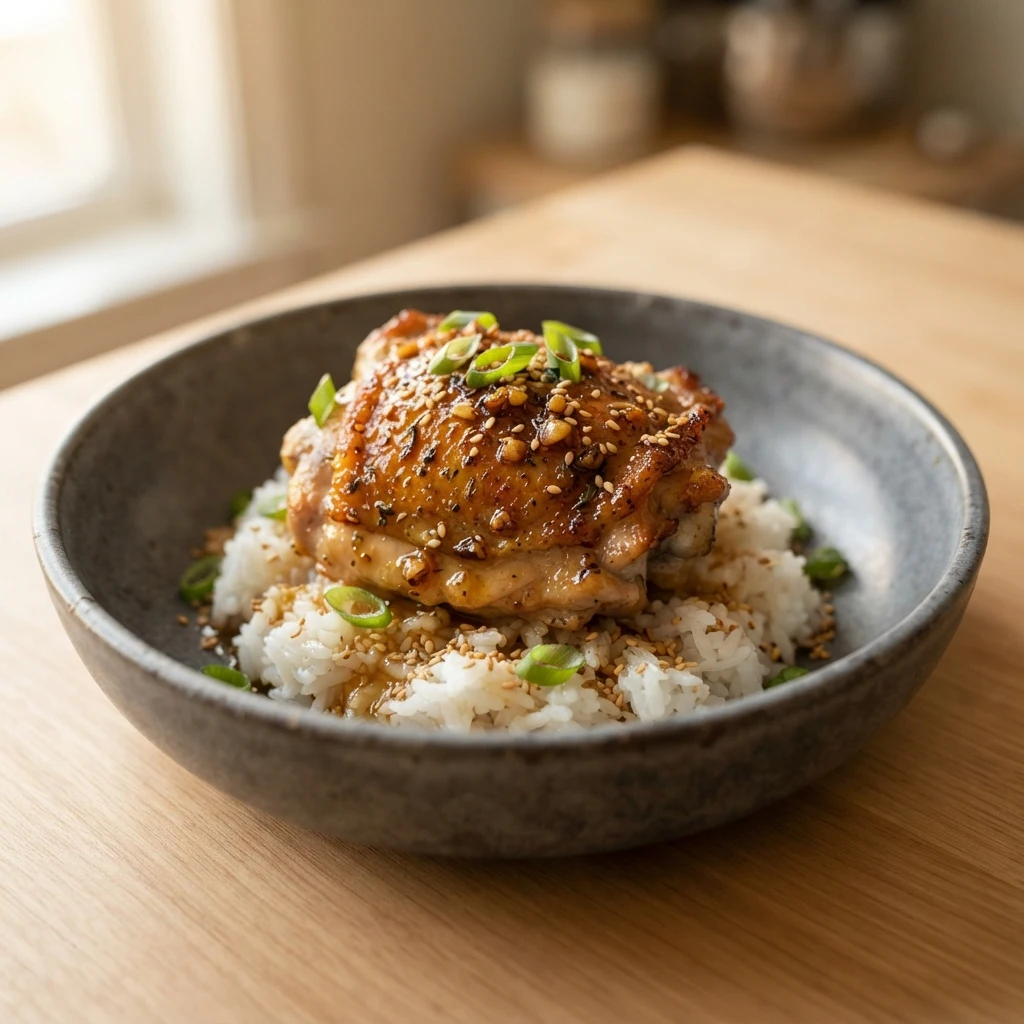
Best Honey Garlic Chicken Thighs Easy Stovetop Recipe
The first time this recipe came together the way it should, it was a Wednesday night with 25 minutes until dinner needed to be on the table.
Honey garlic chicken thighs had been on my list for a while the kind of dish that shows up constantly on Pinterest, looks incredible, and somehow always managed to disappoint at home. Either the garlic burned before the chicken cooked through, or the sauce went from glossy to sticky to caramelized cement in the pan.
The fix was simpler than expected: cook the chicken completely first, build the sauce separately in the same pan, then bring them together at the end. No burned garlic. No sauce timing pressure. Just sticky, golden honey garlic chicken thighs stovetop in under 30 minutes.
Here is how it works.
Why Chicken Thighs Work Better Here Than Breast:
Chicken thighs carry significantly more fat than breast meat. On the stovetop, that fat renders into the pan during cooking which is part of what makes the sauce so rich. Thighs also have a wider margin for doneness. A breast overcooked by two minutes turns dry. A thigh overcooked by two minutes stays tender.
For a stovetop recipe where sauce timing adds a variable, thighs are the more forgiving choice. The flavor is deeper, the texture stays juicy, and the rendered fat adds to the sauce rather than fighting against it.
About This Recipe:
This recipe was tested with boneless skinless thighs, bone in thighs, and with sauce added at different stages early, mid-cook, and after the chicken was fully cooked. The method below reflects what produced the most consistent results across each test.
Ingredients:
For the Chicken:
- Boneless skinless chicken thighs — 1.5 lbs (about 680g), 4 to 6 pieces
- Cornstarch — 2 tbsp (creates a light crust that helps sauce cling)
- Garlic powder — 1 tsp
- Smoked paprika — ½ tsp
- Salt — ½ tsp
- Black pepper — ½ tsp
- Neutral oil — 1 tbsp (avocado or vegetable)
For the Honey Garlic Sauce:
- Honey — 3 tbsp (use liquid honey crystallized honey does not caramelize evenly)
- Soy sauce — 2 tbsp (low-sodium recommended)
- Fresh garlic — 4 cloves, minced
- Butter — 1 tbsp (adds richness and helps sauce emulsify)
- Rice vinegar — 1 tsp (cuts sweetness, adds balance)
- Cornstarch slurry — 1 tsp cornstarch mixed with 2 tbsp water
Ingredient Substitutions:
No rice vinegar? Apple cider vinegar works as a substitute use ¾ tsp instead of 1 tsp since it is slightly stronger.
Soy sauce alternatives: coconut aminos work well for a gluten-free version. The sauce will be slightly less salty, so taste before serving.
Honey substitution: maple syrup produces a similar sticky texture with a different flavor profile. The caramelization behaves slightly differently watch the heat closely.
Bone-in thighs can replace boneless add 10 to 12 minutes to the cook time and cover the pan for the first half of cooking.
Step-by-Step Instructions:
Step 1: Pat Dry and Season
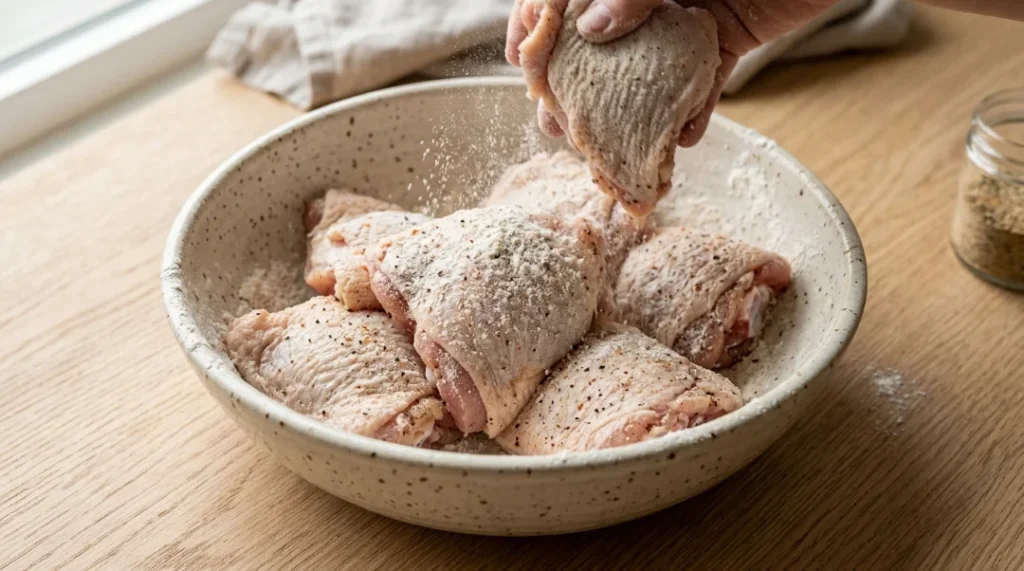
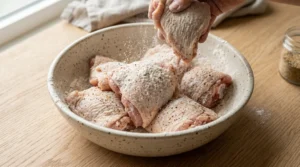
Pat chicken thighs completely dry with paper towels. In a bowl, combine cornstarch, garlic powder, smoked paprika, salt, and pepper. Add chicken and toss until each piece is evenly coated. The cornstarch coating does two things: creates a light crust on the outside and gives the sauce something to cling to.
Step 2: Sear the Chicken
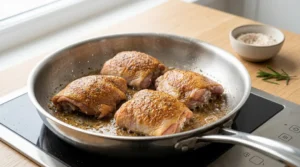
Heat oil in a large skillet over medium-high heat until shimmering. Add chicken thighs smooth side down. Do not move them for the first 5 to 6 minutes this is where the golden crust develops. Moving too early tears the crust before it has set.
Flip and cook the second side for another 5 to 6 minutes until the internal temperature reaches 165°F.
Remove chicken from the pan and set aside on a plate. Leave any rendered fat in the pan it becomes part of the sauce base.
Step 3: Build the Sauce in the Same Pan
Reduce heat to medium. Add butter to the pan and let it melt into the rendered chicken fat. Add minced garlic and cook for 45 to 60 seconds, stirring constantly, until fragrant and just beginning to turn golden at the edges.
This timing matters. Garlic at medium heat with butter takes about 60 seconds to reach fragrant without burning. At high heat, it crosses from golden to bitter in under 30 seconds. Medium heat with constant stirring is the control point.
Add honey, soy sauce, and rice vinegar. Stir to combine and bring to a simmer. Let the sauce bubble for 2 minutes it will reduce slightly and darken.
Step 4: Adjust Sauce Consistency
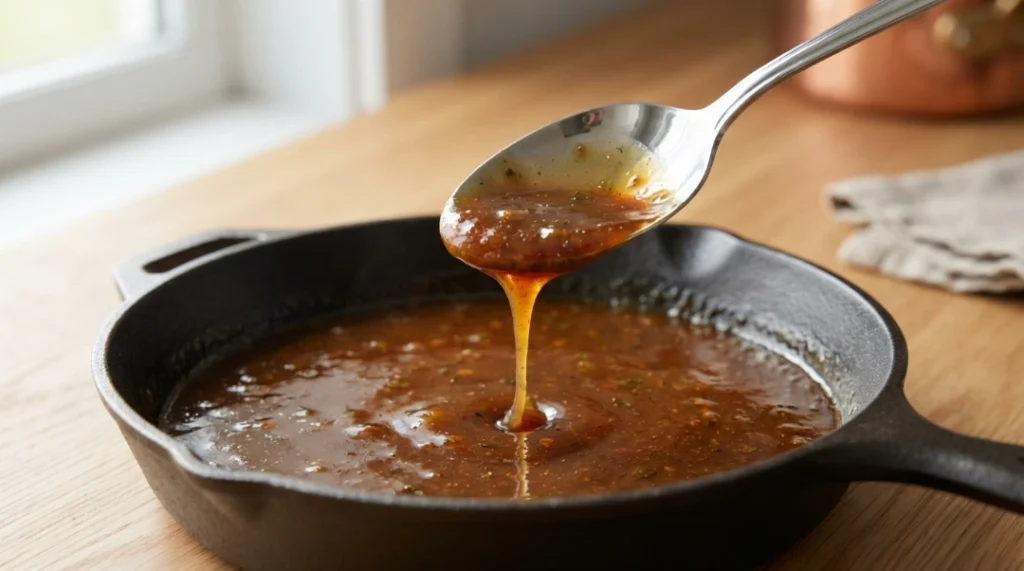
Add the cornstarch slurry and stir immediately. The sauce will thicken within 30 to 45 seconds. Target consistency: glossy, coats the back of a spoon, pourable but not watery.
Too thick: Add water, 1 tbsp at a time, stirring between additions. Too thin: Let simmer another 1 to 2 minutes without the lid.
This is the step most recipes skip the sauce consistency adjustment. Getting it right makes the difference between chicken that is coated and chicken that is drowning.
Step 5: Return Chicken to Pan
Add the cooked chicken thighs back to the pan. Spoon sauce over each piece until fully coated. Cook together on medium heat for 2 minutes to let the sauce adhere to the chicken and caramelize slightly on the surface.
Step 6: Rest and Serve
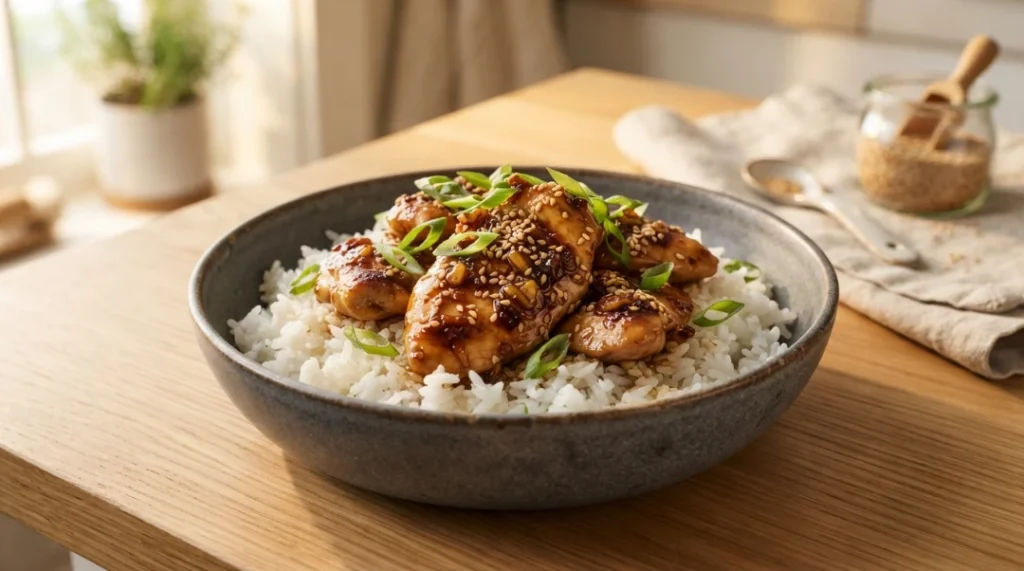
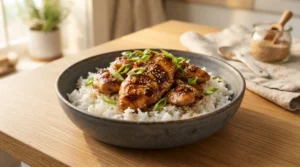
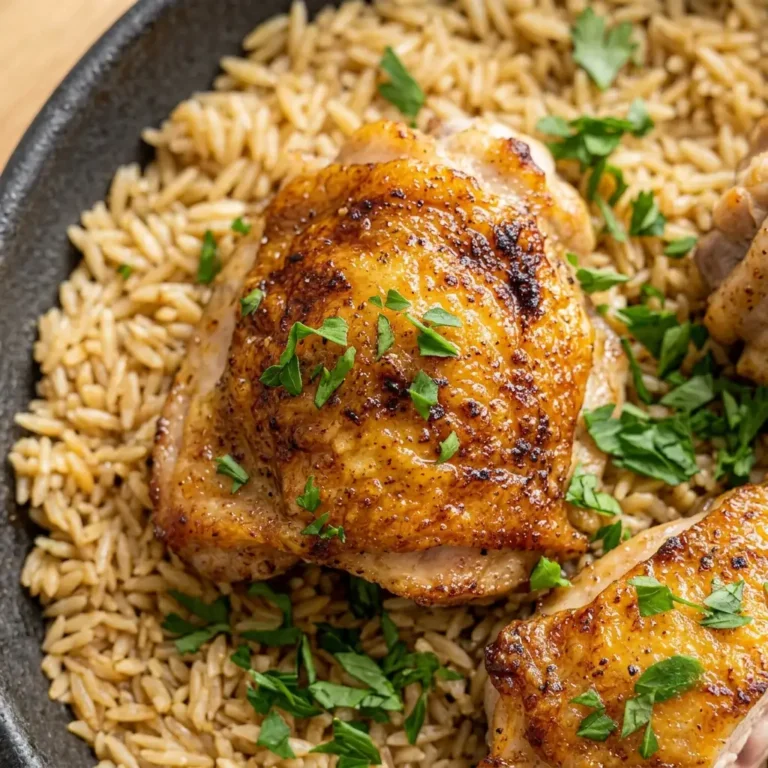
Remove from heat. Rest for 3 minutes before serving. Garnish with sesame seeds and sliced green onion if desired. Serve over steamed rice with sauce spooned over everything.
What Went Wrong in Early Testing:
Round 1: Added sauce while chicken was still cooking. The honey hit the hot pan immediately, caramelized within 90 seconds, and turned from sticky glaze to burned coating before the chicken had 3 minutes left to cook. Lesson: cook chicken fully first, build sauce separately.
Round 2: Garlic added at high heat. Golden in 20 seconds, bitter in 40 seconds. The sauce carried that bitterness through the entire dish. Medium heat and constant stirring is the only reliable way to cook garlic without burning.
Round 3: Skipped the cornstarch slurry. The sauce stayed thin and pooled on the plate instead of coating the chicken. The slurry takes 30 seconds and changes the entire texture of the final dish.
Cast Iron vs Nonstick Which Works Better:
This question comes up in the comments of every stovetop chicken recipe. Tested both side by side:
| Pan Type | Crust | Sauce | Cleanup |
|---|---|---|---|
| Cast Iron | Deeper, more even golden crust | Excellent fond for sauce base | More effort |
| Nonstick | Lighter crust, less browning | Less fond, thinner sauce start | Easy |
| Stainless Steel | Best crust and fond | Best sauce base | Medium effort |
Stainless steel gives the best result for this specific recipe the fond (browned bits left in the pan) builds the most flavor into the sauce. Cast iron is a close second. Nonstick works but produces a noticeably lighter sauce.
Bone In vs Boneless Time Comparison:
| Thigh Type | First Side | Second Side | Total |
|---|---|---|---|
| Boneless skinless | 5–6 min | 5–6 min | 20–25 min total |
| Bone-in skin-on | 7–8 min | 8–10 min (covered) | 30–35 min total |
For bone in thighs: cover the pan after flipping to trap heat and cook through to the bone without over-browning the exterior.
Pro Tips:
- Do not move the chicken during the first sear. Releasing early means no crust and sticking. The chicken tells you when it is ready it releases naturally from the pan when the crust has formed.
- Medium heat for garlic, every time. Burnt garlic cannot be fixed and ruins the sauce.
- Sauce consistency adjustment is not optional. A sauce that is too thin will not coat the chicken properly.
- Rendered fat stays in the pan. Do not wipe it out between the chicken and sauce steps it is flavor.
- Rest 3 minutes before serving. The sauce sets slightly on the surface of the chicken and the flavor deepens.
Variations:
Spicy Honey Garlic: Add ½ tsp red pepper flakes and 1 tsp sriracha to the sauce. Balance with an extra ½ tsp honey if needed.
Lemon Honey Garlic: Replace rice vinegar with 1 tbsp fresh lemon juice. Add 1 tsp lemon zest to the sauce. Brighter, more citrusy finish.
Ginger Honey Garlic: Add 1 tsp freshly grated ginger with the garlic. Adds warmth and complexity without overpowering the honey.
Sesame Honey Garlic: Add 1 tsp toasted sesame oil to the sauce after removing from heat. Finish with sesame seeds.
Keto Version: Replace honey with a keto honey substitute (1:1 swap). Coconut aminos replace soy sauce. Same method, different macros.
What to Serve With:
- Steamed jasmine rice the sauce is made for spooning over rice
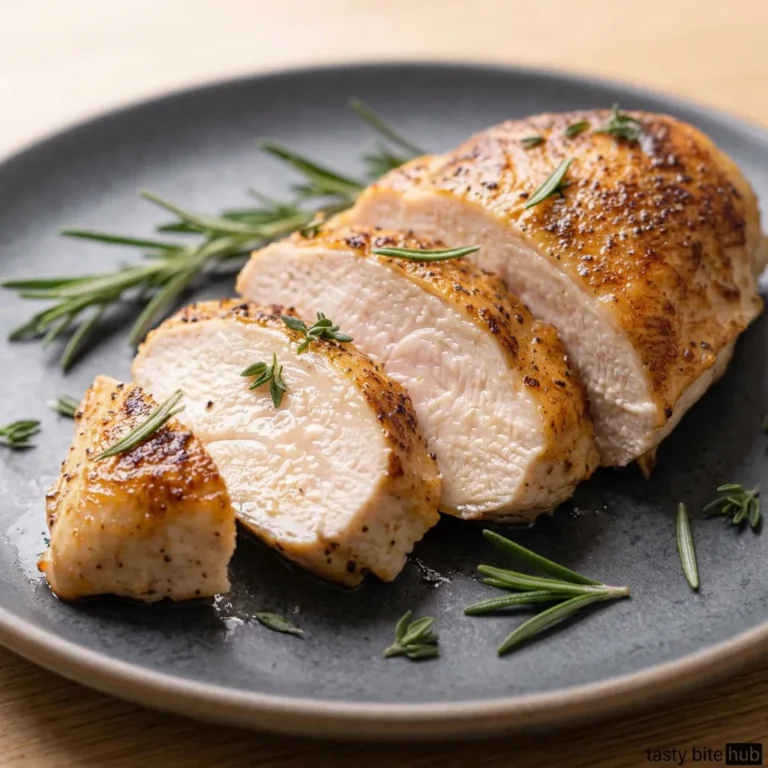
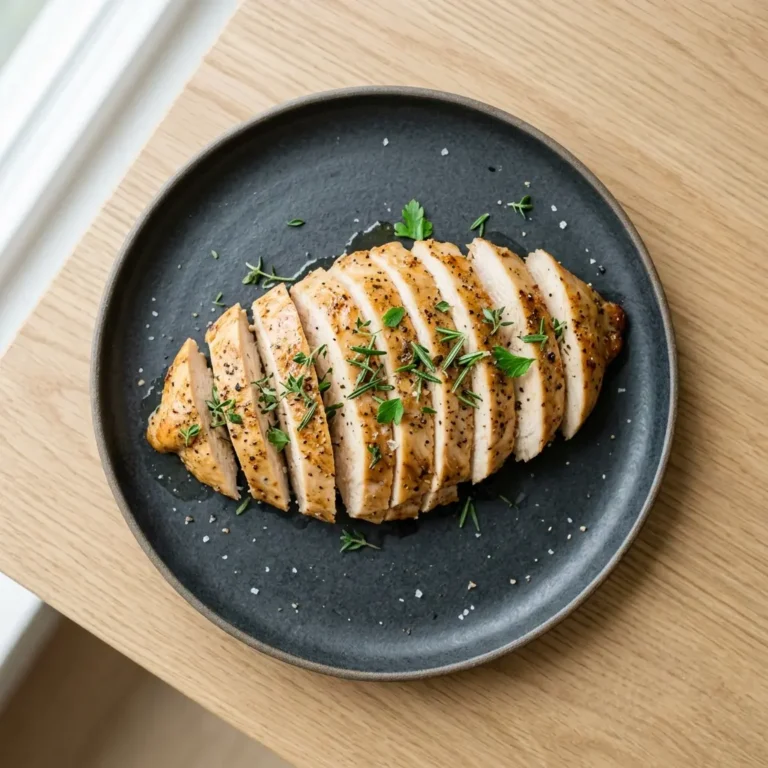
- Best Baked Chicken Breast That Never Dries Out — if you want a lighter option alongside
- Best Air Fryer Chicken Wings — for a full chicken spread
- Garlic Butter Bok Choy cooks in under 5 minutes while the chicken rests
- Simple Cucumber Salad cool contrast against the sticky glaze
Storage and Reheating:
Fridge: Up to 4 days in an airtight container with sauce stored separately if possible.
Reheat (stovetop): Medium low heat in a covered pan with 1 to 2 tbsp water. The water loosens the sauce as it reheats without thinning it permanently. About 4 to 5 minutes.
Reheat (microwave): Cover with a damp paper towel. Medium power for 90 seconds. The sauce can separate slightly stir and spoon back over the chicken before serving.
Freeze: Freeze chicken and sauce together for up to 2 months. Thaw overnight in fridge. The sauce may need 1 tbsp water when reheating to return to the right consistency.
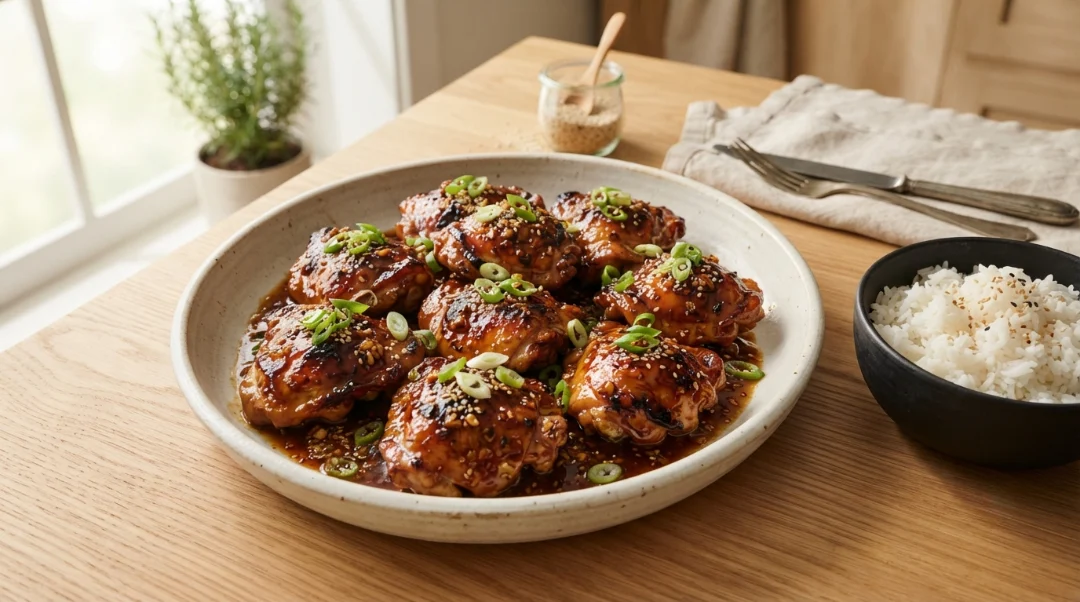
Best Honey Garlic Chicken Thighs Easy Stovetop
Ingredients
Equipment
Method
- Coat the Chicken Pat chicken thighs completely dry with paper towels. Combine cornstarch, garlic powder, smoked paprika, salt, and pepper. Toss chicken in the mixture until each piece is evenly and lightly coated.
- Sear Heat oil in large skillet over medium high heat until shimmering. Add chicken smooth side down. Do not move for 5 to 6 minutes until a golden crust forms and chicken releases naturally from the pan. Flip and cook another 5 to 6 minutes until internal temperature reaches 165°F per USDA safe minimum cooking temperatures. Remove chicken and set aside. Leave rendered fat in pan.
- Cook the Garlic Reduce heat to medium. Add butter to pan. Once melted, add minced garlic. Stir constantly for 45 to 60 seconds until fragrant and just turning golden at the edges. Medium heat and constant stirring prevents burning.

- Make the Sauce Add honey, soy sauce, and rice vinegar. Stir to combine and bring to a gentle simmer. Cook for 2 minutes until slightly reduced and darkened.
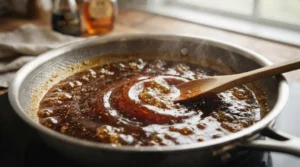
- Adjust Consistency Add cornstarch slurry and stir immediately. Sauce thickens in 30 to 45 seconds. Target: glossy, coats a spoon, pourable. Too thick: add water 1 tbsp at a time. Too thin: simmer 1 to 2 more minutes.
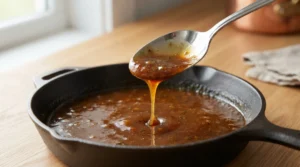
- Return Chicken Add chicken back to pan. Spoon sauce over each piece. Cook together on medium heat for 2 minutes until sauce adheres and caramelizes slightly on the surface.
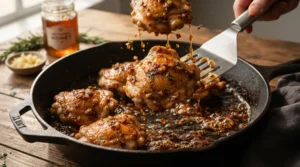
- Rest and Serve Remove from heat. Rest 3 minutes. Garnish with sesame seeds and green onion if desired. Serve over steamed rice.
Notes
Nutrition Info (per serving, 1 to 2 thighs):
| Nutrient | Amount |
|---|---|
| Calories | 318 |
| Protein | 28g |
| Fat | 14g |
| Carbohydrates | 18g |
| Sodium | 620mg |
| Fiber | 0g |
| Sugar | 14g |
Nutrition information is an estimate and may vary depending on the ingredients and brands used. Data sourced from USDA FoodData Central.
FAQs:
Q: Why does my honey garlic sauce burn on the stovetop?
A: Honey caramelizes quickly at high heat especially when the pan is still very hot from searing the chicken. Building the sauce after removing the chicken, with heat reduced to medium and butter added first, prevents this. Garlic also burns fast at high heat. Medium heat with constant stirring for 60 seconds is the reliable method.
Q: Can I use chicken breast instead of thighs?
A: Breast works but the margin for error is smaller. Chicken breast dries out faster on the stovetop, and the sauce timing adds pressure. If using breast, slice in half lengthwise first to reduce thickness, reduce cook time by 3 to 4 minutes per side, and pull at 160°F. See the best baked chicken breast recipe for a better method when breast is preferred.
Q: How do I thicken honey garlic sauce that is too thin?
A: Cornstarch slurry (1 tsp cornstarch mixed with 2 tbsp cold water) added to a simmering sauce thickens it within 30 to 45 seconds. Add in small amounts the sauce thickens more as it cools. Alternatively, simmer uncovered for an extra 1 to 2 minutes.
Q: Can I marinate the chicken in the sauce beforehand?
A: Marinating for 30 minutes to a few hours adds flavor, but the honey in the sauce will cause the exterior to over brown quickly during searing. Pat the marinated chicken dry before cooking and reduce heat slightly.
Q: What is the internal temperature for cooked chicken thighs?
A: 165°F per USDA safe minimum cooking temperatures. Thighs are more forgiving than breast they stay juicy even slightly past this temperature.
Would I Make This Again?
At least twice a month.
The Wednesday night version has become a reliable fallback one pan, 25 minutes, and enough sauce to spoon generously over rice. The spicy variation with red pepper flakes has replaced a delivery order more than once.
The method shift fully cooking chicken first, then building sauce felt counterintuitive at first. Every other recipe adds the sauce during cooking. After three batches of burned honey and bitter garlic, the reason for the change was obvious. The results since then have been consistent.
Final Note:
Honey garlic chicken thighs stovetop is one of those dishes that looks more complicated than it is. The ingredients are pantry staples, the pan does most of the work, and the sauce takes less than 5 minutes. Getting the garlic timing and sauce consistency right makes it genuinely better than most takeout versions at a fraction of the cost.
Made this? Let me know in the comments which variation you tried and whether you went with the spicy version or kept it classic.


One Comment