
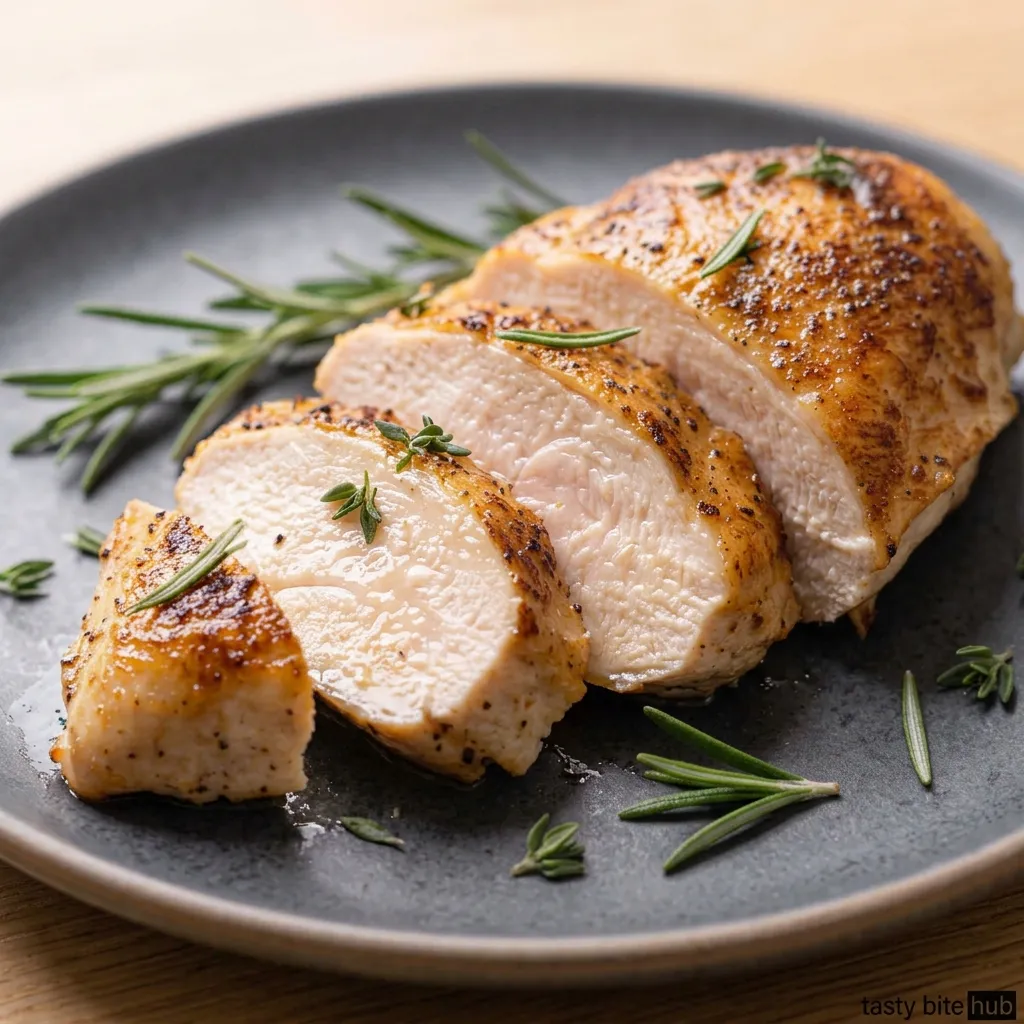
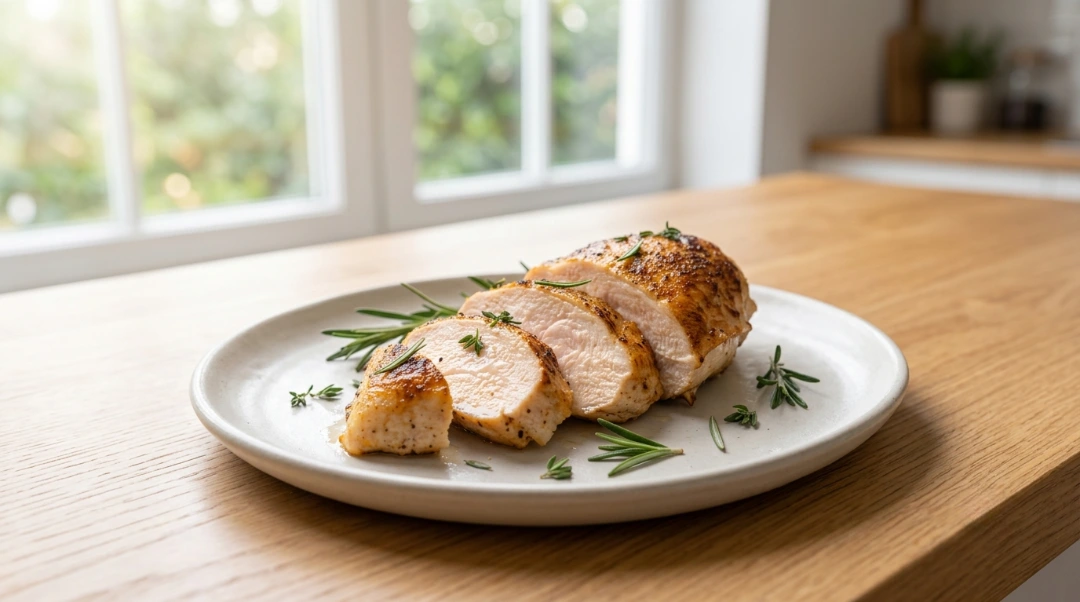
Best Juicy Air Fryer Chicken Breast Never Dry Again
Chicken breast has burned through more goodwill in home kitchens than almost any other ingredient.
The promise is always the same quick, healthy, versatile. The reality, more often than not, is something that needs enough sauce to mask what went wrong. Rubbery. Dry. Both at once, somehow. The air fryer was supposed to fix this and mostly just introduced a new set of timing problems.
The batch that finally worked came after changing two things at once: butterfly the breast for even thickness, and pull at 160°F instead of waiting for 165°F. Those two adjustments together produced a juicy air fryer chicken breast that actually tasted like something worth eating without accompaniment. Everything since then has been consistent.
Here is what makes the difference.
Rubbery vs Dry Two Different Problems:
Most recipes treat “bad air fryer chicken breast” as one problem. It is actually two, with different causes and different fixes.
Rubbery: Usually undercooked, or cooked at too low a temperature for too long. The proteins tighten and contract without the heat needed to break them down properly. The texture is dense and chewy rather than tender.
Dry: Overcooked. The proteins have contracted so completely that all moisture has been squeezed out. Happens fast with breast meat sometimes within 2 to 3 minutes past the right pull point.
The fix for both is the same: consistent sizing, correct temperature, and pulling at 160°F with a thermometer rather than guessing by time. A 6 Oz breast and a 10 Oz breast in the same air fryer at the same temperature will need very different times. Time guidelines are a starting point temperature is the only reliable finish line.
About This Recipe:
This recipe was tested at 360°F, 375°F, and 400°F with both whole and butterflied breasts, with and without flipping, across small (6 oz), medium (8 oz), and large (10 oz) pieces. The method below reflects what produced consistent juicy results across all sizes and both air fryer models tested.
Ingredients:
- Boneless skinless chicken breasts — 2 pieces, similar size if possible
- Olive oil — 1 tbsp (binds seasoning and adds a light protective layer)
- Smoked paprika — 1 tsp (color and subtle depth)
- Garlic powder — 1 tsp
- Onion powder — ½ tsp
- Brown sugar — ½ tsp (optional creates caramelized surface color)
- Italian seasoning — ½ tsp
- Salt — 1 tsp
- Black pepper — ½ tsp
No brine needed. No marinade required. The method does the work.
Ingredient Notes:
Brown sugar adds caramelized color without adding perceptible sweetness to the finished chicken. For keto, leave it out the result is slightly paler but the flavor and texture are the same.
For a spicier version: add ¼ tsp cayenne or ½ tsp chili powder to the rub.
For a lemon herb version: add 1 tsp lemon zest and swap Italian seasoning for dried thyme.
The One Prep Step That Changes Everything:
Butterfly the chicken breast.
Most chicken breasts taper from thick (sometimes 1.5 inches) at one end to thin (under half an inch) at the other. That thickness difference means the thin end is overcooked before the thick end finishes. This is the root cause of most dry or unevenly cooked air fryer chicken breast.
To butterfly: place the breast flat on a cutting board and slice horizontally through the middle, stopping before cutting all the way through. Open it like a book. The breast is now roughly even thickness throughout.
Pounding with a mallet to ¾ inch is an alternative slightly more aggressive but produces the same result.
Two minutes of prep here prevents the most common failure mode of this dish.
Step-by-Step Instructions:
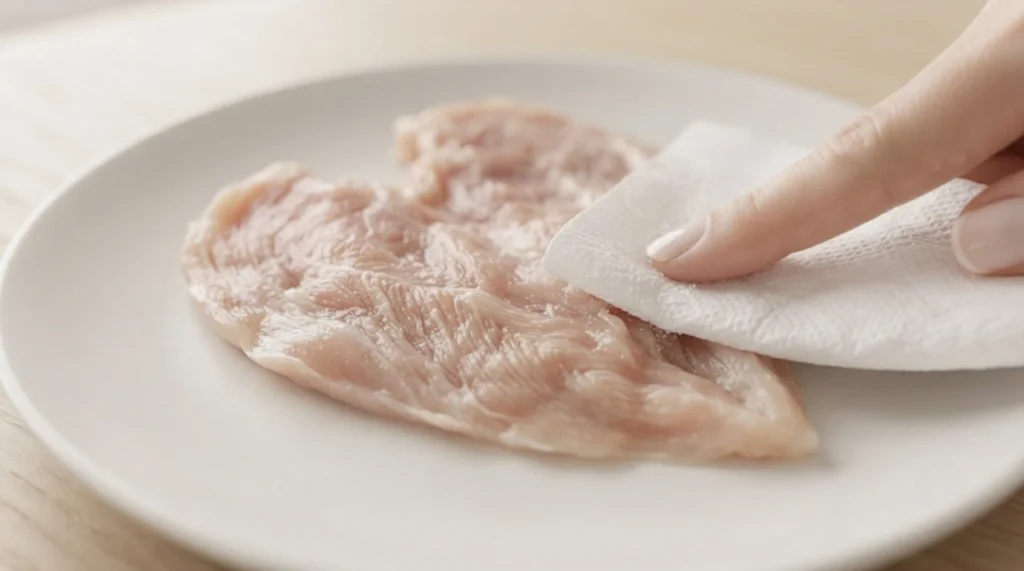
Step 1: Butterfly and Dry
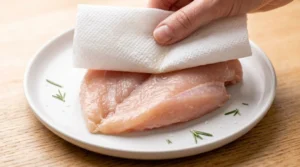
Butterfly each breast as described above, or pound to even ¾ inch thickness. Pat completely dry with paper towels on both sides. Surface moisture creates steam in the air fryer before the outside can develop any color or texture.
Step 2: Season
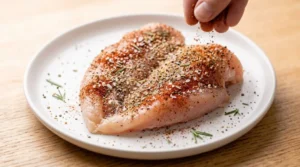
Brush each breast with olive oil on both sides. Combine all dry rub ingredients in a small bowl. Rub seasoning evenly over all surfaces.
For more seasoning depth: let the seasoned chicken sit at room temperature for 15 minutes before cooking. The seasoning penetrates slightly into the surface rather than sitting purely on top.
Step 3: Preheat
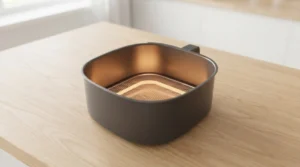
Preheat air fryer to 375°F for 3 minutes.
In testing, 375°F produced the best results for chicken breast specifically. At 400°F the outside colors quickly but the inside has less time to cook evenly before the surface is done. At 360°F the breast takes longer and dries out gradually. 375°F hits the balance point between fast cooking and moisture retention.
Step 4: Cook First Side
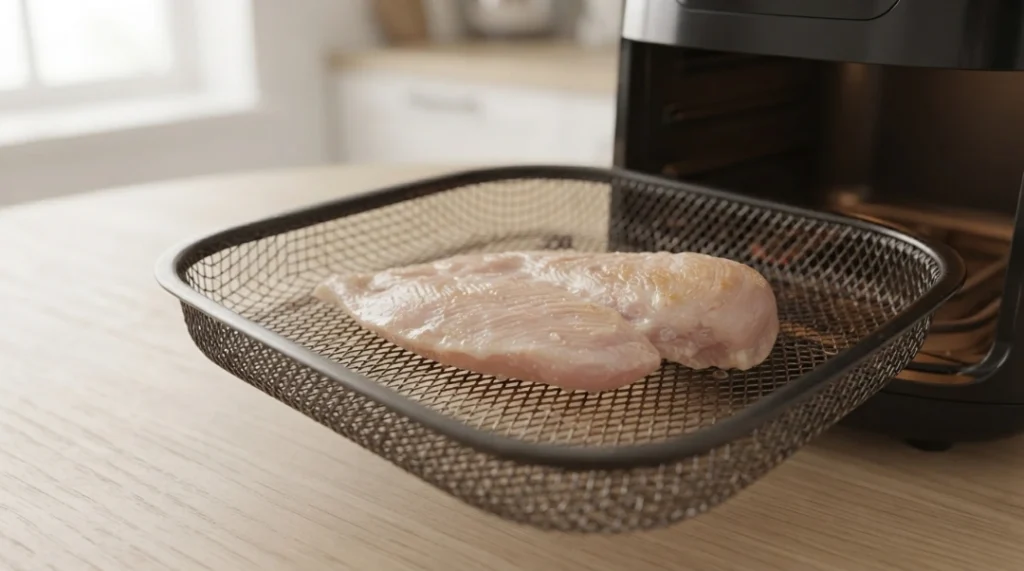
Place butterflied breasts in a single layer in the basket. No overlap pieces touching each other steam at the contact points.
Cook at 375°F for 7 minutes.
Step 5: Flip and Finish
Flip each breast. Cook for another 5 to 8 minutes depending on size:
| Breast Size | Weight | Second Side Time |
|---|---|---|
| Small | 5–6 oz | 4–5 minutes |
| Medium | 7–8 oz | 5–6 minutes |
| Large | 9–10 oz | 7–8 minutes |
Start checking temperature at the lower end of each range.
Step 6: Pull at 160°F
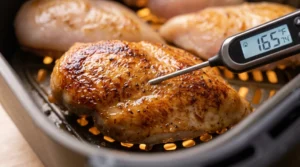
Remove from air fryer when internal temperature reads 160°F at the thickest part not 165°F.
Carryover cooking during a 5-minute rest raises the internal temperature to 163 to 165°F exactly the safe and juicy window. Waiting for 165°F in the air fryer means the breast rests at 168 to 170°F. That extra heat is what causes dryness in an otherwise correctly cooked breast.
This is the most important single adjustment in this recipe. See the USDA safe minimum cooking temperatures for reference.
Step 7: Rest Under Foil Tent
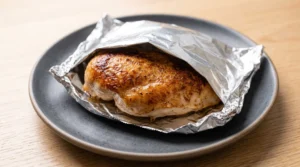
Place chicken on a plate and tent loosely with foil. Rest for 5 minutes.
The foil tent traps a small amount of steam around the chicken which helps keep the surface from drying out during rest. Loose is key tight foil traps too much steam and softens any texture that developed on the surface.
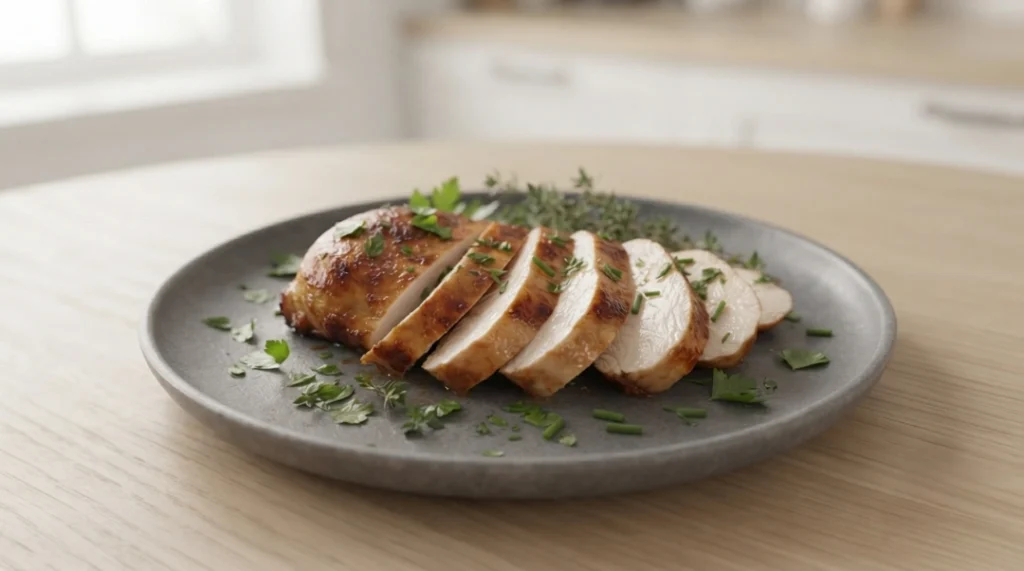
Step 8: Slice Against the Grain
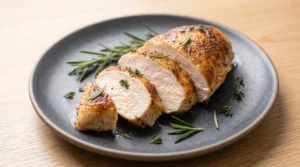
Slice at a diagonal, against the direction of the muscle fibers. Each slice cuts through the fibers rather than pulling them apart the result is noticeably more tender in every bite regardless of how the chicken was cooked.
What Went Wrong in Early Testing:
Batch 1: Whole breast, no butterfly, single temperature at 400°F. The thin end was dry at minute 10. The thick end needed 4 more minutes. By the time the thick end reached 165°F the thin end was at 180°F. Butterflying fixed this completely on the next batch.
Batch 2: Butterflied, 400°F, pulled at 165°F. Better throughout even cooking across the breast. Still slightly drier than ideal. Dropped pull temperature to 160°F on batch 3.
Batch 3: Butterflied, 375°F, pulled at 160°F, foil tent rest. This was the batch that settled the method. Even color, even cooking edge to edge, noticeably juicier than both previous batches. The 375°F temperature and 160°F pull point together made the difference.
Flip vs No Flip Tested:
Several top-ranking recipes disagree on flipping. Both methods were tested:
| Method | Result |
|---|---|
| No flip | Top surface golden, underside pale and slightly soft |
| Flip halfway | Even color both sides, more consistent texture throughout |
Flipping produces better results. The underside that sits against the basket without flipping never gets direct heat it stays softer and paler. One flip at the halfway mark is worth the 30 seconds it takes.
Meal Prep Version:
For meal prep where the chicken will be reheated throughout the week: pull at 155°F instead of 160°F. The breast finishes to 160°F during the rest and reheats to 165°F safely without drying out.
This method keeps meal prep chicken noticeably juicier on day 3 or 4 compared to pulling at the standard temperature and reheating from fully cooked.
Pro Tips:
- Butterfly before seasoning. Even thickness is more important than any seasoning choice.
- 375°F outperforms 400°F for breast specifically. The slower-running heat gives the inside more time to reach temperature before the outside overcooks.
- Pull at 160°F every time. A thermometer is the only reliable way to hit this window consistently size variation between breasts makes time-based cooking unreliable.
- Foil tent during rest. Loose foil traps just enough steam to prevent surface drying without softening the exterior.
- Slice against the grain. The direction of the cut changes the perceived tenderness of every slice.
Variations:
Cajun Style: Replace Italian seasoning with 1 tsp Cajun seasoning. Add ¼ tsp cayenne. Bold and slightly smoky.
Lemon Herb: Add 1 tsp lemon zest to rub. Swap Italian seasoning for dried thyme. Finish with fresh lemon squeeze after resting.
Garlic Parmesan: After resting, brush with 1 tbsp melted butter mixed with ½ tsp garlic powder. Top with 2 tbsp grated parmesan.
BBQ Glazed: Cook as written. Brush with BBQ sauce in the last 2 minutes of the second round. Watch closely sugar in the sauce colors fast at 375°F.
Keto Version: Remove brown sugar. Season with salt, pepper, garlic powder, smoked paprika. Serve over cauliflower rice or a simple green salad.
What to Serve With:
- Best Baked Chicken Breast That Never Dries Out — oven vs air fryer comparison if you want to try both methods
- Best Air Fryer Chicken Thighs — Perfectly Crispy — the thigh version for when you want richer flavor
- Garlic butter rice simple and absorbs any juices from resting
- Roasted vegetables 375°F means you can run vegetables in the same air fryer right after the chicken
- Simple green salad with lemon vinaigrette light contrast to the savory rub
Storage and Reheating:
Fridge: Up to 4 days in an airtight container. Slice before storing reheating sliced chicken is faster and more even than whole.
Reheat (air fryer): 350°F for 3 to 4 minutes. Lower temperature than the original cook prevents the outside from drying before the inside warms through.
Reheat (stovetop): Medium-low heat in a covered pan with 1 tbsp water or broth. 3 to 4 minutes until warmed through. The steam keeps it moist.
Reheat (microwave): Cover with damp paper towel. 50% power in 45-second intervals. Full power dries breast out within seconds.
Freeze: Freeze whole or sliced after cooking. Thaw overnight in fridge. Reheat as above.
Best Juicy Air Fryer Chicken Breast Never Dry
Ingredients
Equipment
Method
- Butterfly and Dry Butterfly each breast by slicing horizontally through the middle stopping before cutting all the way through, then opening flat. Alternatively pound to ¾ inch even thickness. Pat completely dry on both sides with paper towels.
- Season Brush both sides with olive oil. Combine all dry rub ingredients. Rub evenly over all surfaces. Rest at room temperature 15 minutes for deeper seasoning penetration optional but worth it.
- Preheat Preheat air fryer to 375°F for 3 minutes.
- First Side Place breasts in single layer — not touching. Cook at 375°F for 7 minutes.
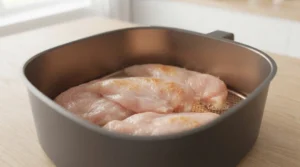
- Flip and Finish Flip each breast. Cook according to size: small 5–6 oz: 4–5 min, medium 7–8 oz: 5–6 min, large 9–10 oz: 7–8 min. Check temperature at lower end of range.
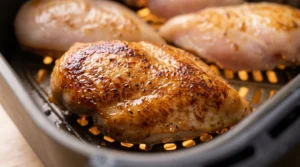
- Pull at 160°F Remove when internal temperature reads 160°F at thickest part. Carryover cooking during rest brings it to 163–165°F per USDA safe minimum cooking temperatures. Waiting for 165°F in the air fryer means the breast rests at 168–170°F — which causes dryness.
- Foil Tent Rest Place on plate and tent loosely with foil. Rest 5 minutes. Loose foil traps light steam to prevent surface drying without softening the exterior.
- Slice Against the Grain Slice at a diagonal against the muscle fibers. Cutting against the grain shortens the fibers in each slice and makes every bite noticeably more tender.
Notes
Nutrition Info (per serving, 1 medium breast):
| Nutrient | Amount |
|---|---|
| Calories | 200 |
| Protein | 36g |
| Fat | 6g |
| Carbohydrates | 2g |
| Sodium | 480mg |
| Fiber | 0g |
| Sugar | 1g |
Nutrition information is an estimate and may vary depending on the ingredients and brands used. Data sourced from USDA FoodData Central.
FAQs:
Q: Why does my juicy air fryer chicken breast come out dry?
A: Almost always one of three causes breast was not butterflied so the thin end overcooked before the thick end finished, the pull temperature was 165°F or higher in the air fryer rather than 160°F, or the temperature was set too high (400°F+) for too long. Butterfly, 375°F, pull at 160°F, rest under foil these four together fix the problem consistently.
Q: Should I flip chicken breast in the air fryer? A: Flipping halfway produces better results. The side that sits against the basket without flipping stays pale and slightly softer than the top. One flip gives both sides direct heat contact and produces more even color and texture throughout.
Q: Do I need to brine chicken breast for the air fryer?
A: Brining improves moisture retention and is worth doing when time allows 10 to 15 minutes in salted water makes a noticeable difference on larger breasts. That said, the butterfly method and 160°F pull point produce reliably juicy results without brining. It is an upgrade, not a requirement.
Q: What temperature is best for juicy air fryer chicken breast?
A: 375°F consistently outperforms 400°F for chicken breast. At 400°F the outside colors and firms before the inside has time to cook evenly. 375°F gives the breast more time in the heat without rushing the surface the result is more even cooking throughout.
Q: How do I know when air fryer chicken breast is done?
A: Internal temperature of 160°F at the thickest part, measured with an instant-read thermometer. Carryover cooking during a 5-minute rest brings it to 163 to 165°F the safe and juicy window. See USDA safe minimum cooking temperatures.
Q: Can I cook two large chicken breasts at once?
A: As long as they fit in a single layer without touching, yes. Pieces that overlap or touch steam each other rather than cooking in circulating air. For more than 2 large breasts, cook in batches and tent finished chicken with foil while the second batch cooks.
Would I Make This Again?
Every week for meal prep and frequently for weeknight dinners when something fast and genuinely good is needed.
The version before butterflying and the 160°F pull point was edible. The version after is the one that gets sliced and eaten plain without needing anything added. That is the real benchmark for chicken breast when it works well enough to stand on its own.
For meal prep specifically, the 155°F pull point for reheating purposes has changed how useful leftover chicken breast actually is throughout the week. Day 4 is as good as day 1. That is not usually how leftover chicken breast goes.
Final Note:
A juicy air fryer chicken breast is not a compromise or a consolation for not having thighs on hand. Butterflied, seasoned well, cooked at 375°F, pulled at 160°F, rested under foil it is a genuinely good piece of chicken that happens to take 20 minutes and produce almost no cleanup.
The butterfly takes two minutes. The thermometer takes five seconds. Those are the two things worth remembering from this entire recipe.
Made this? Leave a comment below curious whether the butterfly method made a noticeable difference for you or whether you were already doing it.

One Comment