
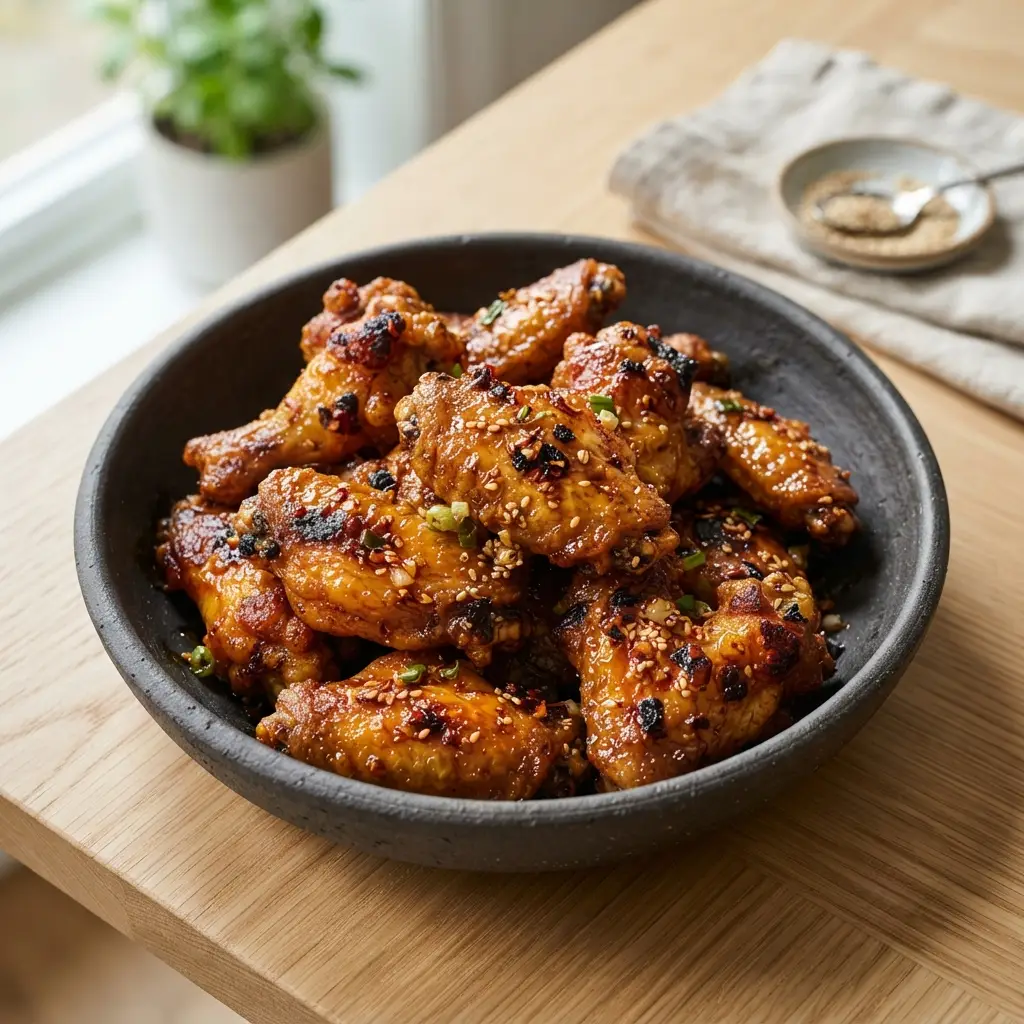
Best Air Fryer Chicken Wings Perfectly Crispy Every Time
I ruined my first three batches of air fryer chicken wings.
Not slightly undercooked. Not just a little pale. Completely limp, rubbery, and sad despite following recipes that promised “the crispiest wings ever.” The problem wasn’t technique. It was the single-temperature method every recipe kept recommending.
The fix turned out to be one small change: a two-temperature cook. Start lower to render the fat. Finish high to blast the skin crispy. After figuring this out, my best air fryer chicken wings went from disappointing to genuinely better than most bar wings I’ve had.
Here’s exactly how it works.
Why Air Fryer Wings Beat Oven Baked:
Most people know air fryer wings are faster but the real advantage is airflow.
An air fryer circulates hot air completely around every wing simultaneously. Even with a wire rack, a regular oven can’t match that. The result is a wing that crisps on all sides at once, not just the top.
The catch? Air fryers are enclosed. Moisture from the chicken has nowhere to escape quickly which is exactly why so many air fryer wing recipes end up soggy. The fix is drawing that moisture out before the high heat locks everything in.
Three things solve this completely:
1. Pat completely dry removes surface moisture before it can steam the skin inside the basket.
2. Baking powder pulls remaining moisture to the surface and raises skin pH, which accelerates browning and creates that blistered, crackly texture. Here’s why baking powder creates crispier skin.
3. Two-temperature method low heat first renders the fat under the skin. High heat finishes with a crispy blast. During testing, single-temperature at 400°F the whole way through produced cooked wings but nowhere near as crispy as the two-step. The gap was hard to miss.
About This Recipe:
This recipe was tested multiple times using a 5.8-quart air fryer before finalizing the cooking times. The two-temperature method and timing below reflect what consistently produced the best results across different wing sizes.
Ingredients:
- Chicken wings — 2 lbs (900g), split into flats and drumettes
- Baking powder — 1 tsp (aluminum-free — regular baking powder leaves a metallic taste)
- Salt — 1 tsp
- Garlic powder — 1 tsp
- Smoked paprika — 1 tsp (for color and depth)
- Black pepper — ½ tsp
- Neutral oil — 1 tsp (helps seasoning stick evenly)
Flour, breadcrumbs, and heavy coatings are completely unnecessary here. The baking powder does the work.
Ingredient Substitutions:
Out of baking powder? Cornstarch (1 tsp) works as a substitute it absorbs surface moisture well, though the skin won’t blister quite the same way. Still a solid result.
Smoked paprika can be swapped for regular paprika you’ll lose a touch of depth but the wings hold up well.
For frozen wings: thaw overnight in the fridge before using. In my experience, cooking straight from frozen means the wings spend the first 15 minutes essentially steaming the skin never fully crisps. Thawing first makes a real difference.
Step-by-Step Instructions:
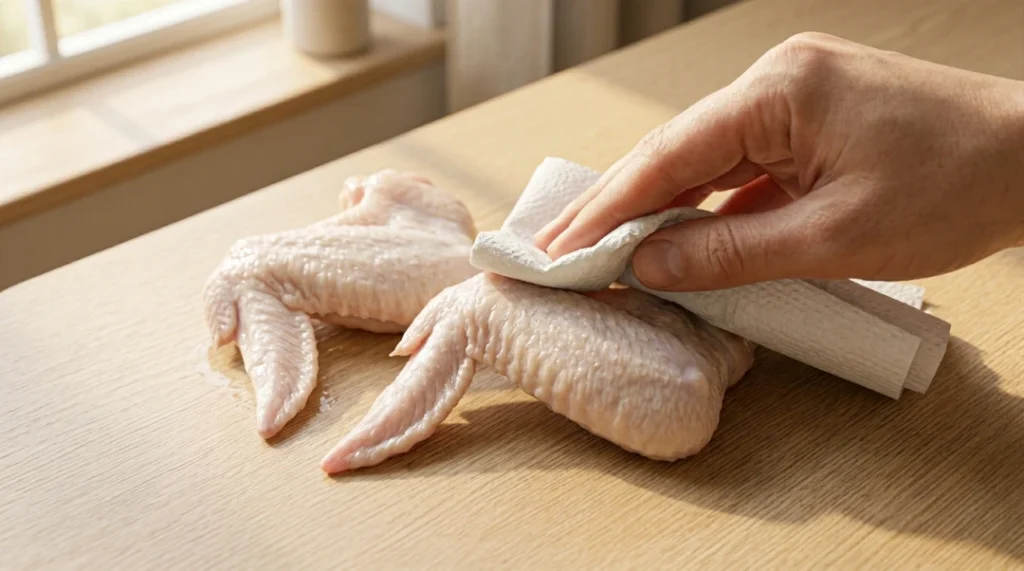
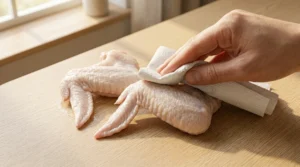
Step 1: Pat Completely Dry
Pat every wing dry with paper towels both sides. Take a full minute on this. Dry skin is what separates crispy from rubbery. Wet skin steams inside the basket instead of crisping. Worth the extra 60 seconds.
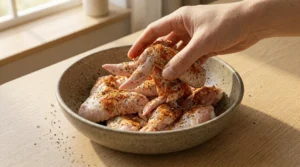
Step 2: Season
Add 1 tsp neutral oil to the wings and toss to coat. In a large bowl, combine baking powder, salt, garlic powder, smoked paprika, and black pepper. Add wings and toss until evenly and lightly coated dusted, not caked.
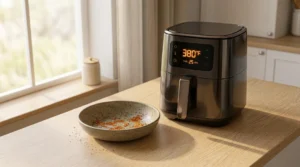
Step 3: Preheat the Air Fryer
Preheat to 380°F (193°C) for 3–5 minutes. Skipping this step causes uneven cooking the wings at the outer edge of the basket will finish faster than the ones in the center. Three minutes is worth it.
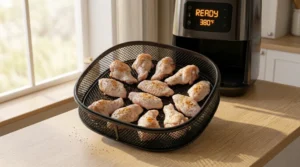
Step 4: First Round Low Heat (Fat Rendering)
Place wings in a single layer in the basket. They should not touch. For a standard 5–6 quart air fryer, that’s about 10–12 wings per batch.
Air fry at 380°F for 12 minutes.
When you open the basket, the wings will look pale, grey, and frankly unappetizing. That’s expected. The fat under the skin is rendering exactly what needs to happen before the high heat hits. Flip every wing and move to the next step.
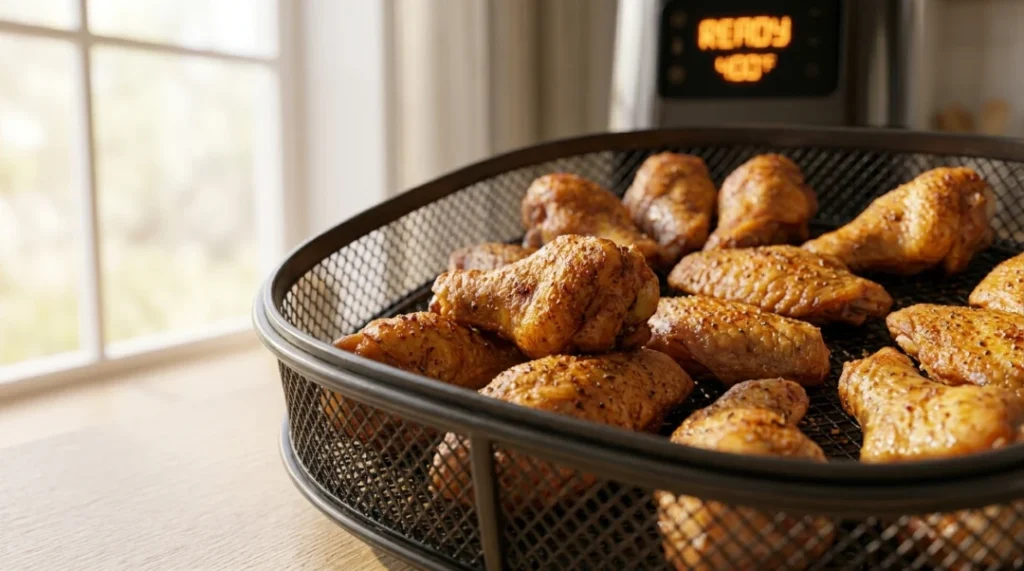
Step 5: Second Round High Heat (Crispy Blast)
Increase temperature to 400°F (200°C).
Air fry for 10–13 minutes until the wings are deep golden, skin looks blistered, and feels firm when tapped. Smaller wings tend to finish around 10–11 minutes. Larger wings need closer to 13. For standard-size wings, 12 minutes is the sweet spot.
Make sure the internal temperature reaches 165°F see the USDA safe temperature guide for chicken.
Total cook time: 22–25 minutes.
Step 6: Rest Before Saucing
Give the wings 5 minutes on a wire rack or plate before adding sauce. The skin firms up noticeably during this rest. Saucing straight out of the air fryer softens everything within a couple of minutes. Let them rest, then sauce.
Step 7: Sauce and Serve
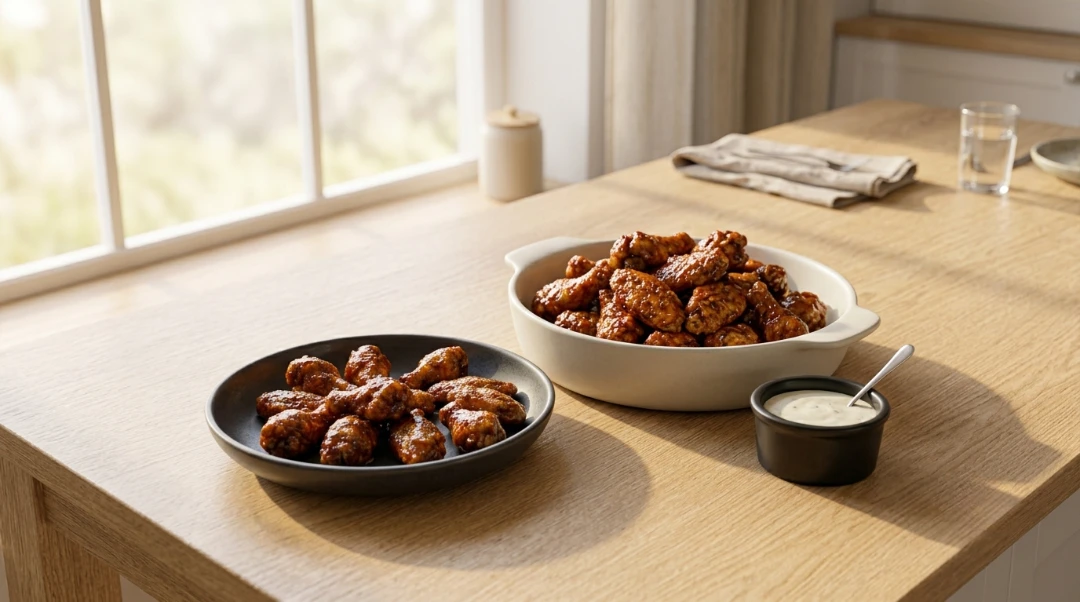
Toss lightly in your preferred sauce. Serve right away.
What Went Wrong (And What I Learned):
Batch 1: Overcrowded basket. Packed 18 wings into a 5-quart basket. The wings touching each other had zero crispiness at the contact points. Steamed instead of crisped. Two batches from that point on no exceptions.
Batch 2: Sauce before cooking. Tossed wings in buffalo sauce before air frying to “build in flavor.” The sauce created steam, made a mess of the basket, and the wings came out soft. Sauce goes on after cooking, not before.
Batch 3: No preheat. Figured 3 minutes wasn’t worth it on a busy weeknight. The batch cooked unevenly outer wings finished well before the center ones. The preheat matters.
Air Fryer Size Guide:
Most recipes never address this but air fryer size changes both batch size and timing:
| Air Fryer Size | Wings Per Batch | Time Adjustment |
|---|---|---|
| 3 quart | 6–8 wings | Reduce second round by 2 min |
| 5–6 quart | 10–12 wings | As written |
| 7–8 quart | 14–16 wings | Add 1–2 min to second round |
Larger batches hold more moisture collectively, which is why they need slightly more time to finish crisping.
Pro Tips:
- Two-step temperature makes a real difference. Single temperature at 400°F works, but the gap in crispiness between that and the two-step method is noticeable especially on the skin texture.
- Preheating is highly recommended. It takes 3 minutes and directly affects how evenly the wings cook.
- Wings should not touch in the basket. Even slight overlap creates soft contact points.
- Add sauce after cooking. Even a light pre-cook sauce generates steam that works against the crispiness.
- Check at 10 minutes on the second round air fryers vary and smaller wings can overcook quickly past that point.
Variations:
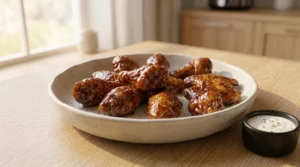
Buffalo Style: Toss in Frank’s RedHot + melted butter (2:1 ratio) after the rest period.
Honey Garlic: Mix 3 tbsp honey, 2 cloves minced garlic, 1 tbsp soy sauce. Toss after rest, then return to air fryer at 400°F for 1–2 minutes to caramelize the glaze.
Lemon Pepper: Add 1 tsp lemon zest to the dry rub. Finish with a squeeze of fresh lemon after cooking.
Garlic Parmesan: 2 tbsp melted butter + 2 pressed garlic cloves after rest, finished with 2 tbsp freshly grated parmesan.
Korean Style: Toss in gochujang + honey + sesame oil after rest.
What to Serve With:
- Best Crispy Chicken Wings Without Deep Frying — oven vs. air fryer side by side if you want to compare both methods
- Classic Blue Cheese or Ranch Dip cool and creamy against the heat
- Celery and carrot sticks the pairing exists for a reason
- Crispy Air Fryer Chicken Thighs — if you want to build a full air fryer spread
Storage & Reheating:
Fridge: Up to 3 days in an airtight container.
Reheat (air fryer): 375°F for 5–6 minutes, flipping halfway. The crispiness comes back better than expected with this method.
Reheat (oven): 400°F for 8–10 minutes on a wire rack.
Microwave: Not recommended wings go rubbery within 90 seconds.
Freeze: Freeze after cooking, before saucing. Reheat from frozen at 375°F for 10–12 minutes.
Best Air Fryer Chicken Wings
Ingredients
Equipment
Method
- Dry the Wings Pat every wing dry with paper towels — both sides. This step directly determines crispiness. Wet skin steams; dry skin crisps. Take the full minute it needs.
- Season Add 1 tsp oil to wings and toss to coat. Combine baking powder, salt, garlic powder, smoked paprika, and black pepper in a large bowl. Add wings and toss until evenly and lightly coated.
- Preheat Preheat air fryer to 380°F (193°C) for 3–5 minutes. Preheating is highly recommended for even cooking across all wings in the basket.
- First Round (Fat Rendering) Place wings in a single layer in basket not touching. Air fry at 380°F for 12 minutes. Wings will look pale and grey when you open this is expected. The fat is rendering under the skin. Flip every wing.
- Second Round (Crispy Blast) Increase temperature to 400°F (200°C). Air fry for 10–13 minutes until deep golden and skin feels firm. Internal temperature should reach 165°F per the USDA safe temperature guide for chicken.
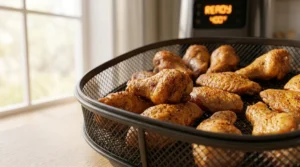
- Rest Remove from air fryer. Let wings rest for 5 minutes before adding any sauce. Skin firms up noticeably during this rest period.
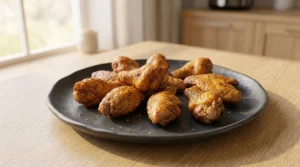
- Rest Remove from air fryer. Let wings rest for 5 minutes before adding any sauce. Skin firms up noticeably during this rest period.
Notes
Nutrition Info (per serving, 4 wings):
| Nutrient | Amount |
|---|---|
| Calories | 274 |
| Protein | 23g |
| Fat | 20g |
| Carbohydrates | 0.5g |
| Sodium | 308mg |
| Fiber | 0g |
| Sugar | 0g |
Nutrition values are estimates and may vary depending on the ingredients and brands used. Data sourced from USDA FoodData Central.
FAQs:
Q: What temperature works best for air fryer chicken wings? A: Start at 380°F for 12 minutes to render the fat, then increase to 400°F for the final 10–13 minutes. This two-step method produces noticeably crispier results than running a single temperature the whole time.
Q: How long do best air fryer chicken wings take? A: Around 22–25 minutes total, depending on wing size and air fryer model. Smaller wings finish closer to 22 minutes. Larger wings may need the full 25.
Q: Why are my air fryer chicken wings still not crispy? A: Four common culprits wings not patted dry before seasoning, basket was overcrowded, sauce was added before cooking, or the air fryer wasn’t preheated. Any one of these can affect the result. Fix all four and the difference is significant.
Q: Can frozen wings go straight into the air fryer? A: They can, but the results are usually disappointing. Frozen wings release a lot of moisture during the first several minutes of cooking, which steams the skin instead of crisping it. Thawing overnight in the fridge, then patting very dry, gives consistently better results.
Q: Do I need oil? A: Just 1 tsp of neutral oil to help the dry rub adhere. Chicken wings render their own fat during cooking no additional oil is needed for crispiness.
Q: What if I have a smaller air fryer? A: Cook in batches of 6–8 wings for a 3-quart model, and reduce the second round by about 2 minutes. Check early smaller batches finish faster.
Would I Make This Again?
Every game day and a fair number of regular weeknights too.
The two-step temperature felt like an unnecessary extra step at first. After testing it back-to-back with single-temperature, the difference in skin texture changed my mind permanently. It’s 25 minutes either way. The two-step just gets you a better result for the same amount of time.
For weeknight batches under 2 lbs, the air fryer is the move. For larger game day spreads, the oven handles bigger quantities more easily. Both methods work well this one just happens to be faster with far less cleanup.
Final Note:
These best air fryer chicken wings have replaced most of my restaurant wing orders. The cleanup alone makes it worth it no oil disposal, no splatter, no smell lingering in the kitchen for two days.
The two-step temperature is the one thing worth remembering. Everything else is flexible.
Made these? Drop a comment I want to know which sauce you went with and how the two-step method worked in your air fryer.


2 Comments