
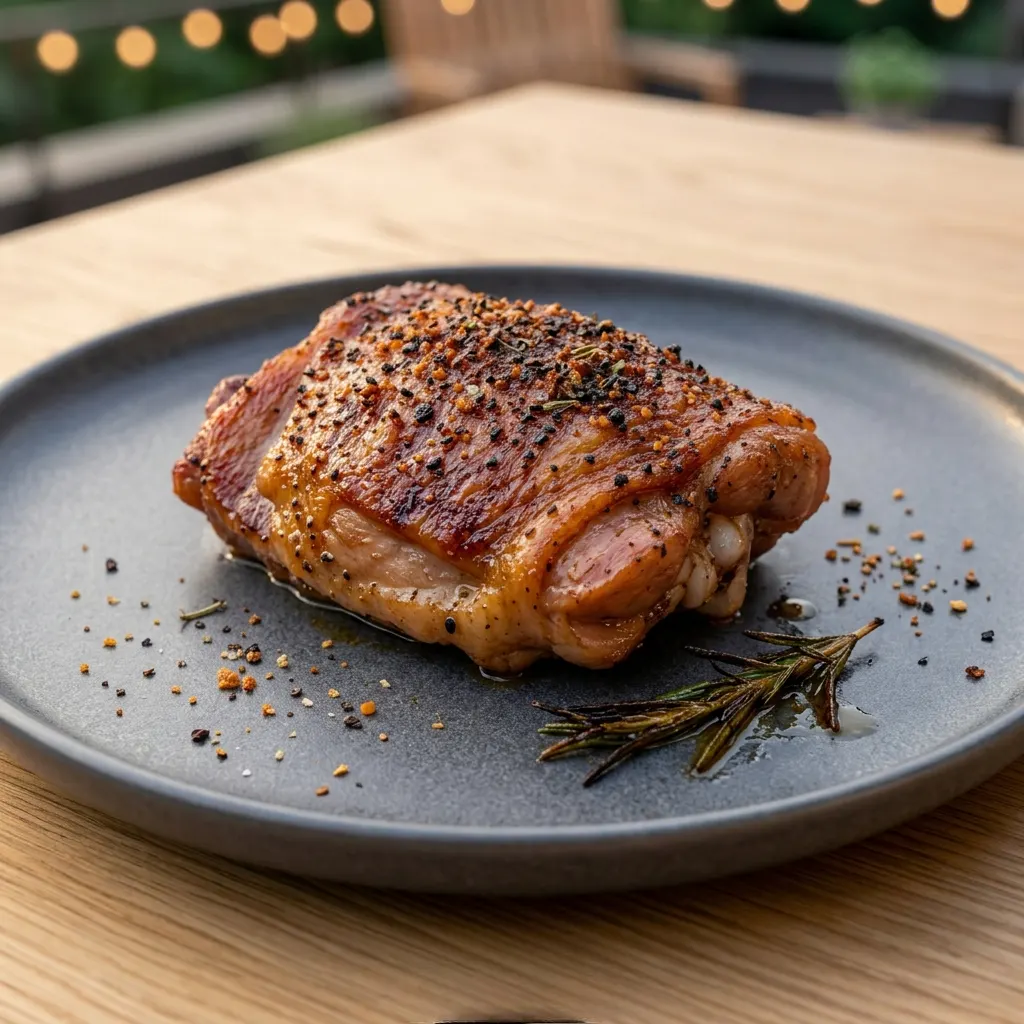
Best Grilled Chicken Thighs Perfectly Juicy Every Time
The grill had been running too hot, the fat was dripping, and the flare-ups were turning what should have been perfectly juicy grilled chicken thighs into something with a burned exterior and a pink center.
That was the problem for a long time. Not the seasoning the seasoning was fine. Not the marinade the marinade was good. The problem was putting bone-in thighs over direct high heat the entire time and hoping the inside would finish before the outside went too far.
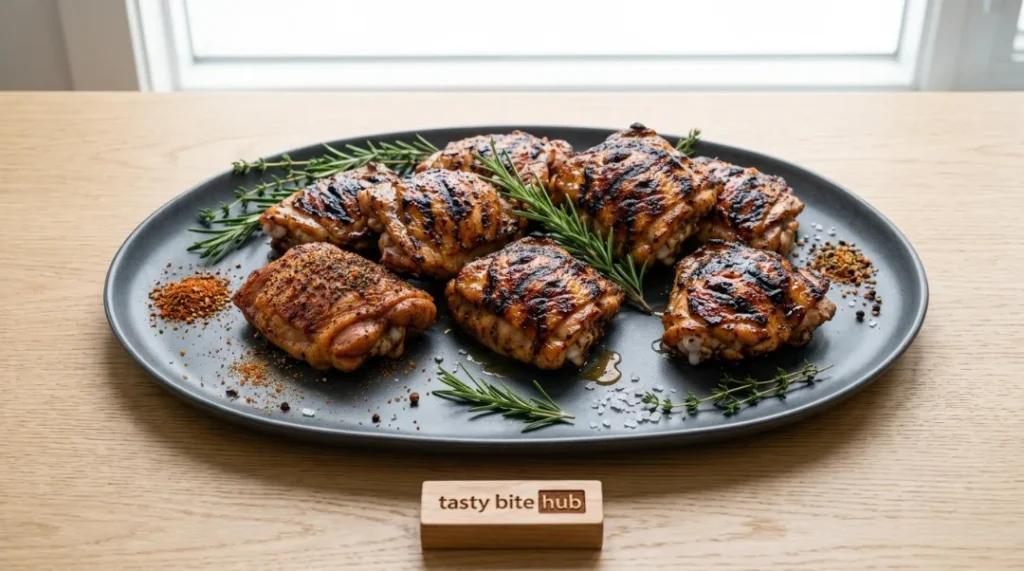
The fix was a two-zone fire. Start the thighs on indirect heat to cook through gently. Finish over direct heat for the char and crispy skin. No more flare-ups burning the exterior. No more pink center on a blackened outside. Just grilled chicken thighs that are perfectly juicy from edge to bone with the kind of char that actually belongs there.
Here is the full method.
Why Chicken Thighs Are the Best Cut for Grilling:
Fat content is the reason. Chicken thighs carry significantly more fat than breast that fat renders slowly during cooking, keeping the meat moist and adding flavor throughout. On the grill, some of that fat drips down and creates smoke that infuses the chicken with depth that breast meat simply cannot develop the same way.
The downside of that fat: it also causes flare-ups when it hits the flames directly. Managing where and when the fat drips is the core skill of grilling chicken thighs well. The two-zone method handles this entirely.
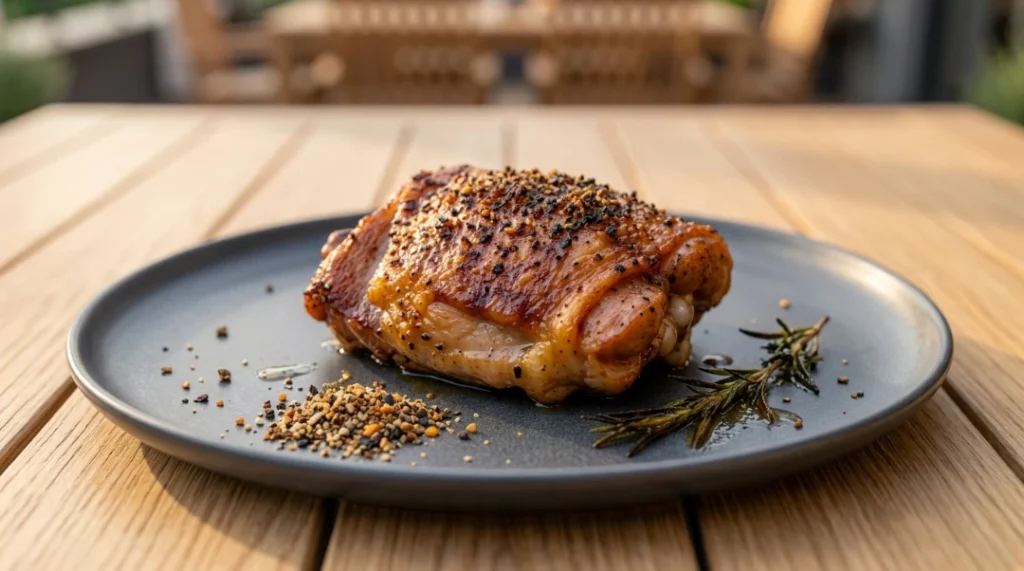
About This Recipe:
This recipe was tested with bone-in skin-on thighs and boneless skinless thighs on both a gas grill and a charcoal grill, with and without marinade, over direct and indirect heat. The two-zone method below produced the most consistent results across every test juicy meat, crispy exterior, no flare-up burning.
Ingredients:
For the Dry Rub:
- Bone-in skin-on chicken thighs — 4 to 6 pieces (about 2.5 lbs total)
- Smoked paprika — 1.5 tsp (essential for that deep color on the grill)
- Garlic powder — 1 tsp
- Onion powder — 1 tsp
- Brown sugar — 1 tsp (encourages deeper browning and helps develop a lightly caramelized crust on the grill)
- Dried oregano — ½ tsp
- Cayenne pepper — ¼ tsp (optional adds subtle heat)
- Salt — 1.5 tsp
- Black pepper — ½ tsp
- Olive oil — 1 tbsp
Optional Marinade (instead of dry rub):
- Olive oil — 3 tbsp
- Lemon juice — 2 tbsp
- Garlic — 3 cloves minced
- Soy sauce — 1 tbsp
- Honey — 1 tbsp
- Same spices as above
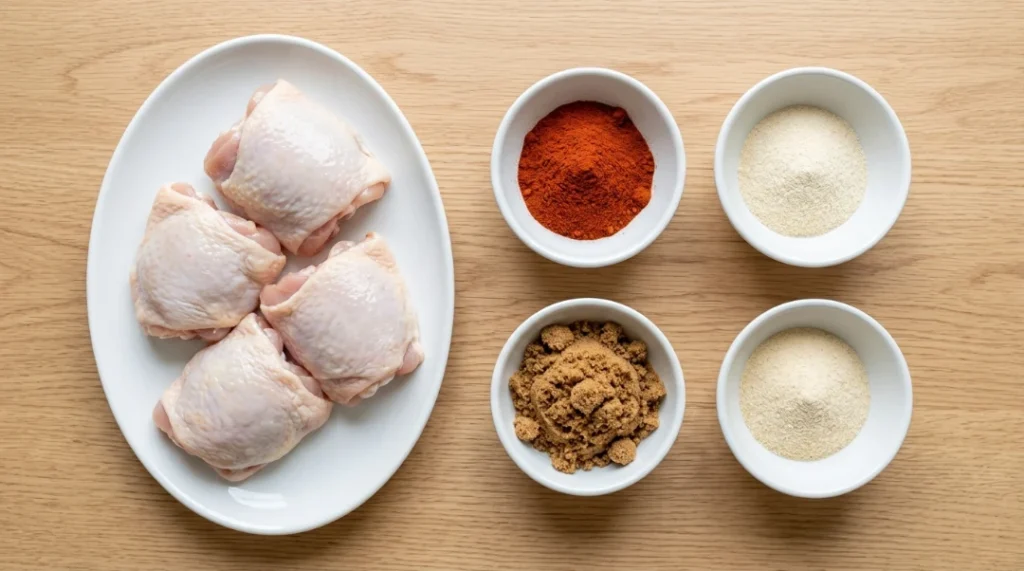
Ingredient Notes and Substitutions:
Brown sugar in the dry rub creates visible caramelization on the grill. For keto, replace with a keto sweetener or leave it out the color will be lighter and the char slightly less developed.
Bone-in skin-on is the recommended choice for this recipe. The skin protects the meat from direct heat, renders into the grill smoke, and produces the crispy charred exterior that makes grilled chicken thighs worth making. Boneless skinless thighs work but cook faster and require more attention to prevent drying out.
Cayenne is optional. The heat level is mild at ¼ tsp across 4 to 6 thighs noticeable but not spicy. Leave it out for a mild version.
The Trim Step Nobody Talks About:
Before seasoning, trim the large pockets of excess fat from the underside of each thigh particularly the thick deposits near the edges. Leave enough fat to baste the meat as it cooks, but remove the large hanging pieces.
Why this matters: excess fat dripping onto the grill flames is what causes the flare-ups that burn the exterior. Most grilling recipes mention flare-ups as something to manage mid-cook. Trimming before seasoning reduces them significantly before the chicken ever touches the grill.
This step takes about 3 minutes and changes the grilling experience entirely fewer interruptions, more even cooking, better char control.
Marinade vs Dry Rub Which Is Better:
Both work well for grilled chicken thighs. The choice depends on time and what the chicken is being served with.
Dry rub: Better color development on the grill, crisper skin, more consistent results in a shorter time. Works in as little as 30 minutes.
Marinade: Deeper flavor penetration, especially for bone-in thighs where the flavor needs to travel further. Best when marinated 2 to 4 hours. Beyond 6 to 8 hours, the acid in lemon juice or vinegar starts to break down the protein and the texture turns slightly mushy on the surface.
The dry rub is the method in this recipe. Marinade instructions are included as a variation.
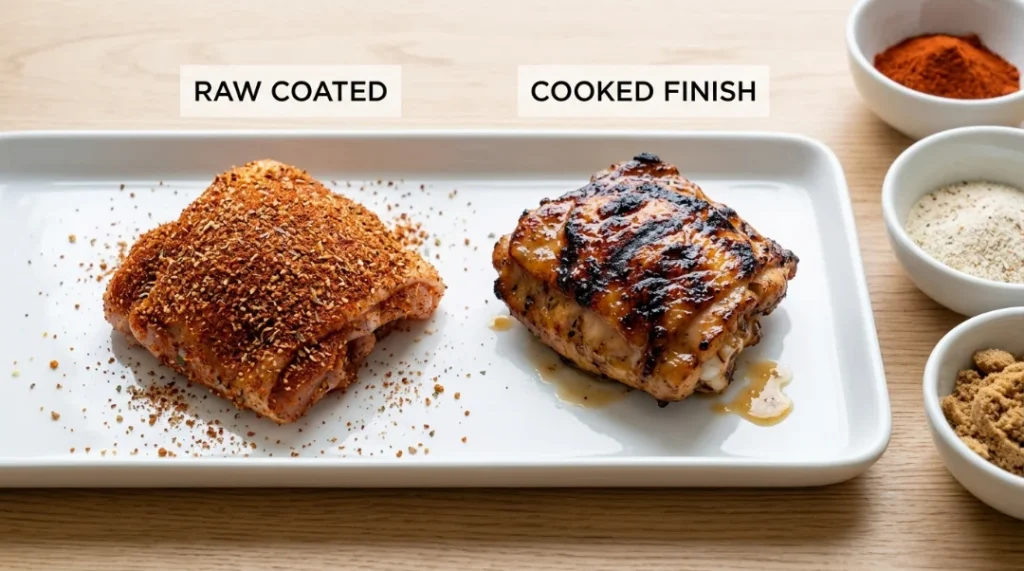
Step-by-Step Instructions:
Step 1: Trim and Season
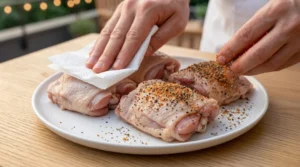
Trim excess fat pockets from the underside of each thigh. Pat completely dry with paper towels both sides. Moisture on the skin prevents it from crisping on the grill.
Brush with olive oil. Apply dry rub evenly over all surfaces, including under the skin where possible. Letting the chicken sit for 20 to 30 minutes before grilling can help it cook more evenly the exterior chars before a cold center comes up to temperature. Avoid leaving it out longer than 2 hours for food safety.
Step 2: Set Up Two-Zone Heat
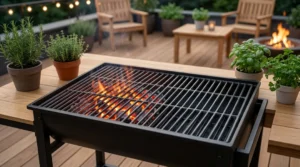
Gas grill: Turn burners on one side to medium-high (about 400°F). Leave the other side off or on low. This creates a direct heat zone and an indirect heat zone.
Charcoal grill: Bank coals to one side of the grill. The side with coals is direct heat. The empty side is indirect heat.
Two-zone setup is what makes grilled chicken thighs consistently juicy. Indirect heat first cooks the thighs through without burning the exterior. Direct heat finishes with the char and crispy skin.
Step 3: Start on Indirect Heat (Skin Side Up)
Place thighs skin side up on the indirect heat side. Close the lid. Cook for 25 to 30 minutes until internal temperature reaches 155°F.
During this phase the thighs are cooking through gently no flare-ups, no burning, just slow even heat working from the outside in. The fat is rendering and dripping onto the cooler side of the grill rather than directly onto flames.
Step 4: Move to Direct Heat (Skin Side Down)
Move thighs to the direct heat side, skin side down. Grill with lid open for 3 to 5 minutes until skin is deep golden, charred in spots, and releases naturally from the grates.
Flip and grill the second side for 2 to 3 minutes.
Watch for flare-ups during this phase. If flare-ups occur, simply move the chicken to the indirect heat zone until the flames subside do not try to cook through active flames. The trimming done in Step 1 should significantly reduce flare-ups. The trimming done in Step 1 should significantly reduce flare-ups, but fat continues rendering during the indirect phase and some dripping still occurs.
Step 5: Check Temperature and Rest
Internal temperature should read 165°F at the thickest part away from the bone. For grilled chicken thighs, 170°F to 175°F produces a more tender result as the connective tissue has more time to break down both are safe and excellent.
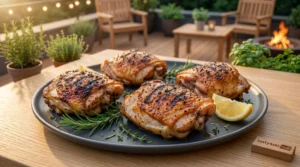
Remove from grill. Rest on a plate or cutting board for 5 minutes before serving. Resting allows the juices to redistribute through the meat. Cutting immediately releases them.
What Went Wrong in Early Testing:
Batch 1: Direct heat entire time. The skin went deeply charred within 8 minutes. The outside looked done. The inside read 142°F. Put the chicken back on direct heat to finish by the time the center reached 165°F, the exterior was burned rather than charred. The two-zone method fixed this entirely.
Batch 2: Skipped the trim step. Three separate flare-ups during the direct heat phase. Had to keep moving the chicken off the heat. The exterior cooked unevenly charred in spots where flare-ups hit and pale in spots where they didn’t. Trimming the excess fat before cooking prevents most of this.
Batch 3: Marinated overnight in lemon-based marinade. The surface texture on the exterior was slightly mushy after 14 hours in an acidic marinade. The flavor was excellent but the skin did not crisp properly. Switched to a 2 to 4 hour marinade window from that point on.
Gas vs Charcoal Actual Differences:
| Factor | Gas Grill | Charcoal Grill |
|---|---|---|
| Heat control | Precise, consistent | Variable, requires attention |
| Flavor | Clean, mild smoke | Deeper smoke flavor |
| Two-zone setup | Easy turn burners | Requires banking coals |
| Total cook time | 35–40 minutes | 30–35 minutes (runs hotter) |
| Flare-up risk | Lower | Higher |
Charcoal runs slightly hotter and produces a smokier result. Gas is more consistent and easier to manage. Both produce excellent grilled chicken thighs charcoal adds a depth that gas cannot replicate, but gas removes the variability.
Bone-In vs Boneless Time and Heat Differences:
| Thigh Type | Indirect Phase | Direct Phase | Total Time |
|---|---|---|---|
| Bone-in skin-on | 25–30 min | 5–8 min | 30–38 min |
| Boneless skinless | 12–15 min | 3–5 min | 15–20 min |
Boneless thighs cook significantly faster. Skip the indirect phase entirely for boneless grill directly over medium heat for 6 to 7 minutes per side, checking temperature at 12 minutes.
Pro Tips:
- Two-zone heat removes the guesswork. Indirect first, direct to finish this method works on every grill and produces consistent results without constant monitoring.
- Trim excess fat before seasoning. Three minutes of trimming prevents most flare-ups during the direct heat phase.
- Do not move the chicken during the direct heat phase. The char develops when the skin sits undisturbed against the hot grates. Moving it too early tears the skin and prevents even browning.
- Room temperature chicken before grilling. 20 to 30 minutes out of the fridge helps large bone-in thighs cook more evenly from surface to bone.
- Keep the lid closed during indirect phase. Opening the lid releases heat and extends cook time each opening adds 3 to 5 minutes.
Variations:
BBQ Style: Apply dry rub as written. Brush with BBQ sauce only during the last 3 minutes of the direct heat phase. Sauce applied too early burns from the sugar content.
Lemon Herb Marinade: 3 tbsp olive oil, 2 tbsp lemon juice, 3 cloves minced garlic, 1 tsp each oregano and thyme. Marinate 2 to 4 hours maximum.
Teriyaki Grilled Thighs: Skip dry rub. Season with salt, pepper, garlic powder. Brush with teriyaki glaze in last 3 minutes of direct heat.
Spicy Honey Glazed: Add ½ tsp cayenne to dry rub. Brush with honey + sriracha (2:1) in last 3 minutes of direct heat.
Keto Version: Remove brown sugar from dry rub. Use keto-friendly BBQ sauce or serve plain with chimichurri.
What to Serve With:
- Best Honey Garlic Chicken Thighs Stovetop — same cut, completely different flavor profile for when the grill is not an option
- Best Air Fryer Chicken Thighs — Perfectly Crispy in 20 Minutes — indoor alternative for cold weather or small kitchens
- Best One Pan Chicken and Rice Dinner — if you want rice on the table without a second pan
- Grilled corn on the cob cooks on the same grill at the same time
- Simple coleslaw cool and creamy against the smoky char
- Garlic butter grilled bread uses the same direct heat zone
Storage and Reheating:
Fridge: Up to 4 days in an airtight container.
Reheat (oven): 300°F covered with foil for 12 to 15 minutes. Low and slow keeps the meat from drying out during reheating.
Reheat (air fryer): 375°F for 5 to 6 minutes. Skin comes back crispy the best reheat method for grilled chicken thighs specifically.
Reheat (microwave): Cover with a damp paper towel. 50% power in 60-second intervals. Full power ruins the texture.
Freeze: Freeze after cooking. Thaw overnight in fridge. Reheat in oven at 325°F covered for 18 to 20 minutes from cold.
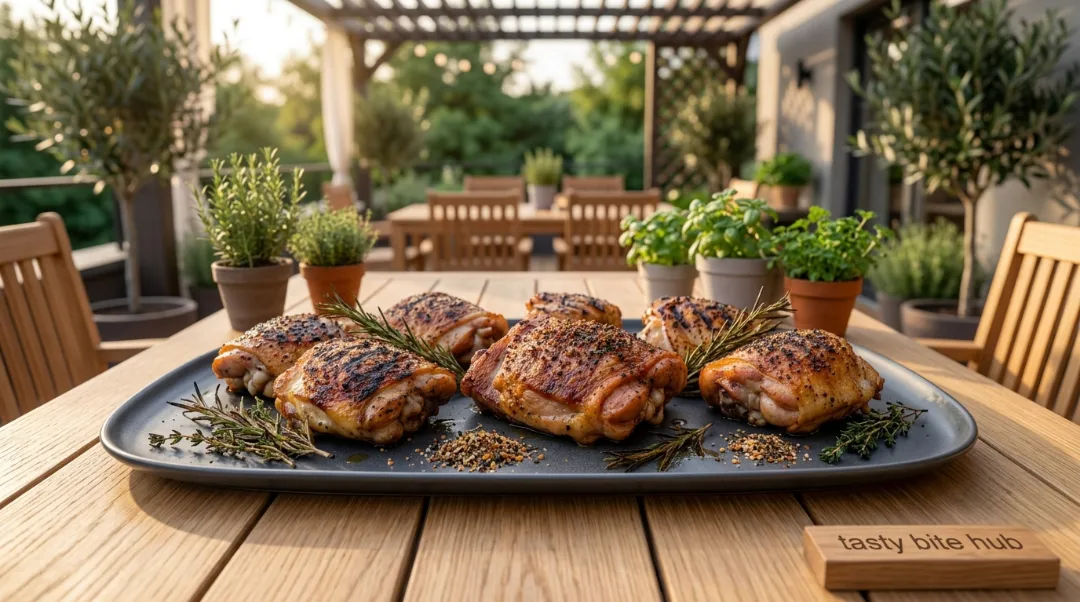
Best Grilled Chicken Thighs Perfectly Juicy Every Time
Ingredients
Equipment
Method
- Trim and Season Trim excess fat pockets from underside of each thigh leave skin intact but remove large hanging fat deposits. Pat completely dry with paper towels. Brush with olive oil. Apply dry rub evenly over all surfaces including under the skin. Rest at room temperature 20 to 30 minutes before grilling.
- Set Up Two-Zone Heat Gas grill: turn burners on one side to medium-high (400°F), leave other side off. Charcoal grill: bank coals to one side. One side is direct heat, the other indirect.
- Indirect Heat Phase (Skin Side Up) Place thighs skin side up on indirect heat side. Close lid. Cook 25 to 30 minutes until internal temperature reaches 155°F. No flare-ups during this phase the fat drips onto the cooler side.
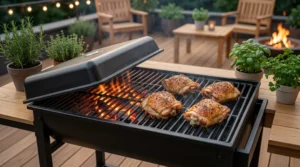
- Direct Heat Finish (Skin Side Down) Move thighs to direct heat side skin side down. Grill with lid open for 3 to 5 minutes until skin is deep golden and charred in spots. Flip and grill second side 2 to 3 minutes. Manage any flare-ups by moving chicken temporarily to indirect side.
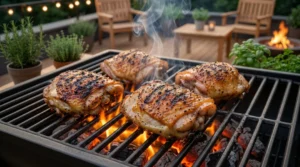
- Check Temperature and Rest Internal temperature should read 165°F minimum at thickest part away from bone per USDA safe minimum cooking temperatures. For more tender result, pull at 170°F to 175°F. Rest 5 minutes before serving.
Notes
Nutrition Info (per serving, 1 bone-in thigh approx. 7 to 8 Oz raw):
| Nutrient | Amount |
|---|---|
| Calories | 248 |
| Protein | 22g |
| Fat | 17g |
| Carbohydrates | 3g |
| Sodium | 420mg |
| Fiber | 0g |
| Sugar | 1g |
Nutrition information is an estimate and may vary depending on the ingredients and brands used. Data sourced from USDA FoodData Central.
FAQs:
Q: How do I keep grilled chicken thighs from drying out?
A: Two-zone heat is the most reliable method. Starting on indirect heat lets the thighs cook through gently without the exterior burning before the interior finishes. Pulling at 165°F to 170°F and resting 5 minutes before cutting handles the rest.
Q: How long do grilled chicken thighs take?
A: Bone-in skin-on thighs take 30 to 38 minutes total using the two-zone method 25 to 30 minutes on indirect heat, 5 to 8 minutes on direct heat to finish. Boneless thighs take 15 to 20 minutes over direct medium heat.
Q: Why does my grilled chicken skin burn before the inside cooks?
A: Direct high heat the entire cook time is the most common cause. The exterior chars quickly while the bone-in center takes much longer to reach temperature. Two-zone heat indirect first, direct to finish solves this completely.
Q: How do I stop flare-ups when grilling chicken thighs?
A: Trim the excess fat pockets from the underside before seasoning. Fat dripping onto flames causes flare-ups. Trimming reduces them significantly. The two-zone method also helps flare-ups are most common during the direct heat phase, which is short when the thighs are already mostly cooked from the indirect phase.
Q: Should I marinate chicken thighs before grilling?
A: Optional dry rub produces better skin crispiness and more consistent results. Marinade adds deeper flavor but requires time. For best results, marinate no longer than 4 to 6 hours if using an acidic marinade (lemon juice, vinegar). Longer than 8 hours can make the exterior texture slightly mushy.
Q: What internal temperature for grilled chicken thighs?
A: 165°F is the USDA minimum safe temperature. For grilled thighs, 170°F to 175°F produces a more tender result as the connective tissue breaks down further both are safe. See USDA safe minimum cooking temperatures.
Q: Can I grill chicken thighs ahead of time for meal prep?
A: Grilled chicken thighs hold up well for meal prep store in an airtight container in the fridge for up to 4 days. For best results, slightly undercook by pulling at 160°F instead of 165°F. The chicken finishes as it cools and again when reheated, staying juicier through day three or four. Reheat in the air fryer at 375°F for 5 to 6 minutes the skin comes back noticeably crispier than any other method.
Would I Make This Again?
Every summer cookout and most weekend dinners from May through September.
The shift from direct-heat-only to two-zone changed grilling chicken thighs from something unpredictable to something reliable. The first time the two-zone method produced a thigh with properly charred skin and fully cooked juicy meat at the same time, it replaced every other grilling method permanently.
For a weeknight when the grill is already warm, bone-in thighs with this dry rub take under 40 minutes from cold to table. For a crowd, the method scales easily the indirect zone handles as many thighs as fit on the grill.
Final Note
Perfectly juicy grilled chicken thighs come down to heat management more than anything else. The two-zone method, the trim step, and pulling at the right temperature handle every variable that used to make grilling chicken thighs unpredictable.
Trim the fat, start indirect, finish direct, rest five minutes. That sequence produces the same result every time the grill is on.
Made these? Drop a comment below did you go with the dry rub or the lemon herb marinade, and gas or charcoal?


2 Comments